Pfaff expression 2044 Owner's Manual - Page 92
Pfaff expression 2044 Manual
 |
View all Pfaff expression 2044 manuals
Add to My Manuals
Save this manual to your list of manuals |
Page 92 highlights
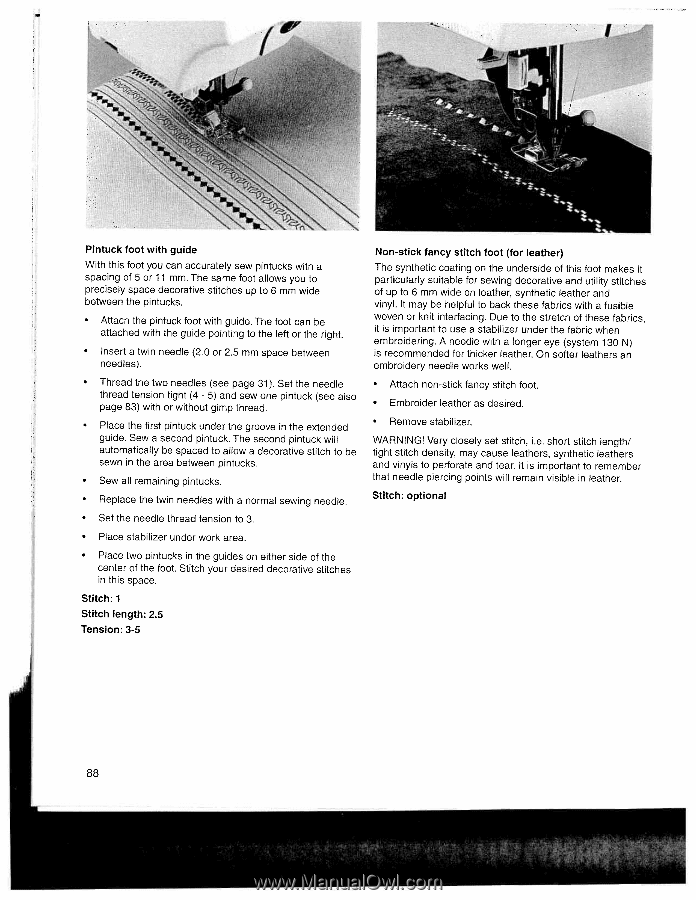
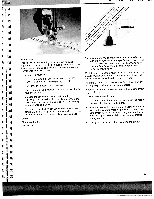
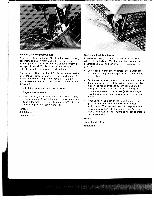
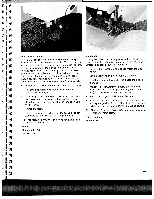
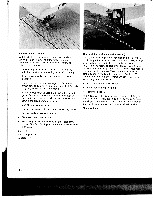
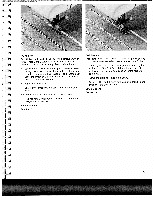
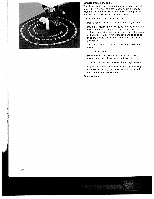
1" / Pintuck foot with guide With this foot you can accurately sew pintucks with a spacing of 5 or 1 1 mm. The same foot allows you to precisely space decorative stitches up to 6 mm wide between the pintucks. • Attach the pintuck foot with guide. The foot can be attached with the guide pointing to the left or the right. • Insert a twin needle (2.0 or 2.5 mm space between needles). • Thread the two needles (see page 31). Set the needle thread tension tight (4 - 5) and sew one pintuck (see also page 83) with or without gimp thread. • Place the first pintuck under the groove in the extended guide. Sew a second pintuck. The second pintuck will automatically be spaced to allow a decorative stitch to be sewn in the area between pintucks. • Sew all remaining pintucks. • Replace the twin needles with a normal sewing needle. • Set the needle thread tension to 3. • Place stabilizer under work area. • Place two pintucks in the guides on either side of the center of the foot. Stitch your desired decorative stitches in this space. Stitch: 1 Stitch length: 25 Tension: 3-5 Non-stick fancy stitch foot (for leather) The synthetic coating on the underside of this foot makes it particularly suitable for sewing decorative and utility stitches of up to 6 mm wide on leather, synthetic leather and vinyl. It may be helpful to back these fabrics with a fusible woven or knit interfacing. Due to the stretch of these fabrics, it is important to use a stabilizer under the fabric when embroidering. A needle with a longer eye (system 130 N) is recommended for thicker leather. On softer leathers an embroidery needle works well. • Attach non-stick fancy stitch foot. • Embroider leather as desired. Remove stabilizer. WARNING! Very closely set stitch, i.e. short stitch length! tight stitch density, may cause leathers, synthetic leathers and vinyls to perforate and tear. It is important to remember that needle piercing points will remain visible in leather. Stitch: optional 88
-
 1
1 -
2
-
3
-
4
-
5
-
6
-
7
-
8
-
9
-
10
-
11
-
12
-
13
-
14
-
15
-
16
-
17
-
18
-
19
-
20
-
21
-
22
-
23
-
24
-
25
-
26
-
27
-
28
-
29
-
30
-
31
-
32
-
33
-
34
-
35
-
36
-
37
-
38
-
39
-
40
-
41
-
42
-
43
-
44
-
45
-
46
-
47
-
48
-
49
-
50
-
51
-
52
-
53
-
54
-
55
-
56
-
57
-
58
-
59
-
60
-
61
-
62
-
63
-
64
-
65
-
66
-
67
-
68
-
69
-
70
-
71
-
72
-
73
-
74
-
75
-
76
-
77
-
78
-
79
-
80
-
81
-
82
-
83
-
84
-
85
-
86
-
 87
87 -
 88
88 -
 89
89 -
 90
90 -
 91
91 -
 92
92 -
 93
93 -
 94
94 -
 95
95 -
 96
96 -
 97
97 -
98
-
99
-
100
-
101
-
102
-
103
-
104
-
105
-
106
-
107
-
108
-
109
-
110
-
111
-
112
-
113
-
114
-
115
-
116
-
117
-
118
-
119
-
120
-
121
 |
 |