Pfaff expression 2044 Owner's Manual - Page 77
Pfaff expression 2044 Manual
 |
View all Pfaff expression 2044 manuals
Add to My Manuals
Save this manual to your list of manuals |
Page 77 highlights
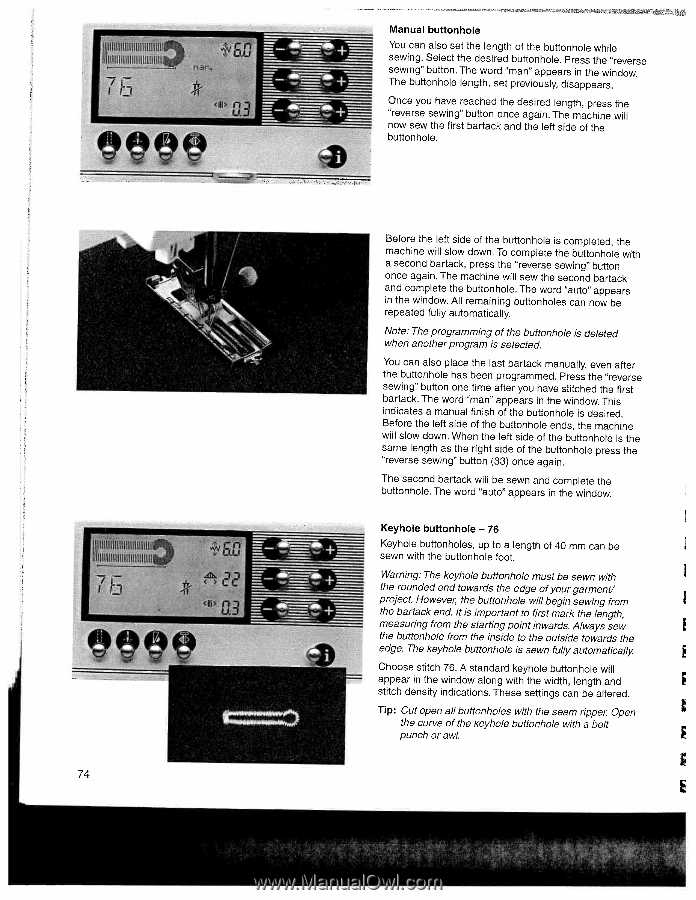
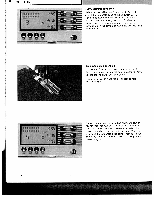
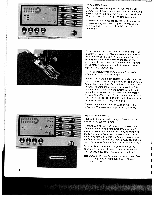
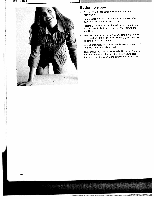
- "I 74 Manual buttonhole You can also set the length of the buttonhole while sewing. Select the desired buttonhole. Press the "reverse sewing" button. The word "man" appears in the window. The buttonhole length, set previously, disappears. Once you have reached the desired length. press the "reverse sewing" button once again. The machine will now sew the first bartack and the left side of the buttonhole. Before the left side of the buttonhole is completed, the machine will slow down. To complete the buttonhole with a second bartack, press the "reverse sewing" button once again. The machine will sew the second bartack and complete the buttonhole. The word "auto" appears in the window. All remaining buttonholes can now be repeated fully automatically. Note: The programming of the buttonhole is deleted when another program is selected. You can also place the last bartack manually, even after the buttonhole has been programmed. Press the 'reverse sewing" button one time after you have stitched the first bartack. The word "man" appears in the window. This indicates a manual finish of the buttonhole is desired. Before the left side of the buttonhole ends, the machine will slow down. When the left side of the buttonhole is the same length as the right side of the buttonhole press the "reverse sewing" button (33) once again. The second bartack will be sewn and complete the buttonhole. The word "auto" appears in the window. Keyhole buttonhole -76 Keyhole buttonholes, up to a length of 40 mm can be sewn with the buttonhole foot. Warning: The keyhole buttonhole must be sewn with the rounded end towards the edge of your garment! project. However the buttonhole will begin sewing from the bartack end. It is important to first mark the length, measuring from the starting point inwards. Always sew the buttonhole from the inside to the outside towards the edge. The keyhole buttonhole is sewn fully automatically Choose stitch 76. A standard keyhole buttonhole will appear in the window along with the width, length and stitch density indications. These settings can be altered, Tip: Cut open all buttonholes with the seam ripper Open the curve of the keyhole buttonhole with a belt punch or awl.
-
 1
1 -
2
-
3
-
4
-
5
-
6
-
7
-
8
-
9
-
10
-
11
-
12
-
13
-
14
-
15
-
16
-
17
-
18
-
19
-
20
-
21
-
22
-
23
-
24
-
25
-
26
-
27
-
28
-
29
-
30
-
31
-
32
-
33
-
34
-
35
-
36
-
37
-
38
-
39
-
40
-
41
-
42
-
43
-
44
-
45
-
46
-
47
-
48
-
49
-
50
-
51
-
52
-
53
-
54
-
55
-
56
-
57
-
58
-
59
-
60
-
61
-
62
-
63
-
64
-
65
-
66
-
67
-
68
-
69
-
70
-
71
-
 72
72 -
 73
73 -
 74
74 -
 75
75 -
 76
76 -
 77
77 -
 78
78 -
 79
79 -
 80
80 -
 81
81 -
 82
82 -
83
-
84
-
85
-
86
-
87
-
88
-
89
-
90
-
91
-
92
-
93
-
94
-
95
-
96
-
97
-
98
-
99
-
100
-
101
-
102
-
103
-
104
-
105
-
106
-
107
-
108
-
109
-
110
-
111
-
112
-
113
-
114
-
115
-
116
-
117
-
118
-
119
-
120
-
121
 |
 |