Philips CDR800 User manual - Page 25
External recording
 |
View all Philips CDR800 manuals
Add to My Manuals
Save this manual to your list of manuals |
Page 25 highlights
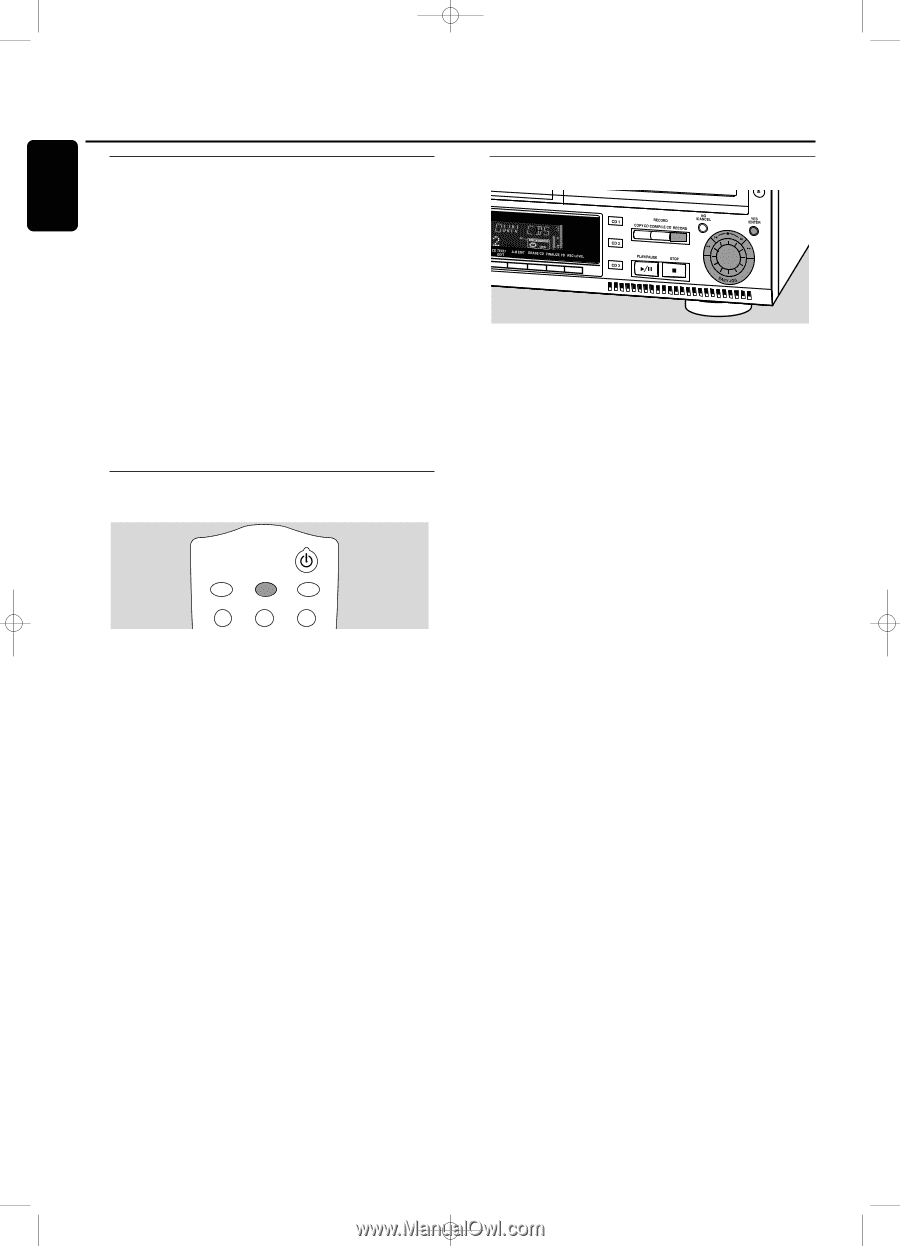
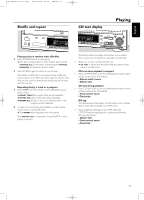
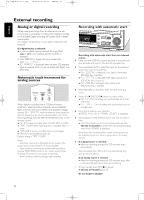
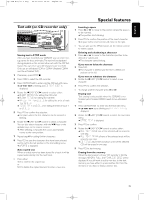
xp CDR 800/17.1 eng. 25-07-2001 15:12 Pagina 22 English External recording Analog or digital recording When making recordings from an external source, we recommend to do analog recording only if digital recording is not possible. Digital recording will usually result in better sound quality. See chapter "Connections" to see which connections are required. If a digital source is selected: ➜ In case no digital signal is received, the input label (DIG or OPT) starts flashing and NO SIGNAL is displayed. 0 Press DISPLAY to display the input sample rate (SRC XX, X KHZ). ➜ BIT PERFECT is displayed when an exact CD standard signal is received which can be recorded with Direct Line Recording. Automatic track increment for analog sources BRIGHTNESS TRACK INCR. CD TEXT ABC DEF GHI 123 When digitally recording from a CD player/changer (internal or external) track increments are automatically taken over from the source.When recording from analog sources (AUX ANALOG), track increment is done, based on silences (pauses) in the source material. Select one of the following settings with the TRACK INCR(ement) key on the remote control: ➜ CD/DVD: when recording from CD, DAT, DCC or DVD; ➜ TAPE/TUNER: when recording from a cassette deck or tuner ; ➜ TURNTABLE: when recording from a record player, ➜ MANUAL: switches the function off. Default setting is TAPE/TUNER. Notes: Auto track increment is dependant on the quality of the source material and therefore not always possible. Track numbers can always be incremented manually by pressing TRACK INCR(ement) on the remote control during recording.The minimum track length is 4 seconds. Track numbers cannot be changed after recording. Recording with automatic start Recording with automatic start from an external source 1 Make sure the CDR(W) is absolutely free of scratches and dust particles and insert it into the CD recorder tray. 2 Press repeatedly AUX to select the input for the external source you want to record from. ➜ AUX DIGITAL is displayed if the digital coaxial input (DIGITAL IN) is selected. ➜ AUX OPTICAL is displayed if the digital optical input (OPTICAL IN) is selected. ➜ AUX ANALOG is displayed if the analog input (ANALOG IN) is selected. 3 Press RECORD on the set to enter into the recording menu. 4 Rotate the ¡ EASY JOG ™ control to select either: ➜ AUX CD ?: for recording with synchronised start of an entire disc; ➜ AUX TRACK ?: for recording with synchronised start of a single track. 5 Press YES to confirm your selection. ➜ PRESS PLAY ON EXTERNAL SOURCE is displayed. 6 Start playback on the external source you wish to record from. ➜ The CD recorder starts to record simultaneously and RECORD IN PROGRESS is shown.The remaining recording time of the CDR(W) is displayed. Note: If you start recording within a track, recording starts at the beginning of the next track or after a silence for analog sources. 7 If a digital source is selected: ➜ After the recording process, the CD recorder stops automatically. Note: Recordings from DAT or DCC will automatically stop after 20 seconds silence. If an analog source is selected: ➜ After the recording process, the CD recorder stops after a silence of 20 seconds on the source material. 0 To stop manually, press STOP 9 on the set. ➜ RECORD IN PROGRESS goes off. Do not forget to finalize! 22
-
 1
1 -
2
-
3
-
4
-
5
-
6
-
7
-
8
-
9
-
10
-
11
-
12
-
13
-
14
-
15
-
16
-
17
-
18
-
19
-
 20
20 -
 21
21 -
 22
22 -
 23
23 -
 24
24 -
 25
25 -
 26
26 -
 27
27 -
 28
28 -
 29
29 -
 30
30 -
31
-
32
-
33
-
34
-
35
-
36
-
37
-
38
-
39
-
40
-
41
-
42
-
43
-
44
-
45
-
46
-
47
-
48
-
49
-
50
-
51
-
52
-
53
-
54
-
55
-
56
-
57
-
58
-
59
-
60
-
61
-
62
-
63
-
64
-
65
-
66
-
67
-
68
-
69
-
70
-
71
-
72
-
73
-
74
-
75
-
76
-
77
-
78
-
79
-
80
-
81
-
82
-
83
 |
 |