Ricoh P C600 Setup Guide - Page 19
Auto-Obtain DHCP, Manual Configuration
 |
View all Ricoh P C600 manuals
Add to My Manuals
Save this manual to your list of manuals |
Page 19 highlights
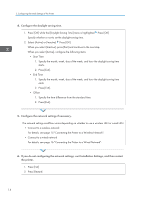
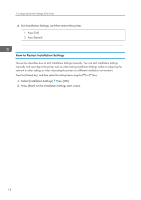
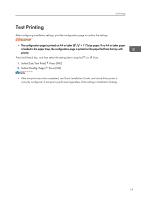
Configuring the Printer Settings Using Installation Settings 2. Connect the LAN cable to the printer Press [Next] 3. Specify whether to obtain the IP address automatically or to assign the address manually. Auto-Obtain (DHCP) Sets the printer to receive an IPv4 address, subnet mask, and default gateway address automatically from a DHCP server. 1. Press [OK] 2. Press [Exit] Manual Configuration Configure the printer's IP address, subnet mask, and default gateway address. 1. Press [OK] 2. Follow the wizard to configure the following settings: • IPv4 Address • Subnet Mask • IPv4 Gateway Address 3. Press [Exit] twice 4. Specify whether to enable the USB port of the printer. 5. Specify whether or not to allow a direct connection from a smart device to the printer. 1. Press [OK] while the [Direct Connection Setting] menu is highlighted 2. Select [Active] or [Inactive] Press [OK] Select [Active] to allow a smart device to connect to the printer via a wireless LAN to use and operate the printer functions. • To use this function, install RICOH Smart Device Connector on your smart device from Google Play or the App Store. 17
-
 1
1 -
2
-
3
-
4
-
5
-
6
-
7
-
8
-
9
-
10
-
11
-
12
-
13
-
 14
14 -
 15
15 -
 16
16 -
 17
17 -
 18
18 -
 19
19 -
 20
20 -
 21
21 -
 22
22 -
 23
23 -
 24
24 -
25
-
26
-
27
-
28
-
29
-
30
-
31
-
32
-
33
-
34
-
35
-
36
-
37
-
38
-
39
-
40
-
41
-
42
-
43
-
44
-
45
-
46
-
47
-
48
-
49
-
50
-
51
-
52
-
53
-
54
-
55
-
56
-
57
-
58
-
59
-
60
 |
 |