Samsung 2032NW User Manual (ENGLISH) - Page 29
OSD Locked & Unlock, AUTO PATTERN
 |
UPC - 729507802190
View all Samsung 2032NW manuals
Add to My Manuals
Save this manual to your list of manuals |
Page 29 highlights
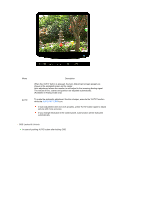
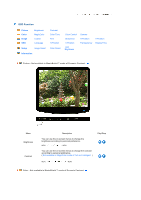
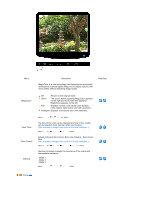
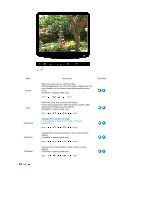
Menu AUTO Description When the 'AUTO' button is pressed, the Auto Adjustment screen appears as shown in the animated screen on the center. Auto adjustment allows the monitor to self-adjust to the incoming Analog signal. The values of fine, coarse and position are adjusted automatically. (Available in Analog mode only) To make the automatic adjustment function sharper, execute the 'AUTO' function while the AUTO PATTERN is on. If auto adjustment does not work properly, press 'AUTO' button again to adjust picture with more accuracy. If you change resolution in the control panel, auto function will be executed automatically. OSD Locked & Unlock In case of pushing AUTO button after locking OSD
-
 1
1 -
2
-
3
-
4
-
5
-
6
-
7
-
8
-
9
-
10
-
11
-
12
-
13
-
14
-
15
-
16
-
17
-
18
-
19
-
20
-
21
-
22
-
23
-
 24
24 -
 25
25 -
 26
26 -
 27
27 -
 28
28 -
 29
29 -
 30
30 -
 31
31 -
 32
32 -
 33
33 -
 34
34 -
35
-
36
-
37
-
38
-
39
-
40
-
41
-
42
-
43
-
44
-
45
-
46
-
47
-
48
-
49
-
50
 |
 |

Menu
Description
AUTO
When the 'AUTO' button is pressed, the Auto Adjustment screen appears as
shown in the animated screen on the center.
Auto adjustment allows the monitor to self-adjust to the incoming Analog signal.
The values of fine, coarse and position are adjusted automatically.
(Available in Analog mode only)
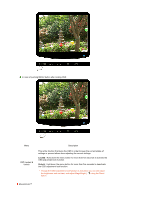
To make the automatic adjustment function sharper, execute the 'AUTO' function
while the
AUTO PATTERN
is on.
If auto adjustment does not work properly, press 'AUTO' button again to adjust
picture with more accuracy.
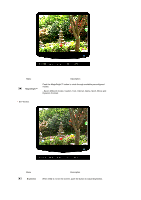
If you change resolution in the control panel, auto function will be executed
automatically.
OSD Locked & Unlock
In case of pushing AUTO button after locking OSD