Samsung L73 User Manual - Page 49
Effect, Red eye fix, PictBridge
 |
UPC - 044701007456
View all Samsung L73 manuals
Add to My Manuals
Save this manual to your list of manuals |
Page 49 highlights
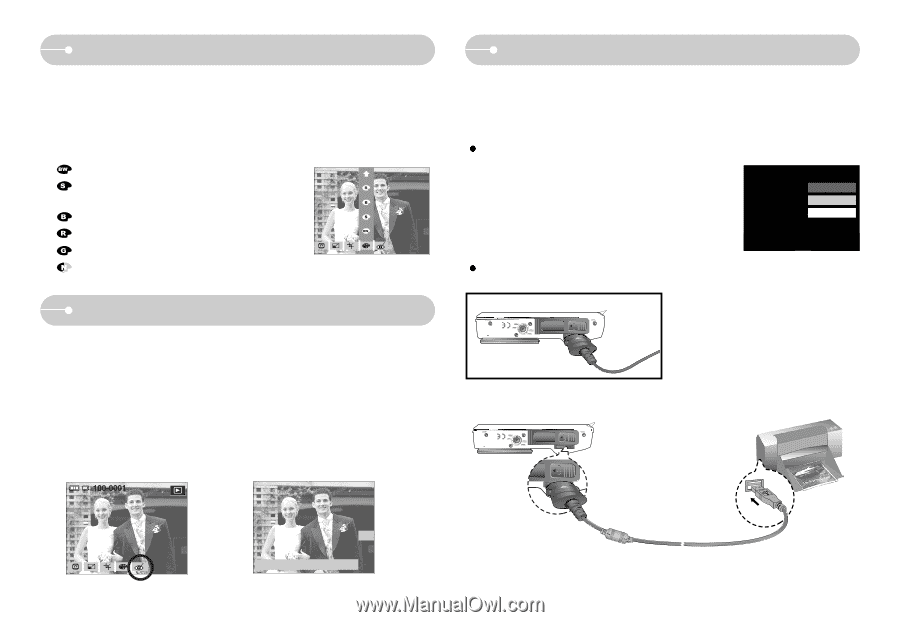
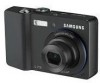
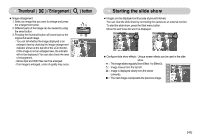
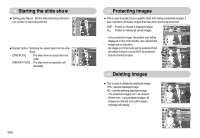
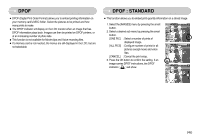
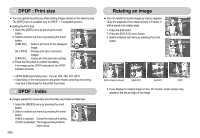
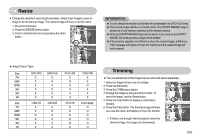
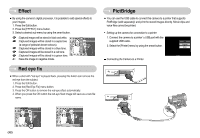
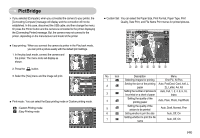
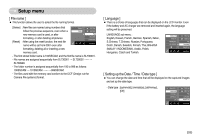
Effect ■ By using the camera's digital processor, it is possible to add special effects to your images. 1. Press the Edit button. 2. Press the [EFFECT] menu button. 3. Select a desired sub menu by using the smart button. : Captured images will be stored in black and white. : Captured images will be stored in a sepia tone RED (a range of yellowish brown colours). BLUE : Captured images will be stored in a blue tone. SEPIA : Captured images will be stored in a red tone. B & W : Captured images will be stored in a green tone. : Save the image in negative mode. Red eye fix ■ When a shot with "red eye" is played back, pressing this button can remove the red eye from the subject. 1. Press the Edit button. 2. Press the [Red Eye Fix] menu button. 3. Press the OK button to remove the red-eye effect automatically. 4. When you press the OK button the red-eye fixed image will save as a new file name. PictBridge ■ You can use the USB cable to connect this camera to a printer that supports PictBridge (sold separately) and print the stored images directly. Movie clips and voice files cannot be printed. Setting up the camera for connection to a printer 1. Connect the camera to a printer' s USB port with the supplied USB cable. 2. Select the [Printer] menu by using the smart button. USB Computer Printer Connecting the Camera to a Printer 《48》 Save:OK OK Exit:BACK
-
 1
1 -
2
-
3
-
4
-
5
-
6
-
7
-
8
-
9
-
10
-
11
-
12
-
13
-
14
-
15
-
16
-
17
-
18
-
19
-
20
-
21
-
22
-
23
-
24
-
25
-
26
-
27
-
28
-
29
-
30
-
31
-
32
-
33
-
34
-
35
-
36
-
37
-
38
-
39
-
40
-
41
-
42
-
43
-
 44
44 -
 45
45 -
 46
46 -
 47
47 -
 48
48 -
 49
49 -
 50
50 -
 51
51 -
 52
52 -
 53
53 -
 54
54 -
55
-
56
-
57
-
58
-
59
-
60
-
61
-
62
-
63
-
64
-
65
-
66
-
67
-
68
-
69
-
70
-
71
-
72
-
73
-
74
-
75
-
76
-
77
-
78
 |
 |