Samsung VY-H200 User Manual (user Manual) (ver.1.0) (English) - Page 12
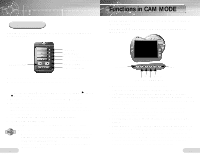
Functions in CAM MODE
 |
View all Samsung VY-H200 manuals
Add to My Manuals
Save this manual to your list of manuals |
Page 12 highlights
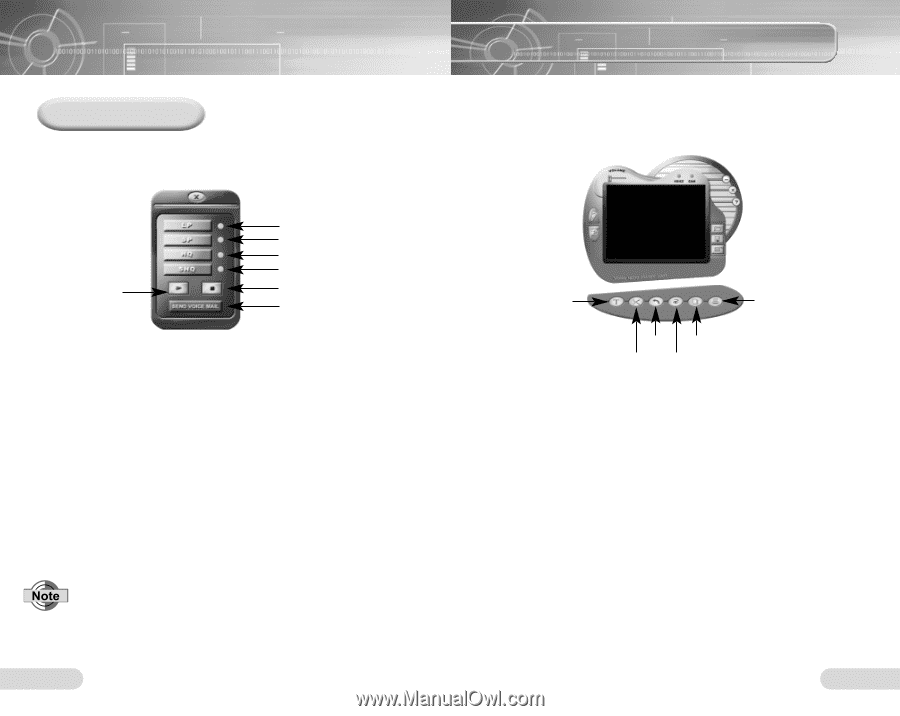
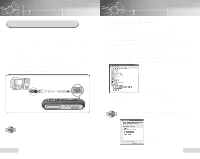
Recording Click the Record button and the record mode window will appear as shown below. Start Recording Long Play Standard Play High Quality Sound Super High Quality Sound Stop Recording Send a Voice Mail The top 4 buttons are used for different recording modes. After recording you can play or send voice mails. 1. Select the recording mode and click the Start Recording (❿) button. Recording will commence. 2. To stop recording, click the Stop Recording ( s ) button. q To save after recording, click the Save button in the main window. Select a folder, type in the file name, and press the Save button to complete. .VY1, .VY2, .VY3 etc. are the names of voice recording files. q To send mail, click the SEND VOICE MAIL button. q To check the mailing setup: Internet Explorer ➔ Tools ➔ Internet Options ➔ Program ➔ E-Mail q Connect a microphone to the PC before recording. q When there is no sound while playing after having recorded with the Voice yepp player, check the "Recording Control" setup and correct if necessary. q Please refer to Windows Help for more information about "Recording Control". 22 Functions in CAM MODE Double click the Voice yepp player 2003 icon on the desktop to open the program. Click the CAM MODE button and a picture will appear as shown below. Edit (Text) Print Cancel Preview Edit (Cut) Fit in Window q Select an image file using the Open button. You can select bmp and jpg extended image files. q To Write: Click the Text button, click at the place to write, and the Text Edit dialog box will appear. Type in letters, select font, size and color, and press the OK button to save the writing on the image. q To Cut : Click the Cut button, select the passage to save, and press the Cut button again. The selected passage will remain but the rest will be deleted. q To Cancel : To cancel during editing, press the Cancel Edit button. q Fit in Window : Double click the image in the main window, or click the Fit in Window button to view the image in actual size. q To Print an Image File: When the image file of your choice appears in the main window, click the Print button in the menu window to print. To view the image to be printed, click the Preview button to preview, and confirm to print. 23
-
 1
1 -
2
-
3
-
4
-
5
-
6
-
 7
7 -
 8
8 -
 9
9 -
 10
10 -
 11
11 -
 12
12 -
 13
13 -
 14
14 -
 15
15 -
 16
16 -
 17
17 -
18
-
19
-
20
-
21
-
22
-
23
-
24
-
25
-
26
-
27
 |
 |