Seagate Maxtor Fusion Installation Guide - Page 4
Before You Start the Installation, Step 1. Connect Your Fusion, Step 2. Power up Your Fusion - review
 |
View all Seagate Maxtor Fusion manuals
Add to My Manuals
Save this manual to your list of manuals |
Page 4 highlights
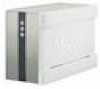
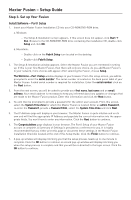
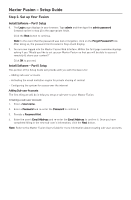
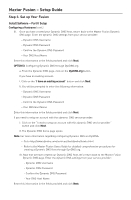
Maxtor Fusion - Setup Guide Before You Start the Installation The installation process for your Maxtor Fusion can be made simpler if you take a moment to fill out the items marked with an * in the Maxtor Fusion - Installation Checklist - located at the end of this guide. You will also be asked to create a Dynamic DNS Hostname, if you do not already have an existing Hostname, in order to share your pictures, music and movie files with your friends and family. If this is new to you, please take a moment and review these web sites for more information before beginning the installation: www.No-IP.com and/or www.dyndns.org. Power Button Step 1. Connect Your Fusion Connect the Ethernet Cable 1. Plug one end of the supplied Ethernet cable into your DHCP-enabled router. 2. Plug the other end of the Ethernet cable into the Ethernet port on your Maxtor Fusion. Connecting the Power 1. Plug the round female connector from the power adapter into the Fusion's power connector. 2. Plug the two-pin female connector on the power cord into the power adapter. 3. Plug the standard electrical plug from the power adapter into your power source. Step 2. Power up Your Fusion 1. Press the round black button on the back panel of your Maxtor Fusion. The green LED (light) will illuminate in the center of the power button. 2. Your Fusion will now start. The start up process can take up to one minute to complete. Various LED activity will appear on your Maxtor Fusion when power is applied. The tables and illustrations on the next page define the meaning/status of each LED.
-
 1
1 -
 2
2 -
 3
3 -
 4
4 -
 5
5 -
 6
6 -
 7
7 -
 8
8 -
 9
9 -
 10
10 -
11
-
12
-
13
-
14
 |
 |
