Seagate STM310004SDAB0G-RK User Guide - Page 47
Advanced Settings
 |
UPC - 751921029488
View all Seagate STM310004SDAB0G-RK manuals
Add to My Manuals
Save this manual to your list of manuals |
Page 47 highlights
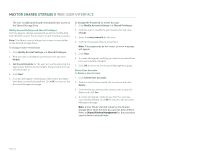
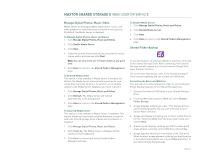
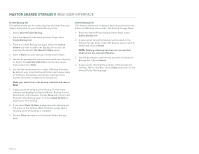
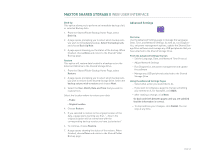
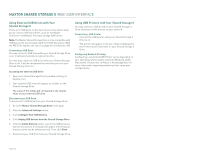
MAXTOR SHARED STORAGE II WEB USER INTERFACE Back Up This option allows you to perform an immediate backup of all, or selected Backup Sets. 1. From the Shared Folder Backup Home Page, select Back Up. 2. A page opens prompting you to select which backup sets you wish to immediately backup. Select the backup sets and choose Back Up Now. 3. A page opens showing you the status of the backup. When finished, choose Done and return to the Shared Folder Backup page. Restore This option will restore data located in a backup set on the External USB drive to the Shared Storage Drive. 1. From the Shared Folder Backup Home Page, select Restore. 2. A page opens prompting you to select which backup sets you wish to restore to the Shared Storage Drive. Select the backup set you wish to restore and choose Next. 3. Select the Year, Month, Date and Time that you wish to restore from. Select the location where to restore your data: - Public - Original location 4. Choose Restore. 5. If you selected to restore to the original location of the data, a page opens warning you that, "...files in the original location will be overwritten with the corresponding backup version you have just selected." 6. To continue, choose Restore. 7. A page opens showing the status of the restore. When finished, choose Done and return to the Shared Folder Backup page. Advanced Settings Overview Use the Advanced Settings page to manage the Language, Date, Time, and Network Settings. As well as, run Diagnostics, set power management options, update the Shared Storage Drive software and manage any USB peripherals that you have attached to the Shared Storage Drive. From the Advanced Settings You Can - Set the Language, Date, and Network Time Protocol - Adjust Network Settings - Run Diagnostics, set power management and update the software - Manage any USB peripherals attached to the Shared Storage Drive Using the Advanced Settings Pages - Select what action you would like to do. - If you want to redisplay a page (to change something you entered on it, for example), click Back. - After making a change, click Next. Go back and forth between pages until you are satisfied that the information is correct. - To stop and lose your changes, click Cancel. You can stop at any time. PAGE 45
-
 1
1 -
2
-
3
-
4
-
5
-
6
-
7
-
8
-
9
-
10
-
11
-
12
-
13
-
14
-
15
-
16
-
17
-
18
-
19
-
20
-
21
-
22
-
23
-
24
-
25
-
26
-
27
-
28
-
29
-
30
-
31
-
32
-
33
-
34
-
35
-
36
-
37
-
38
-
39
-
40
-
41
-
 42
42 -
 43
43 -
 44
44 -
 45
45 -
 46
46 -
 47
47 -
 48
48 -
 49
49 -
 50
50 -
 51
51 -
 52
52 -
53
 |
 |
