Singer CG-590 Commercial Grade Instruction Manual - Page 10
Create Quilted Fabric
 |
View all Singer CG-590 Commercial Grade manuals
Add to My Manuals
Save this manual to your list of manuals |
Page 10 highlights
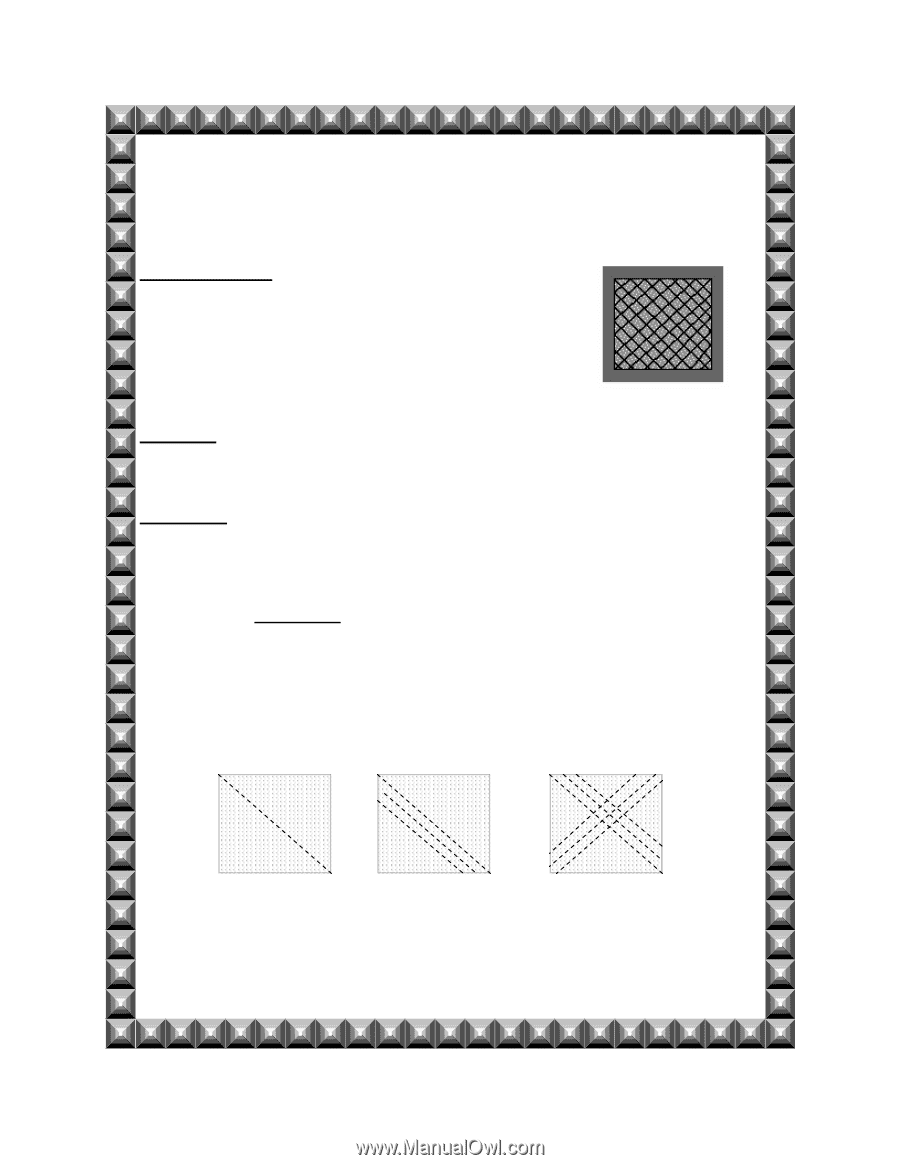
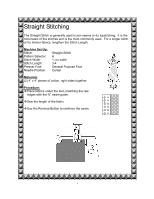
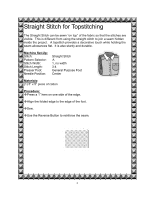
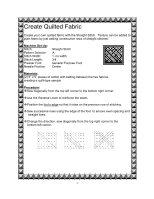
Create Quilted Fabric Create your own quilted fabric with the Straight Stitch. Texture can be added to plain fabric by just adding consecutive rows of straight stitches! Machine Set-Up: Stitch: Pattern Selector: Stitch Width: Stitch Length: Presser Foot: Needle Position: Straight Stitch A 1, no width 3-4 General Purpose Foot Center Materials: (2) 5" x 5" pieces of cotton with batting between the two fabrics, creating a quilt-type sample Procedure: Sew diagonally from the top left corner to the bottom right corner. Use the Reverse Lever to reinforce the seam. Position the foot's edge so that it rides on the previous row of stitching. Sew successive rows using the edge of the foot to ensure even spacing and straight lines. Change the direction, sew diagonally from the top right corner to the bottom left corner. 3
-
 1
1 -
2
-
3
-
4
-
 5
5 -
 6
6 -
 7
7 -
 8
8 -
 9
9 -
 10
10 -
 11
11 -
 12
12 -
 13
13 -
 14
14 -
 15
15 -
16
-
17
-
18
-
19
-
20
-
21
-
22
-
23
-
24
-
25
-
26
-
27
-
28
-
29
-
30
-
31
-
32
-
33
-
34
-
35
-
36
-
37
-
38
-
39
-
40
-
41
-
42
-
43
-
44
-
45
-
46
-
47
-
48
-
49
-
50
-
51
-
52
-
53
-
54
-
55
-
56
-
57
-
58
 |
 |