Singer CG-590 Commercial Grade Instruction Manual - Page 9
Straight Stitch for Topstitching
 |
View all Singer CG-590 Commercial Grade manuals
Add to My Manuals
Save this manual to your list of manuals |
Page 9 highlights
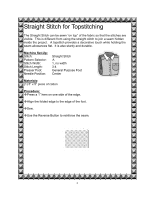
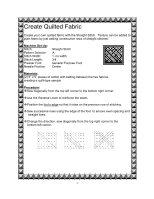
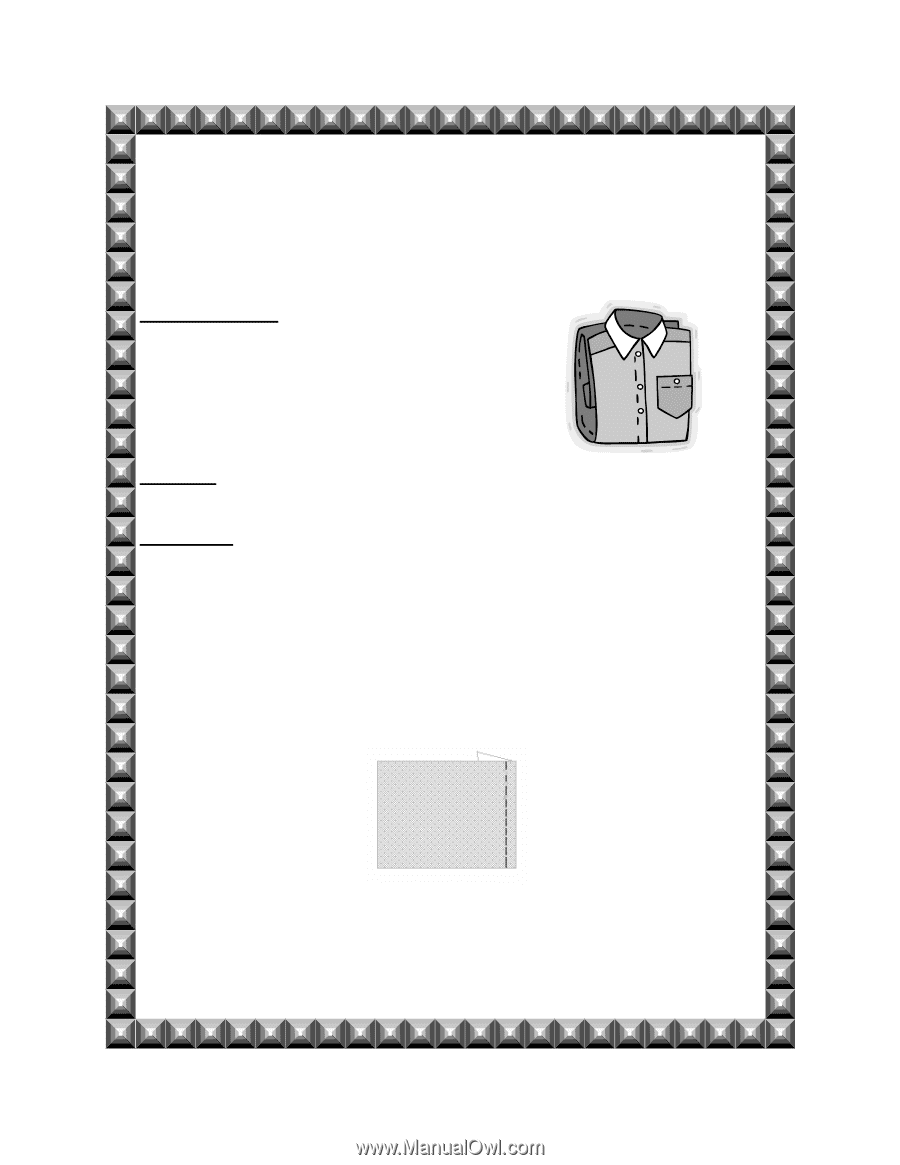
Straight Stitch for Topstitching The Straight Stitch can be sewn "on top" of the fabric so that the stitches are visible. This is different from using the straight stitch to join a seam hidden inside the project. A topstitch provides a decorative touch while holding the seam allowances flat. It is also sturdy and durable. Machine Set-Up: Stitch: Pattern Selector: Stitch Width: Stitch Length: Presser Foot: Needle Position: Straight Stitch A 1, no width 3-4 General Purpose Foot Center Materials: (1) 5" x 5" piece of cotton Procedure: Press a 1" hem on one side of the edge. Align the folded edge to the edge of the foot. Sew. Use the Reverse Button to reinforce the seam. 2
-
 1
1 -
2
-
3
-
 4
4 -
 5
5 -
 6
6 -
 7
7 -
 8
8 -
 9
9 -
 10
10 -
 11
11 -
 12
12 -
 13
13 -
 14
14 -
15
-
16
-
17
-
18
-
19
-
20
-
21
-
22
-
23
-
24
-
25
-
26
-
27
-
28
-
29
-
30
-
31
-
32
-
33
-
34
-
35
-
36
-
37
-
38
-
39
-
40
-
41
-
42
-
43
-
44
-
45
-
46
-
47
-
48
-
49
-
50
-
51
-
52
-
53
-
54
-
55
-
56
-
57
-
58
 |
 |
2
Straight Stitch for Topstitching
The Straight Stitch can be sewn “on top” of the fabric so that the stitches are
visible.
This is different from using the straight stitch to join a seam hidden
inside the project.
A topstitch provides a decorative touch while holding the
seam allowances flat.
It is also sturdy and durable.
Machine Set-Up:
Stitch:
Straight Stitch
Pattern Selector:
A
Stitch Width:
1, no width
Stitch Length:
3-4
Presser Foot:
General Purpose Foot
Needle Position:
Center
Materials
:
(1) 5” x 5” piece of cotton
Procedure:
±
Press a 1” hem on one side of the edge.
±
Align the folded edge to the edge of the foot.
±
Sew.
±
Use the Reverse Button to reinforce the seam.