Singer S10 I STUDIO Instruction Manual - Page 14
Changing the Needle, CAUTION
 |
View all Singer S10 I STUDIO manuals
Add to My Manuals
Save this manual to your list of manuals |
Page 14 highlights
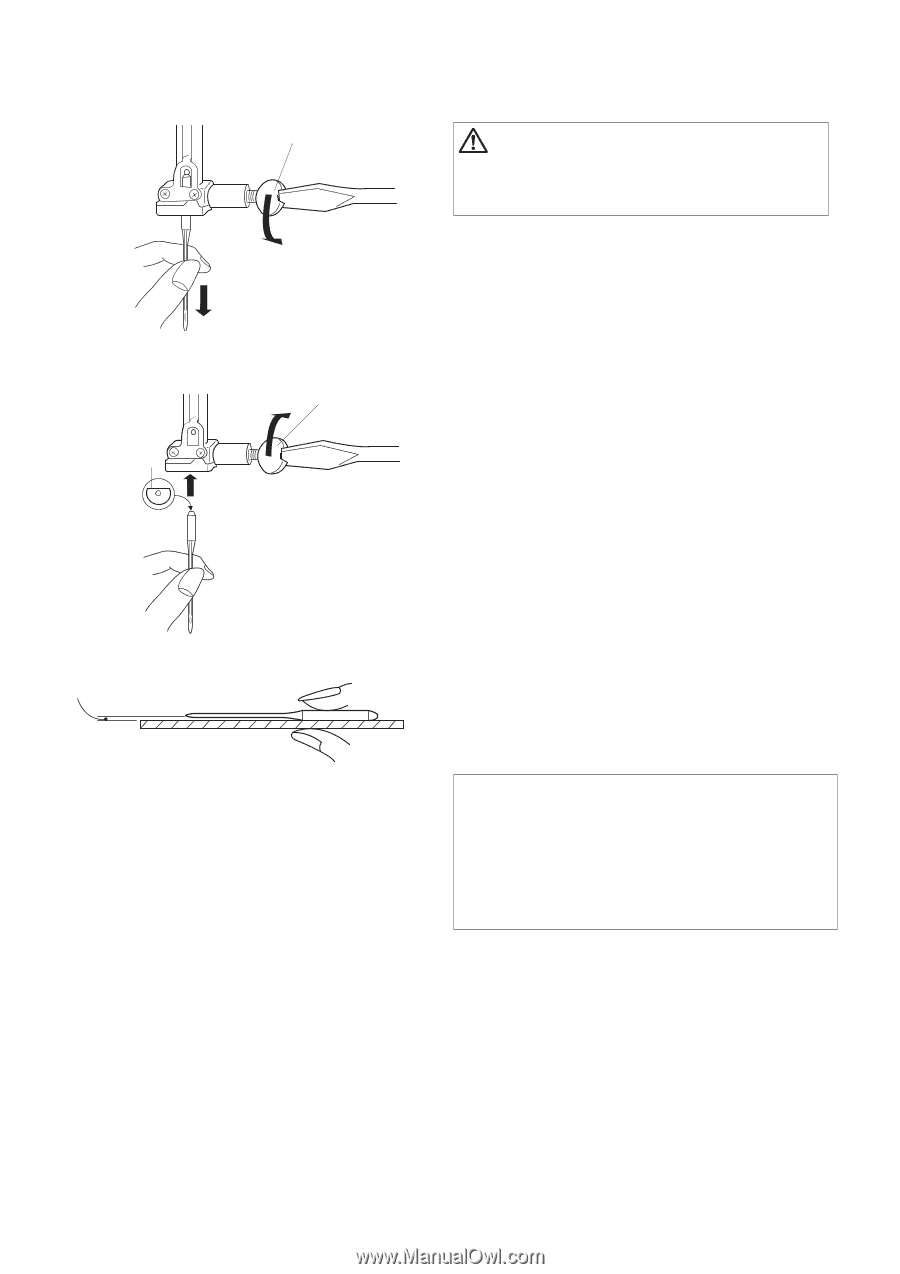
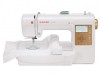
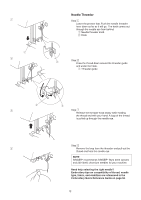
z x w c e q q Changing the Needle CAUTION Always make sure to turn the power switch off and disconnect the machine from the power supply before changing the needle. Step z Turn off the power switch. Raise the needle by turning the handwheel and lowering the presser foot. Loosen the needle clamp screw by turning it counterclockwise. Remove the needle from the clamp. Step x Insert a new needle into the needle clamp with the flat side of the needle to the rear. q Needle clamp screw w Flat side of the needle When inserting the needle into the needle clamp, push it up as far as it will go and tighten the needle clamp screw firmly. Step c To check needle straightness, place the flat side of the needle onto something flat (a needle plate, glass etc.) The gap between the needle and the flat surface should be consistent. e Gap NOTE Remove and discard damaged needles. Blunt, burred or bent needles can harm your machine and fabric. SINGER® recommends SINGER® Style 2000 (woven) and 2001(knit) chromium needles for your machine. The proper needle style and size will help ensure embroidery success. Need help selecting the right needle? Embroidery tips on compatibility of thread, needle type, fabric, and stabilizer are referenced in the Embroidery Quick Reference Guide on page 56. 14
-
 1
1 -
2
-
3
-
4
-
5
-
6
-
7
-
8
-
 9
9 -
 10
10 -
 11
11 -
 12
12 -
 13
13 -
 14
14 -
 15
15 -
 16
16 -
 17
17 -
 18
18 -
 19
19 -
20
-
21
-
22
-
23
-
24
-
25
-
26
-
27
-
28
-
29
-
30
-
31
-
32
-
33
-
34
-
35
-
36
-
37
-
38
-
39
-
40
-
41
-
42
-
43
-
44
-
45
-
46
-
47
-
48
-
49
-
50
-
51
-
52
-
53
-
54
-
55
-
56
 |
 |