Sony BDV-N790W Operating Instructions - Page 22
Step 5: Performing the Easy Setup - pictures
 |
View all Sony BDV-N790W manuals
Add to My Manuals
Save this manual to your list of manuals |
Page 22 highlights
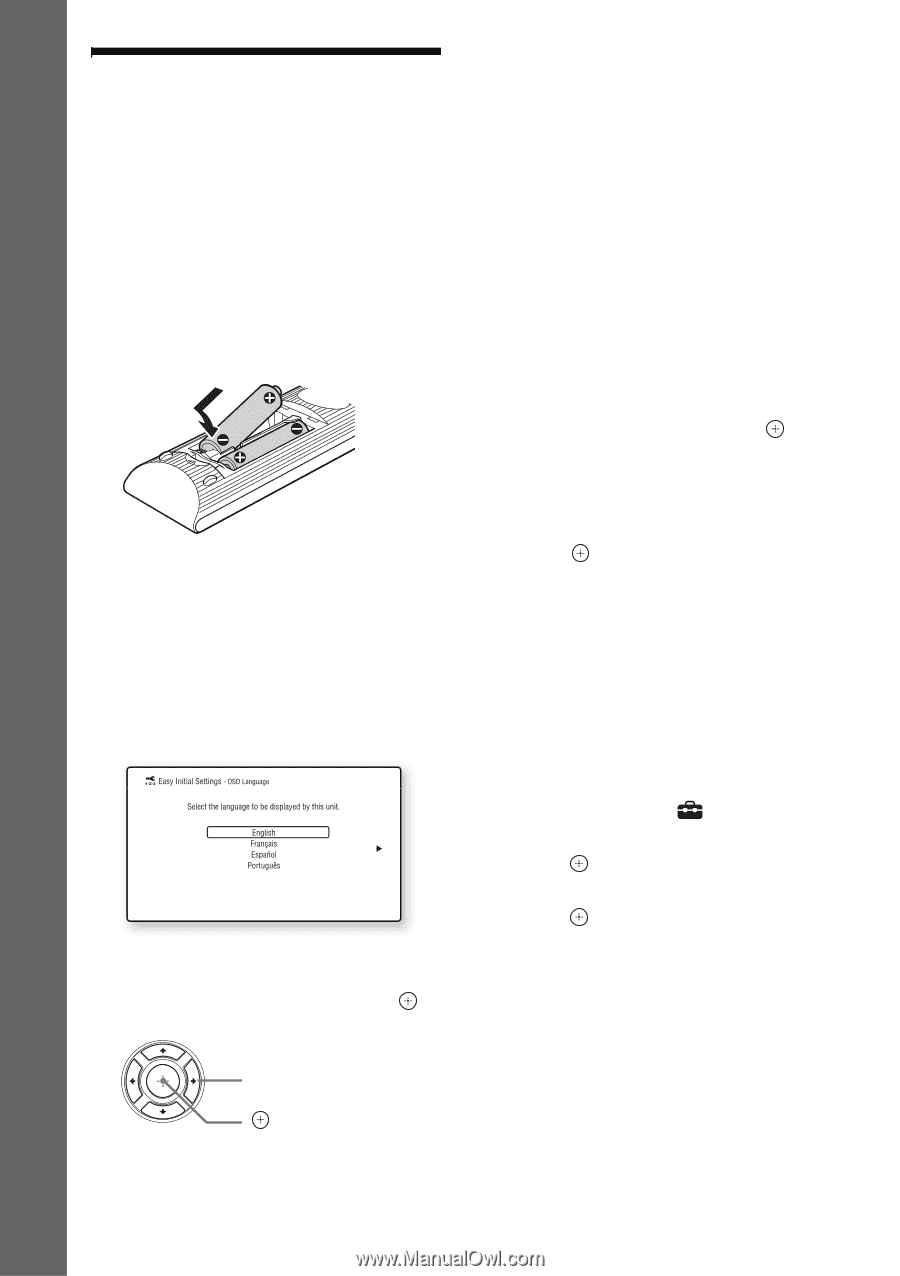
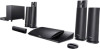
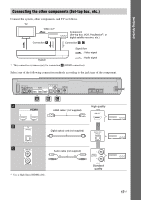
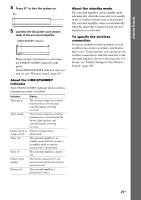
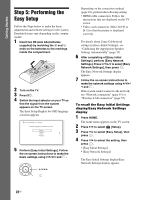
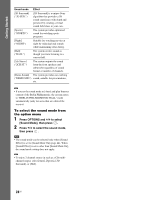
Getting Started Step 5: Performing the Easy Setup Follow the Steps below to make the basic adjustments and network settings for the system. Displayed items vary depending on the country model. 1 Insert two R6 (size AA) batteries (supplied) by matching the 3 and # ends on the batteries to the markings inside the compartment. 2 Turn on the TV. 3 Press [/1. 4 Switch the input selector on your TV so that the signal from the system appears on the TV screen. The Easy Setup Display for OSD language selection appears. 5 Perform [Easy Initial Settings]. Follow the on-screen instructions to make the basic settings using C/X/x/c and . C/X/x/c Depending on the connection method (page 16), perform the following setting. • HDMI cable connection: Follow the instructions that are displayed on the TV screen. • Video cord connection: Select [16:9] or [4:3] so that the picture is displayed correctly. For details about [Auto Calibration] settings in [Easy Initial Settings], see "Calibrating the Appropriate Speaker Settings Automatically" (page 35). 6 After completing of [Easy Initial Settings], perform [Easy Network Settings]. Press C/X/x/c to select [Easy Network Settings], then press . The Easy Network Settings display appears. 7 Follow the on-screen instructions to make the network settings using C/X/x/ c and . If the system cannot connect to the network, see "Network connection" (page 55) or "Wireless LAN connection" (page 55). To recall the Easy Initial Settings display/Easy Network Settings display 1 Press HOME. The home menu appears on the TV screen. 2 Press C/c to select [Setup]. 3 Press X/x to select [Easy Setup], then press . 4 Press X/x to select the setting, then press . • [Easy Initial Settings] • [Easy Network Settings] The Easy Initial Settings display/Easy Network Settings display appears. 22US
-
 1
1 -
2
-
3
-
4
-
5
-
6
-
7
-
8
-
9
-
10
-
11
-
12
-
13
-
14
-
15
-
16
-
 17
17 -
 18
18 -
 19
19 -
 20
20 -
 21
21 -
 22
22 -
 23
23 -
 24
24 -
 25
25 -
 26
26 -
 27
27 -
28
-
29
-
30
-
31
-
32
-
33
-
34
-
35
-
36
-
37
-
38
-
39
-
40
-
41
-
42
-
43
-
44
-
45
-
46
-
47
-
48
-
49
-
50
-
51
-
52
-
53
-
54
-
55
-
56
-
57
-
58
-
59
-
60
-
61
-
62
-
63
-
64
 |
 |