Sony DCR-HC30 Computer Applications Guide - Page 10
Step 2: Connecting your camcorder to a computer - connectors
 |
UPC - 027242644588
View all Sony DCR-HC30 manuals
Add to My Manuals
Save this manual to your list of manuals |
Page 10 highlights
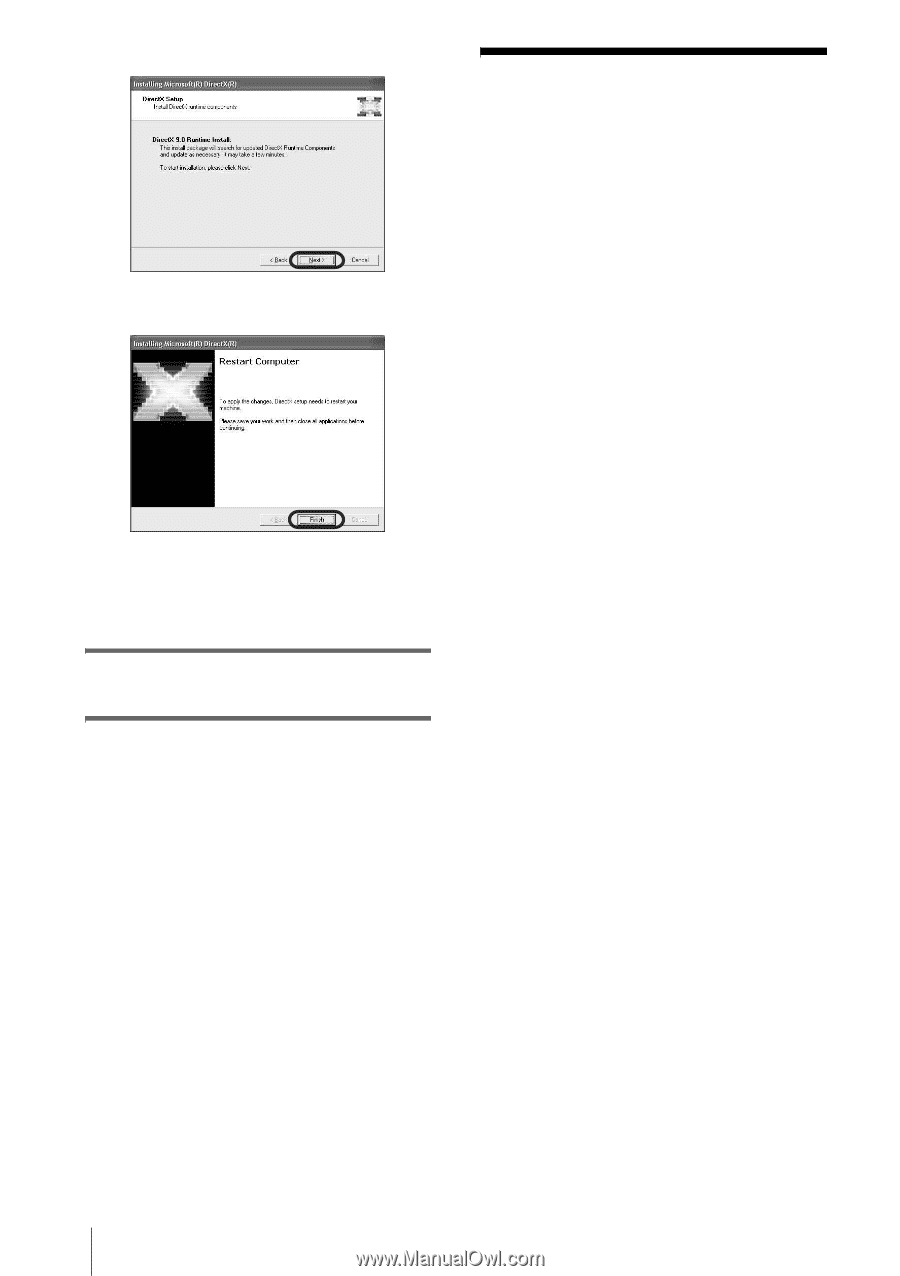
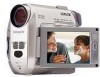
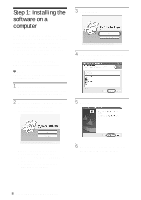
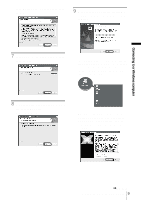
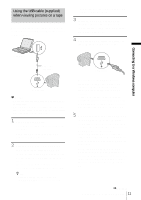
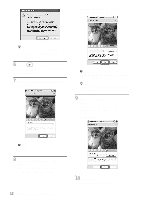
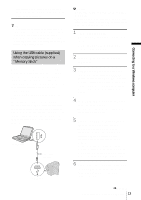
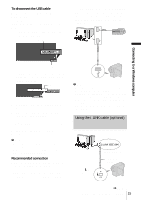
2 Click [Next]. 3 Click [Finish]. The computer restarts automatically, then a short-cut icon for [Picture Package Menu] appears on the desktop. 10Remove the CD-ROM from the disc drive of your computer. If you have any questions about Picture Package For details, refer to the operating instructions supplied on the CD-ROM supplied with your camcorder, or on-line help. Step 2: Connecting your camcorder to a computer About connection There are two ways to connect your camcorder to a computer: - USB cable (supplied) - i.LINK cable (optional) Connecting with the USB cable (supplied) This method is good for copying pictures and sound recorded on a tape to the computer, copying files from a "Memory Stick" to a computer, and copying files to a "Memory Stick." • When connecting the camcorder to a computer with a USB cable (supplied), the computer and camcorder must be recognized beforehand. Follow the steps below. - Using the USB cable (supplied) when viewing pictures on a tape (p. 11) - Using the USB cable (supplied) when copying pictures on a "Memory Stick" (p. 13) Connecting with an i.LINK cable (optional) • This method is good for copying pictures and sound recorded on a tape. Image data is transferred with more precision than with a USB cable. b Notes • When you are using a USB cable or an i.LINK cable to connect your camcorder to a computer, make sure you insert the connector in the correct direction. If you insert the connector forcibly, it may be damaged, and causes a malfunction of your camcorder. • You cannot copy pictures from a "Memory Stick" to a computer with an i.LINK cable. • You cannot connect with an i.LINK cable when you use Windows 98/Windows 98SE. 10 Connecting to a Windows computer
-
 1
1 -
2
-
3
-
4
-
 5
5 -
 6
6 -
 7
7 -
 8
8 -
 9
9 -
 10
10 -
 11
11 -
 12
12 -
 13
13 -
 14
14 -
 15
15 -
16
-
17
-
18
-
19
-
20
-
21
-
22
-
23
-
24
-
25
-
26
-
27
-
28
-
29
-
30
-
31
-
32
-
33
-
34
-
35
-
36
-
37
-
38
-
39
-
40
-
41
-
42
-
43
-
44
 |
 |