Sony DCR-HC30 Computer Applications Guide - Page 18
Creating an original video – Picture Package Auto Video, Folder functions - usb streaming
 |
UPC - 027242644588
View all Sony DCR-HC30 manuals
Add to My Manuals
Save this manual to your list of manuals |
Page 18 highlights
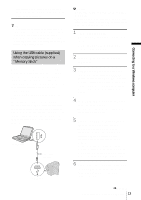
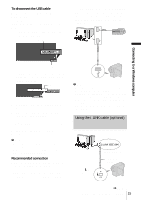
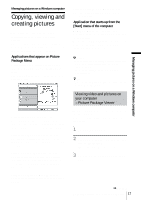
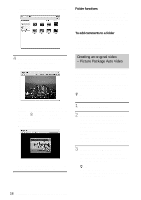
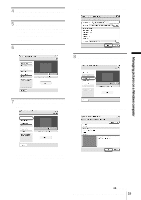
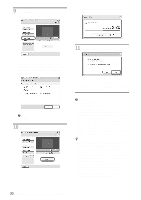
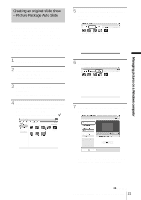
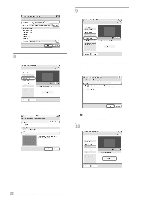
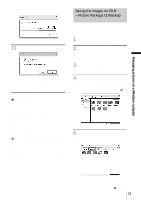
[Picture Package Viewer] starts up, then the pictures in the newest folder appears. 4 Double-click a picture you want to see. The selected picture is displayed. Still image files You can print, expand, and rotate pictures using the buttons at the top of the screen. If you click (Exif), the recording conditions such as shutter speed, exposure, aperture, etc. appear. Movie files You can play, stop, and pause movies using the buttons at the top of the screen. Folder functions With [Picture Package Viewer], pictures copied from your camcorder are saved in folders by date. The folders are grouped by year. You can select and view pictures from any folder or memory device. To add comments to a folder Right-click on the desired folder and insert the comments. You can also change the date of the folder. If you change the date of a folder, the folder sequence changes. Creating an original video - Picture Package Auto Video You can create original video that is edited automatically to match the music and effects you have selected. The maximum length of your original movies you can create on a computer is 10 minutes. z Tip • You can use an i.LINK cable for this function. 1 Turn on the computer. 2 Prepare the power source for your camcorder, then slide the POWER switch repeatedly to select the PLAY/ EDIT mode. Use the supplied AC Adaptor as the power source. The name of the power switch on the camcorder varies depending on the model. 3 Set [USB STREAM] in the menu settings of your camcorder to on. The procedure of the menu settings varies depending on the model. z Tip • This operation is not necessary when connecting the camcorder to the computer via an i.LINK cable (p. 15). 18 Managing pictures on a Windows computer
-
 1
1 -
2
-
3
-
4
-
5
-
6
-
7
-
8
-
9
-
10
-
11
-
12
-
 13
13 -
 14
14 -
 15
15 -
 16
16 -
 17
17 -
 18
18 -
 19
19 -
 20
20 -
 21
21 -
 22
22 -
 23
23 -
24
-
25
-
26
-
27
-
28
-
29
-
30
-
31
-
32
-
33
-
34
-
35
-
36
-
37
-
38
-
39
-
40
-
41
-
42
-
43
-
44
 |
 |
