Sony KDL-52XBR10 Operating Instructions - Page 6
Getting Started, Setting Up Your Monitor - model number
 |
UPC - 027242765832
View all Sony KDL-52XBR10 manuals
Add to My Manuals
Save this manual to your list of manuals |
Page 6 highlights
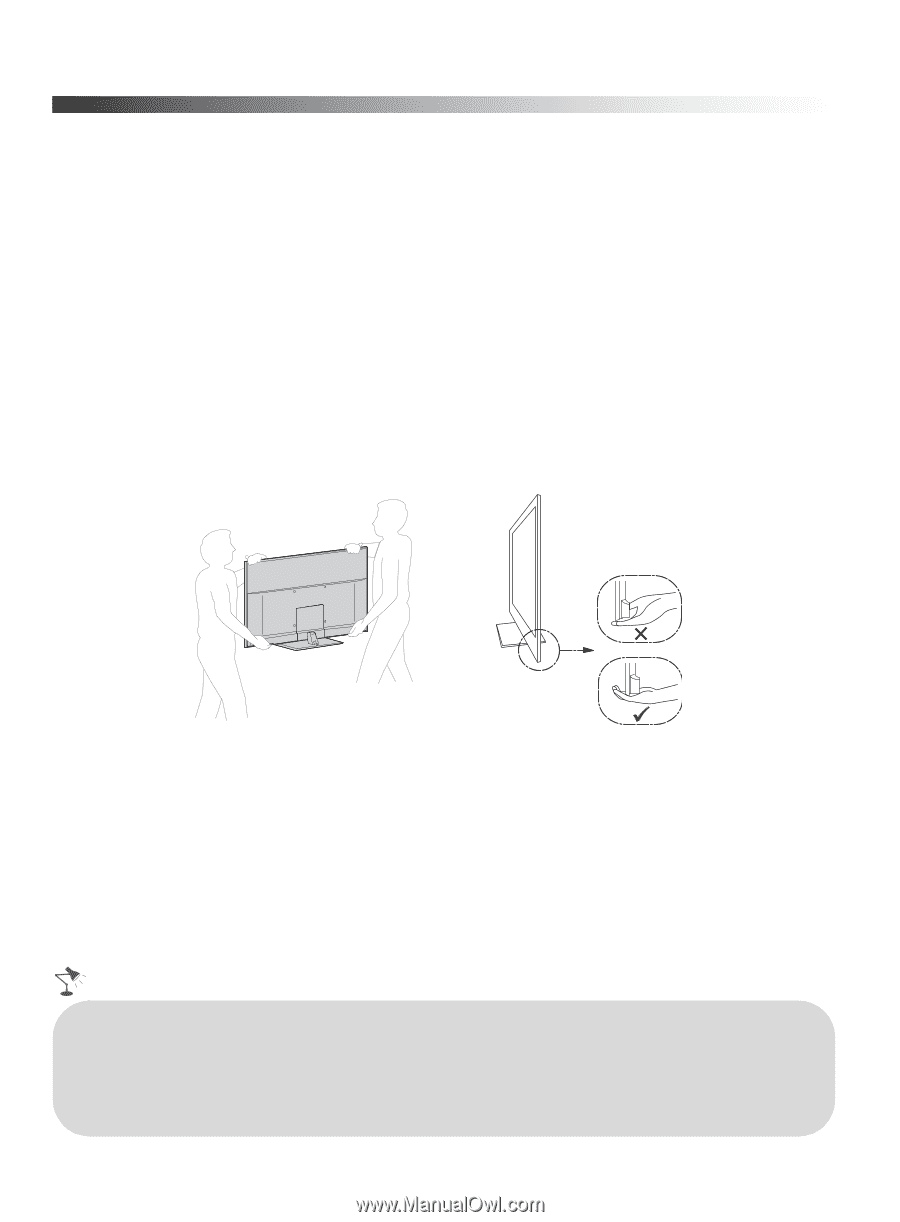
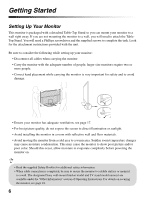
Getting Started Setting Up Your Monitor This monitor is packaged with a detached Table-Top Stand so you can mount your monitor to a wall right away. If you are not mounting the monitor to a wall, you will need to attach the TableTop Stand. You will need a Phillips screwdriver and the supplied screws to complete the task. Look for the attachment instructions provided with the unit. Be sure to consider the following while setting up your monitor: • Disconnect all cables when carrying the monitor. • Carry the monitor with the adequate number of people; larger size monitors require two or more people. • Correct hand placement while carrying the monitor is very important for safety and to avoid damage. • Ensure your monitor has adequate ventilation, see page 17. • For best picture quality, do not expose the screen to direct illumination or sunlight. • Avoid installing the monitor in a room with reflective wall and floor materials. • Avoid moving the monitor from a cold area to a warm area. Sudden room temperature changes may cause moisture condensation. This may cause the monitor to show poor picture and/or poor color. Should this occur, allow moisture to evaporate completely before powering the monitor on. • Read the supplied Safety Booklet for additional safety information. • When cable connection is completed, be sure to secure the monitor to a stable surface or mount it to a wall. The designated Sony wall-mount bracket model and TV stand model name(s) are available under the "Other Information" section of Operating Instructions. For details on securing the monitor, see page 18. 6
-
 1
1 -
 2
2 -
 3
3 -
 4
4 -
 5
5 -
 6
6 -
 7
7 -
 8
8 -
 9
9 -
 10
10 -
 11
11 -
 12
12 -
13
-
14
-
15
-
16
-
17
-
18
-
19
-
20
-
21
-
22
-
23
-
24
-
25
-
26
-
27
-
28
-
29
-
30
-
31
-
32
-
33
-
34
-
35
-
36
-
37
-
38
-
39
-
40
-
41
-
42
-
43
-
44
-
45
-
46
-
47
-
48
-
49
-
50
-
51
-
52
-
53
-
54
-
55
-
56
 |
 |