Sony MVC CD1000 Operating Instructions - Page 24
Recording moving images
 |
UPC - 027242574380
View all Sony MVC CD1000 manuals
Add to My Manuals
Save this manual to your list of manuals |
Page 24 highlights
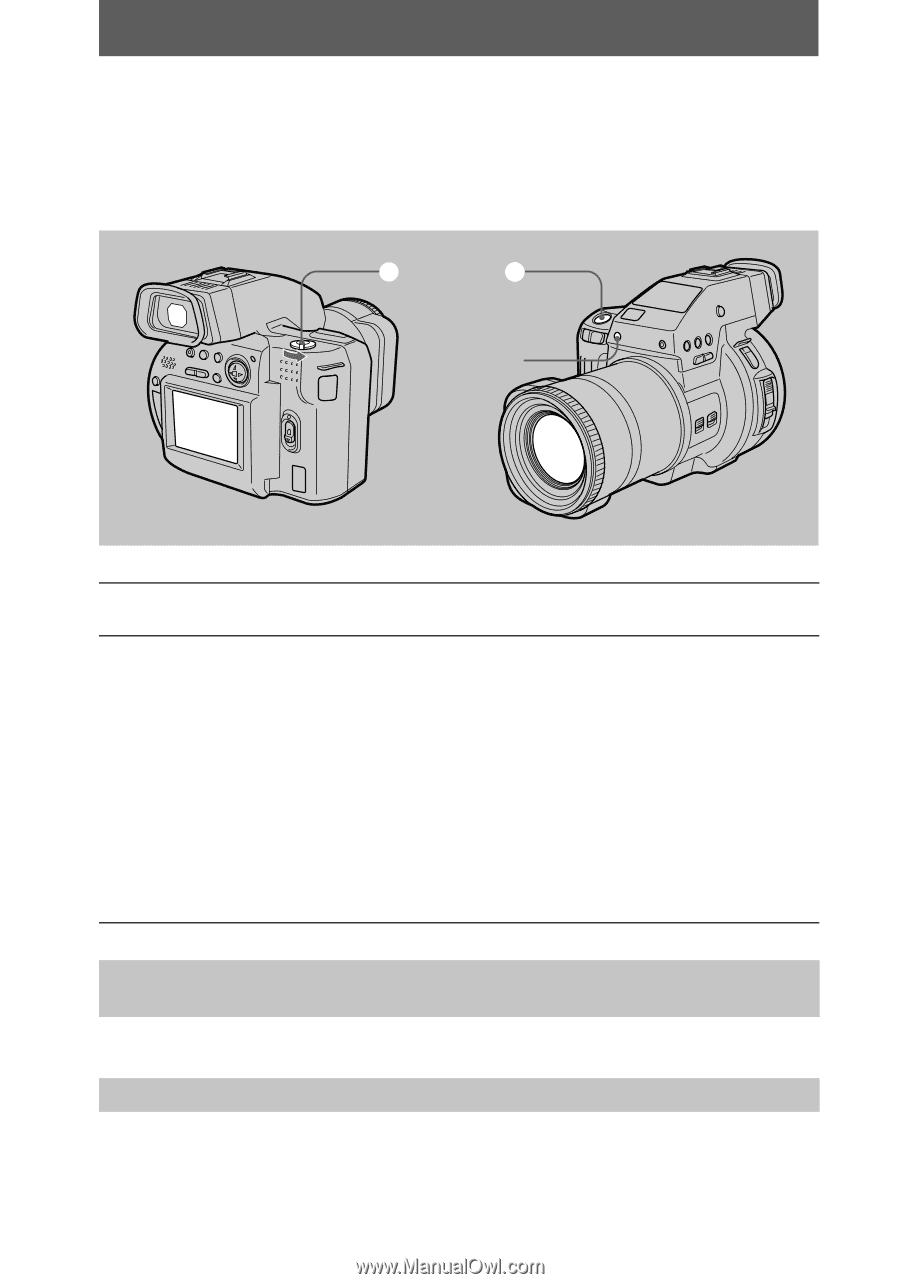
Recording moving images Moving images with audio are recorded in MPEG format. To record moving images, slide the POWER switch downward to turn on the power and insert a disc. 1 2 Recording lamp 1 Set the PLAY/STILL/MOVIE selector to MOVIE. 2 Press the shutter button fully down. "REC" appears on the LCD screen or on the viewfinder, and the image and sound are recorded on the disc. The recording lamp lights up during recording. If you press the shutter button momentarily The image and sound are recorded for 5 seconds. The recording time can be set to 10 or 15 seconds with [REC TIME SET] in the menu settings (page 44). If you hold the shutter button down The image and sound are recorded while the shutter button is held down for up to 60 seconds. However, when [IMAGE SIZE] in the menu settings is set to [320 (HQ)] or [320×240], the maximum recording time is 15 seconds (page 47). Adjusting the brightness of the LCD screen, zooming or using the selftimer See page 20 to 22. LCD screen or viewfinder indicators during recording Press DISPLAY to turn on/off the indicators on the LCD screen or on the viewfinder. These indicators are not recorded. See page 75 for a detailed description of the indicators. 24
-
 1
1 -
2
-
3
-
4
-
5
-
6
-
7
-
8
-
9
-
10
-
11
-
12
-
13
-
14
-
15
-
16
-
17
-
18
-
 19
19 -
 20
20 -
 21
21 -
 22
22 -
 23
23 -
 24
24 -
 25
25 -
 26
26 -
 27
27 -
 28
28 -
 29
29 -
30
-
31
-
32
-
33
-
34
-
35
-
36
-
37
-
38
-
39
-
40
-
41
-
42
-
43
-
44
-
45
-
46
-
47
-
48
-
49
-
50
-
51
-
52
-
53
-
54
-
55
-
56
-
57
-
58
-
59
-
60
-
61
-
62
-
63
-
64
-
65
-
66
-
67
-
68
-
69
-
70
-
71
-
72
-
73
-
74
-
75
-
76
-
77
-
78
-
79
-
80
 |
 |