Stihl MS 311 Product Instruction Manual - Page 44
Storing the Machine - cylinder
 |
View all Stihl MS 311 manuals
Add to My Manuals
Save this manual to your list of manuals |
Page 44 highlights
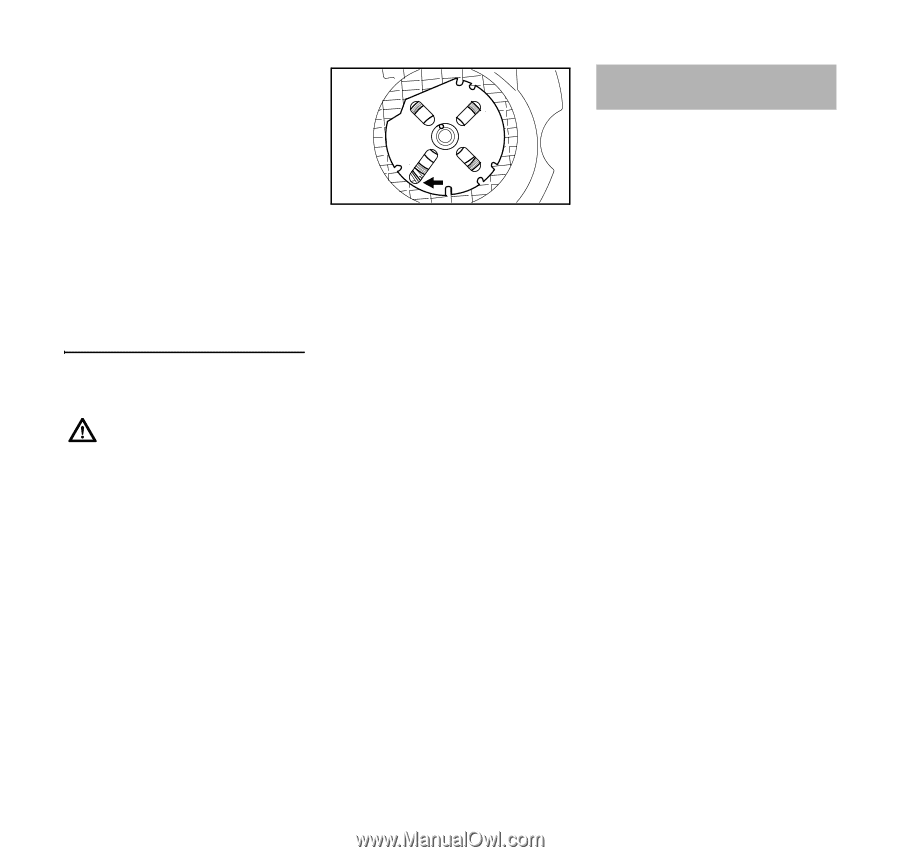
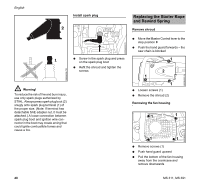
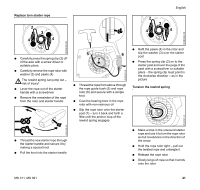
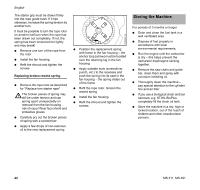
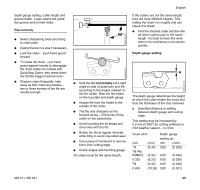
English The starter grip must be drawn firmly into the rope guide bush. If it tips sideways: increase the spring tension by another turn. It must be possible to turn the rope rotor on another half-turn when the rope has been drawn out completely. If not, the spring has been tensioned too tightly and may break! N Remove one turn of the rope from the rotor N Install the fan housing N Refit the shroud and tighten the screws Replacing broken rewind spring N Remove the rope rotor as described for "Replace torn starter rope" The broken pieces of spring may still be under tension and can spring apart unexpectedly on removal from the fan housing - risk of injury! Wear face shield and protective gloves N Carefully pry out the broken pieces of spring with a screwdriver N Apply a few drops of non-resinous oil to the new replacement spring N Position the replacement spring with frame in the fan housing - the anchor loop (arrow) must be located over the retaining lug in the fan housing N Apply suitable tools (screwdriver, punch, etc.) to the recesses and push the spring into its seat in the fan housing - the spring slides out of the frame N Refit the rope rotor, tension the rewind spring N Install the fan housing N Refit the shroud and tighten the screws 213BA022 KN Storing the Machine For periods of 3 months or longer N Drain and clean the fuel tank in a well ventilated area. N Dispose of fuel properly in accordance with local environmental requirements. N Run the engine until the carburetor is dry - this helps prevent the carburetor diaphragms sticking together. N Remove the saw chain and guide bar, clean them and spray with corrosion inhibiting oil. N Thoroughly clean the machine - pay special attention to the cylinder fins and air filter. N If you use a biological chain and bar lubricant, e.g. STIHL BioPlus, completely fill the chain oil tank. N Store the machine in a dry, high or locked location, out of the reach of children and other unauthorized persons. 42 MS 311, MS 391
-
 1
1 -
2
-
3
-
4
-
5
-
6
-
7
-
8
-
9
-
10
-
11
-
12
-
13
-
14
-
15
-
16
-
17
-
18
-
19
-
20
-
21
-
22
-
23
-
24
-
25
-
26
-
27
-
28
-
29
-
30
-
31
-
32
-
33
-
34
-
35
-
36
-
37
-
38
-
 39
39 -
 40
40 -
 41
41 -
 42
42 -
 43
43 -
 44
44 -
 45
45 -
 46
46 -
 47
47 -
 48
48 -
 49
49 -
50
-
51
-
52
-
53
-
54
-
55
-
56
-
57
-
58
-
59
-
60
-
61
-
62
-
63
-
64
-
65
-
66
-
67
-
68
-
69
-
70
-
71
-
72
-
73
-
74
-
75
-
76
-
77
-
78
-
79
-
80
-
81
-
82
-
83
-
84
-
85
-
86
-
87
-
88
-
89
-
90
-
91
-
92
-
93
-
94
-
95
-
96
-
97
-
98
-
99
-
100
-
101
-
102
-
103
-
104
-
105
-
106
-
107
-
108
-
109
-
110
-
111
-
112
-
113
-
114
-
115
-
116
-
117
-
118
-
119
-
120
 |
 |