Toshiba A8-EZ8512 User Manual - Page 68
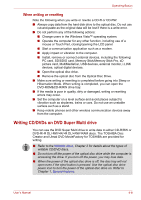
Removing discs, The CD/DVD extends slightly over the sides of the disc tray so you can
 |
UPC - 032017815988
View all Toshiba A8-EZ8512 manuals
Add to My Manuals
Save this manual to your list of manuals |
Page 68 highlights
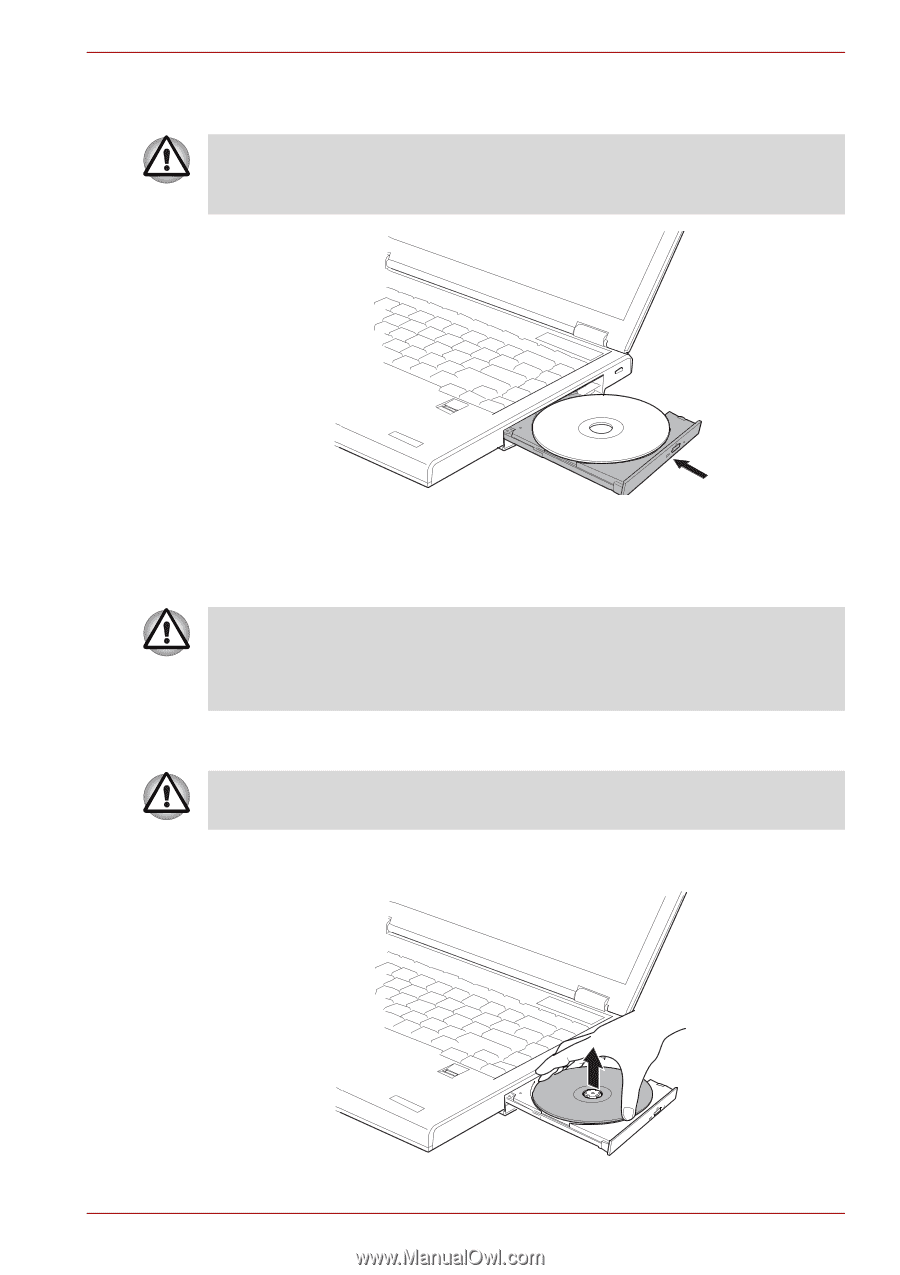
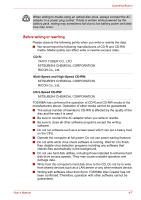
Operating Basics 5. Push the center of the disc tray to close it. Press gently until it locks into place. If the CD/DVD is not seated properly when the disc tray is closed, the CD/ DVD might be damaged. Also, the disc tray might not open fully when you press the eject button. Closing the CD/DVD disc tray Removing discs To remove the CD/DVD, follow the steps below and refer to figure below. Do not press the eject button while the computer is accessing the media drive. Wait for the optical disk indicator to go out before you open the disc tray. Also, if the CD/DVD is spinning when you open the disc tray, wait for it to stop before you remove it. 1. To pop the disc tray partially open, press the eject button. Gently pull the disc tray out until it is fully opened. When the disc tray pops open slightly, wait a moment to make sure the CD/ DVD has stopped spinning before pulling the disc tray fully open. 2. The CD/DVD extends slightly over the sides of the disc tray so you can hold it. Hold the CD/DVD gently and lift it out. User's Manual Removing a CD/DVD 4-5
-
 1
1 -
2
-
3
-
4
-
5
-
6
-
7
-
8
-
9
-
10
-
11
-
12
-
13
-
14
-
15
-
16
-
17
-
18
-
19
-
20
-
21
-
22
-
23
-
24
-
25
-
26
-
27
-
28
-
29
-
30
-
31
-
32
-
33
-
34
-
35
-
36
-
37
-
38
-
39
-
40
-
41
-
42
-
43
-
44
-
45
-
46
-
47
-
48
-
49
-
50
-
51
-
52
-
53
-
54
-
55
-
56
-
57
-
58
-
59
-
60
-
61
-
62
-
 63
63 -
 64
64 -
 65
65 -
 66
66 -
 67
67 -
 68
68 -
 69
69 -
 70
70 -
 71
71 -
 72
72 -
 73
73 -
74
-
75
-
76
-
77
-
78
-
79
-
80
-
81
-
82
-
83
-
84
-
85
-
86
-
87
-
88
-
89
-
90
-
91
-
92
-
93
-
94
-
95
-
96
-
97
-
98
-
99
-
100
-
101
-
102
-
103
-
104
-
105
-
106
-
107
-
108
-
109
-
110
-
111
-
112
-
113
-
114
-
115
-
116
-
117
-
118
-
119
-
120
-
121
-
122
-
123
-
124
-
125
-
126
-
127
-
128
-
129
-
130
-
131
-
132
-
133
-
134
-
135
-
136
-
137
-
138
-
139
-
140
-
141
-
142
-
143
-
144
-
145
-
146
-
147
-
148
-
149
-
150
-
151
-
152
-
153
-
154
-
155
-
156
-
157
-
158
-
159
-
160
-
161
-
162
-
163
-
164
-
165
-
166
-
167
-
168
-
169
-
170
-
171
-
172
-
173
-
174
-
175
-
176
-
177
-
178
-
179
-
180
-
181
-
182
-
183
-
184
-
185
-
186
-
187
-
188
-
189
-
190
-
191
-
192
-
193
-
194
-
195
-
196
-
197
-
198
-
199
-
200
-
201
-
202
-
203
-
204
-
205
 |
 |