Toshiba D-R4 Installation Guide - English
Toshiba D-R4 Manual
 |
UPC - 022265411674
View all Toshiba D-R4 manuals
Add to My Manuals
Save this manual to your list of manuals |
Toshiba D-R4 manual content summary:
- Toshiba D-R4 | Installation Guide - English - Page 1
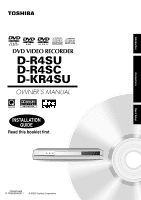
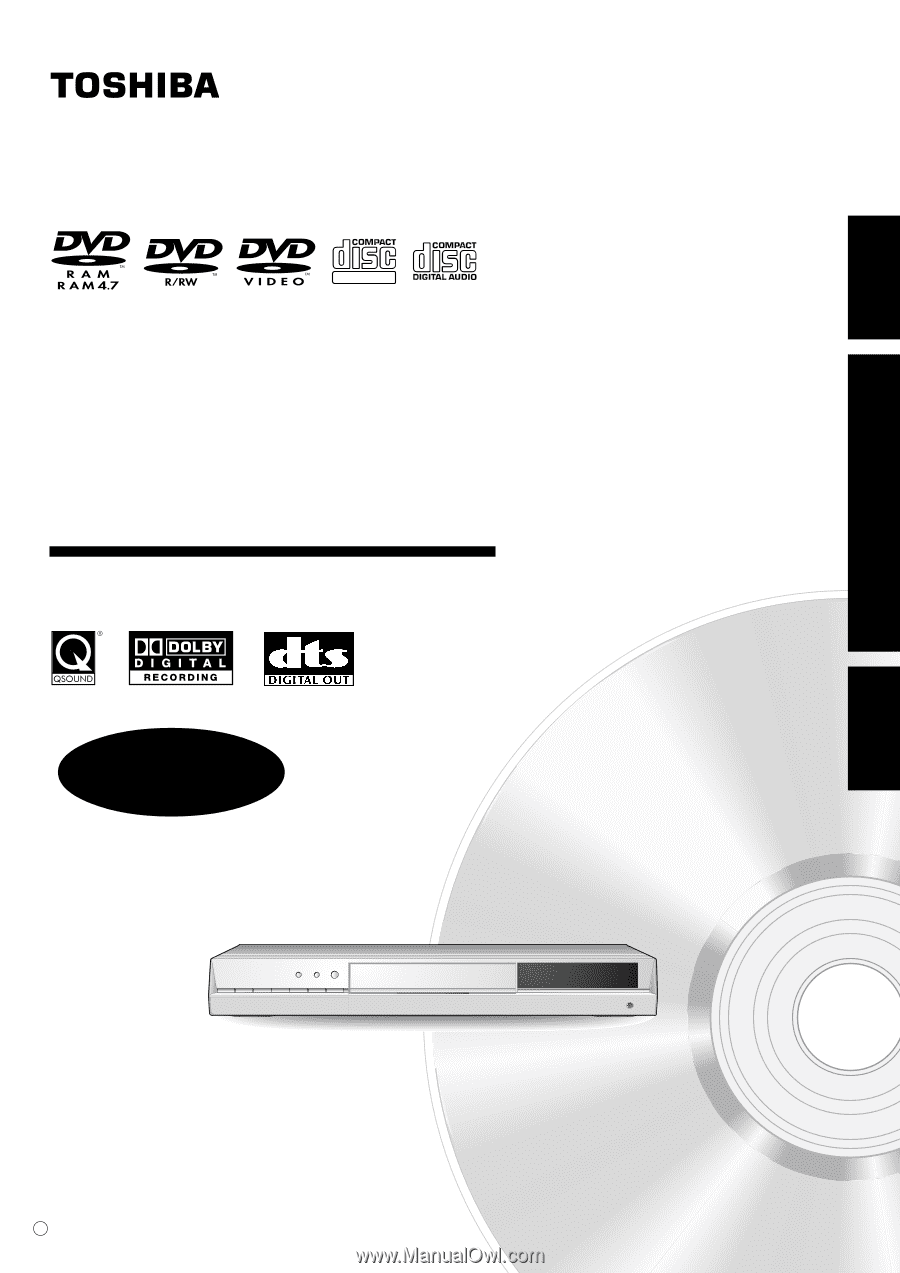
Introduction Connections DIGITAL VIDEO DVD VIDEO RECORDER D-R4SU D-R4SC D-KR4SU OWNER'S MANUAL INSTALLATION GUIDE Read this booklet first. Basic Setup P000416400 H PM0020460011 © 2005 Toshiba Corporation - Toshiba D-R4 | Installation Guide - English - Page 2
CAUTION: This DVD video recorder employs a Laser System. To ensure proper use of this product, please read this owner's manual carefully and retain for future reference. Should the unit require maintenance, contact an authorized service location see service procedure. Use of controls or adjustments - Toshiba D-R4 | Installation Guide - English - Page 3
that an ALL-POLE MAINS SWITCH with a contact separation of at least 3 mm in each pole shall be incorporated in the electrical installation of the building. CAUTION: These servicing instructions are for use by qualified service personnel only. To reduce the risk of electric shock do not perform any - Toshiba D-R4 | Installation Guide - English - Page 4
's instructions. S3125A 13. Unplug this apparatus during lightning storms or when unused for long periods of time. 8. Do not install near any heat sources such as radiators, heat registers, stoves, or other apparatus (including amplifiers) that produce heat. 4 14. Refer all servicing to - Toshiba D-R4 | Installation Guide - English - Page 5
Introduction Connections Introduction ADDITIONAL SAFETY INSTRUCTIONS 15. Do not overload wall outlets; extension cords, or integral convenience receptacles as this can result in a risk of fire or electric shock. 21. Do - Toshiba D-R4 | Installation Guide - English - Page 6
signal areas. In this event, consult your dealer, or purchase a commercially available antenna booster. Refer to the booster's instruction manual for installation details. Notes on locating Place the recorder on a level surface. Do not use it on a shaky or unstable surface such as a wobbly table or - Toshiba D-R4 | Installation Guide - English - Page 7
of this product, all contents recorded on a disc may be erased. A DVD-R disc may become unavailable. Depending recorded data, etc.) caused by use or inability to use of this product. Toshiba is not liable for any damage caused by neglect of the instructions described in the owner's manual. Toshiba - Toshiba D-R4 | Installation Guide - English - Page 8
Introduction Precautions (Continued) Notes on moisture condensation Moisture condensation damages the unit. Please read the following carefully. Moisture condensation occurs, for example, when you pour a cold drink into a glass on a warm day. Drops of water form on the outside of the glass. In the - Toshiba D-R4 | Installation Guide - English - Page 9
Copy free Can be recorded DVD-RAM DVD-RW Can be copied DVD-R DVD-RAM Can be recorded Recording once permitted DVD-RAM Cannot be copied DVD-RAM Cannot be recorded Recording once permitted DVD-RW DVD-R Recording prohibited Cannot be recorded DVD-RAM DVD-RW DVD-R • Regardless of program - Toshiba D-R4 | Installation Guide - English - Page 10
to the recorder. ( page 26) Make the initial settings. ( page 30) Your recorder is ready. Read the separate volume "OPERATIONS GUIDE". 10 Accessories Remote control Batteries (AAA) x 2 Coaxial cable Video/audio cable • Owner's manual (INSTALLATION GUIDE) • Owner's manual (OPERATIONS GUIDE) - Toshiba D-R4 | Installation Guide - English - Page 11
computer drives. If you happen to encounter difficulties playing or recording a DVD disc or playing a CD disc, please feel free to call our Customer Service Hotline at 1-800-319-6684. Playback Restrictions This owner's manual explains the basic instructions for this recorder. Some DVD video - Toshiba D-R4 | Installation Guide - English - Page 12
disc instruction manual. • Toshiba cannot guarantee that all discs bearing the DVD or CD logos will operate as expected. Additionally, Toshiba cannot guarantee that discs recorded in this device will operate properly in other DVD players. For recording / playback Disc Mark DVD-RAM DVD-R DVD-RW - Toshiba D-R4 | Installation Guide - English - Page 13
(such as SACD discs) or the DVD audio portions of DVD Audio discs. • This recorder uses the NTSC color system, and cannot play DVD video discs recorded in any other color system (PAL, SECAM, etc.), even if they have region marks 1 or ALL . • Toshiba cannot guarantee that all discs bearing the - Toshiba D-R4 | Installation Guide - English - Page 14
may not play, or may not be recorded or edited once it becomes dirty. There are two types of DVD-RAM cartridges; removable (TYPE 2/4) and not removable (TYPE 1). It is recommended you do not remove the disc even when you can. Refer to the instruction manual that comes with the disc if it is - Toshiba D-R4 | Installation Guide - English - Page 15
copying is prohibited or restricted (copy once or copy prohibited) cannot be recorded. Even if the disc is labeled as CPRM compatible, this recorder can only be used to record copy-free material. DVD-VR mode recording is not possible. Recommended discs* JVC 2X * Operation has been confirmed with - Toshiba D-R4 | Installation Guide - English - Page 16
is called "title number", "chapter number", or "track number" respectively. Some discs may not have these numbers. When you record on a DVD-RAM/R/RW disc, one recording will always equal one title. On cleaning discs Fingerprints and dust on the disc cause picture and sound deterioration. Wipe the - Toshiba D-R4 | Installation Guide - English - Page 17
Output sound setting ...38 C: TV shape setting ...40 D: Remote control settings 42 Operating a TV with the remote control of this recorder 42 Operating the second and third TOSHIBA DVD video recorders with the remote control of this recorder 44 Limited United States Warranty 46 CANADIAN WARRANTY - Toshiba D-R4 | Installation Guide - English - Page 18
as direct sunlight or other illumination. If you do so, you may not be able to operate the recorder via the remote control. Notes • Do not drop or give the remote control a shock. • Do not leave the remote control near an extremely hot or humid place. • Do not spill water or put anything wet on the - Toshiba D-R4 | Installation Guide - English - Page 19
TV" ( page 20) 2 "Connecting an antenna and TV" ( page 20) 3 "Connecting to a TV equipped with audio/video inputs" ( page 21) Connections Connect your recorder to your TV or stereo system. Connecting an antenna and TV Connecting to cable TV signal Connecting to a satellite system Connecting to a TV - Toshiba D-R4 | Installation Guide - English - Page 20
on the TV. 1 Disconnect the antenna cable from your TV, and connect it to the RF IN (FROM ANT.) terminal on the recorder. 2 Using the supplied coaxial cable of this recorder, connect the RF OUT (TO TV) terminal to the TV. VHF/UHF antenna Antenna cable (not supplied) 1To RF IN (FROM - Toshiba D-R4 | Installation Guide - English - Page 21
audio/video inputs 4 Connect the power cord of the recorder to a wall outlet. Make sure that the powered recorder lights the LED on the front panel. To wall outlet Notes • Refer to the owner's manual of the connected TV as well. • When you connect the recorder to your TV, be sure to turn off the - Toshiba D-R4 | Installation Guide - English - Page 22
Incoming cable Cable box 3CH 4CH IN OUT Cable box 3CH 4CH IN OUT Incoming cable This set-up will allow you to: - record an unscrambled channel. - record an unscrambled channel while watching another (scrambled or unscrambled). You will need to: • set TV channel to the output channel of the - Toshiba D-R4 | Installation Guide - English - Page 23
watching another unscrambled channel (only when you connect a cable-compatible TV). You will need to: • A/B switch "A": record an unscrambled channel which bypasses the cable box. • A/B switch "B": record a scrambled or unscrambled channel coming through the cable box. This set-up will allow you to - Toshiba D-R4 | Installation Guide - English - Page 24
and the RF OUT terminal of the satellite receiver. 3 Connect the RF OUT (TO TV) terminal on the recorder and the antenna input connector of the TV. Satellite antenna IN Satellite receiver Audio outputs Video output When the satellite system has audio/video outputs 1 - Toshiba D-R4 | Installation Guide - English - Page 25
on the remote control. The output signal alternates between component progressive and component interlaced. • Make the following setting. On-screen display Select "Audio out select" "Analog 2ch" Page page 38 Notes • Refer to the owner's manual for the TV to be connected to this recorder for - Toshiba D-R4 | Installation Guide - English - Page 26
sound, see page 67 in "OPERATIONS GUIDE". CAUTION • When you are connecting When playing DTS-encoded discs (DVD video discs and audio CDs), owner's manual for the TV to be connected to this recorder for more information concerning connecting an audio system. • The output sound of the recorder - Toshiba D-R4 | Installation Guide - English - Page 27
the recorder A: Initial settings Language setting Time and date setting Channel setting B: Output sound setting C: TV shape setting D: Remote control settings Operating a TV with the remote control of this recorder Operating the second and third TOSHIBA DVD video recorders with the remote control of - Toshiba D-R4 | Installation Guide - English - Page 28
the ON/STANDBY button from the remote control or on the front panel of the recorder. ON/STANDBY button While the icon is flashing, the recorder is checking the status and reading data of the DVD drive for startup. If the DVD drive does not contain a disc, the recorder consumes less time to startup - Toshiba D-R4 | Installation Guide - English - Page 29
the right corner on the top of the screen. While they are flashing, the recorder is operating as follows: Startup, reading a disc, finishing recording Loading Unloading a disc, finishing the recorder's Un operation loading Opening a disc tray Open Closing a disc tray Close Connections Basic - Toshiba D-R4 | Installation Guide - English - Page 30
TV DVD INSTANT SKIP SKIP REV STOP SKIP FWD REV PLAY FWD REC SEARCH T ADJUST CHP DIVIDE 1 2 3 +10 4560 CLEAR 789 When the recorder is operated Language Time & Date setting English Manual TV/Cable TV Channel setting Auto Manual SETUP When the recorder is operated for the first time - Toshiba D-R4 | Installation Guide - English - Page 31
of GUI (Graphical User Interface) displays to perform key operations including customizing of setting, playback or recording. Refer to the guide on the bottom on each GUI for further programming related information. e.g. Initial settings Language English Time & Date setting Manual TV/Cable TV - Toshiba D-R4 | Installation Guide - English - Page 32
SELECT TOP MENU EASY NAVI MENU INSTANT REPLAY QUICK MENU SELECT/ ENTER TV DVD INSTANT SKIP SKIP REV STOP SKIP FWD REV PLAY FWD REC SEARCH T ADJUST CHP DIVIDE 1 2 3 +10 4560 CLEAR 789 When the recorder is operated for the first time, begin from step 3. 1 Press SETUP. 2 Press / to - Toshiba D-R4 | Installation Guide - English - Page 33
" or "ManSEuTUP al", then press SELECT/ENTER. Auto : The recorder will set the time and date. Proceed to step 5. SELECT/ ENTER (This clock sets one time only.) Manual : You can set the clock manually. See "Manual clock setting". page 35 Select "Manual" to set the clock if not set correctly by - Toshiba D-R4 | Installation Guide - English - Page 34
EASY NAVI MENU SELECT/ ENTER INSTANT REPLAY QUICK MENU TV DVD INSTANT SKIP SKIP REV STOP SKIP FWD 1) Set "Summer Manual" screen in "Time & Date setting". (The "Time zone" display of the "Manual" screen in "Time & Date setting" will remain in "Auto".) • In the case of a programmed recording - Toshiba D-R4 | Installation Guide - English - Page 35
", then press SELECT/ENTER. The "Initial settings" menu returns. SELECT/ ENTER Basic Setup Notes • This recorder is provided with a calendar extending to 2069. (However, this does not mean that the recorder is supported to 2069.) • To go back to the previous menu, press the button. • To exit the - Toshiba D-R4 | Installation Guide - English - Page 36
ENTER INSTANT REPLAY QUICK MENU TV DVD INSTANT SKIP SKIP REV STOP SKIP FWD REV PLAY FWD REC SEARCH T ADJUST CHP DIVIDE 1 2 3 +10 4560 CLEAR 789 When the recorder is operated for the first time, English Time & Date setting Auto TV/Cable TV Channel setting Auto Manual SETUP 36 - Toshiba D-R4 | Installation Guide - English - Page 37
Erasing channels You can erase a stored channel from the memory. 1) Select "Manual" at step 6. 2) Press / to select a channel you want to add the recorder CH NUMBER 12 3456 78 9 Corresponding channel number TV -2 3456 78 9 Ccable STD (HRC/IRC) 1(A-8) 2 3 4 5(A-7) 6(A-6) 7 8 9 10 11 12 13 14 15 - Toshiba D-R4 | Installation Guide - English - Page 38
Start REMAIN REC MODE EXTEND ZOOM SETUP VOL TIMESLIP CH MUTE INPUT SELECT TOP MENU EASY NAVI MENU INSTANT REPLAY QUICK MENU SELECT/ ENTER TV DVD INSTANT SKIP SKIP REV STOP SKIP FWD REV PLAY FWD REC SEARCH T ADJUST CHP DIVIDE 1 2 3 +10 4560 CLEAR 789 1 Press SETUP to display the - Toshiba D-R4 | Installation Guide - English - Page 39
when connected to a 2 channel digital stereo system. ( page 26) OPTICAL Amplifier The recorder outputs sounds in the PCM 2ch format when you play a DVD video disc recorded on the Dolby Digital, MPEG1 and MPEG2 recording system. 5 Once the proper setting is selected, press SELECT/ENTER. The submenu - Toshiba D-R4 | Installation Guide - English - Page 40
Start REMAIN REC MODE EXTEND ZOOM SETUP VOL TIMESLIP CH MUTE INPUT SELECT TOP MENU EASY NAVI MENU SELECT/ ENTER INSTANT REPLAY QUICK MENU TV DVD INSTANT SKIP SKIP REV STOP SKIP FWD REV PLAY FWD REC SEARCH T ADJUST CHP DIVIDE 1 2 3 +10 4560 CLEAR 789 1 Press SETUP to display the - Toshiba D-R4 | Installation Guide - English - Page 41
Actual picture shape may depend on signal type of broadcast or input source, or settings on the connected TV. Refer to the owner's manual of the TV. • When a DVD video disc has a particular available picture shape, the contents may not be compatible with other picture shape. "C: TV shape setting" is - Toshiba D-R4 | Installation Guide - English - Page 42
of this recorder The remote control of this recorder has a function to operate a TV. Preparation: Entering a brand code into the remote control MUTE INPUT SELECT TOP MENU EASY NAVI MENU Start SELECT/ ENTER INSTANT REPLAY QUICK MENU TV DVD INSTANT SKIP SKIP REV STOP SKIP FWD REV PLAY - Toshiba D-R4 | Installation Guide - English - Page 43
2091 2211 2251 2391 Notes 2361 2441 • TOSHIBA code is already set when you operate this recorder for the first time. • Some brands have several codes. Try one by one until the remote control can operate your TV. • Even after the recorder's remote control is programmed, it may not operate some - Toshiba D-R4 | Installation Guide - English - Page 44
Continued) Operating the second and third TOSHIBA DVD video recorders with the remote control of this recorder Switches the codes to operate the recorder. If you use the second and third TOSHIBA DVD video recorders, set the different remote codes for each recorder to avoid confusion in the response - Toshiba D-R4 | Installation Guide - English - Page 45
sufficient while you are using several Toshiba DVD video recorders. Press the CH buttons on the recorder at the same time for three seconds or more. The recorder display shows "DR - OFF", indicating that the remote control is disabled. To enable the remote control, perform the same step again. (The - Toshiba D-R4 | Installation Guide - English - Page 46
operated in the Continental U.S.A. or Puerto Rico. (4) Labor service charges for set installation, setup, adjustment of customer controls and installation or repair of antenna systems are not covered by this warranty. Reception problems caused by inadequate antenna systems are your responsibility - Toshiba D-R4 | Installation Guide - English - Page 47
instructions in this manual and checking the section "Before calling service personnel", you find that service is needed: (1) For instructions on how to obtain warranty service web site: www.tacp.toshiba.com. ALL WARRANTIES IMPLIED , OR MODIFICATION OR ERASURE OF RECORDED DATA CAUSED BY USE, MISUSE - Toshiba D-R4 | Installation Guide - English - Page 48
DVD Player DVD/VCR Combination Home Theatre in a Box DVD Recorder Portable DVD 12 MONTHS CANADIAN WARRANTY Toshiba of of warranty units should be repaired by a TCL authorized service centre. Note: It is the responsibility of the owner to ensure proper packaging. Should damage in shipping occur - Toshiba D-R4 | Installation Guide - English - Page 49
Memo 49 Introduction Connections Basic Setup - Toshiba D-R4 | Installation Guide - English - Page 50
Memo 50 - Toshiba D-R4 | Installation Guide - English - Page 51
Memo 51 Introduction Connections Basic Setup - Toshiba D-R4 | Installation Guide - English - Page 52
Printed on 70% Recycled Paper Printed in China
-
 1
1 -
 2
2 -
 3
3 -
 4
4 -
 5
5 -
 6
6 -
 7
7 -
8
-
9
-
10
-
11
-
12
-
13
-
14
-
15
-
16
-
17
-
18
-
19
-
20
-
21
-
22
-
23
-
24
-
25
-
26
-
27
-
28
-
29
-
30
-
31
-
32
-
33
-
34
-
35
-
36
-
37
-
38
-
39
-
40
-
41
-
42
-
43
-
44
-
45
-
46
-
47
-
48
-
49
-
50
-
51
-
52
 |
 |
OWNER’S MANUAL
INSTALLATION
GUIDE
Read this booklet first.
Introduction
Connections
Basic Setup
P000416400
PM0020460011
H
DVD VIDEO RECORDER
D-R4SU
D-R4SC
D-KR4SU
© 2005 Toshiba Corporation
DIGITAL VIDEO