Toshiba D-R4 Installation Guide - English - Page 28
Starting up the recorder
 |
UPC - 022265411674
View all Toshiba D-R4 manuals
Add to My Manuals
Save this manual to your list of manuals |
Page 28 highlights
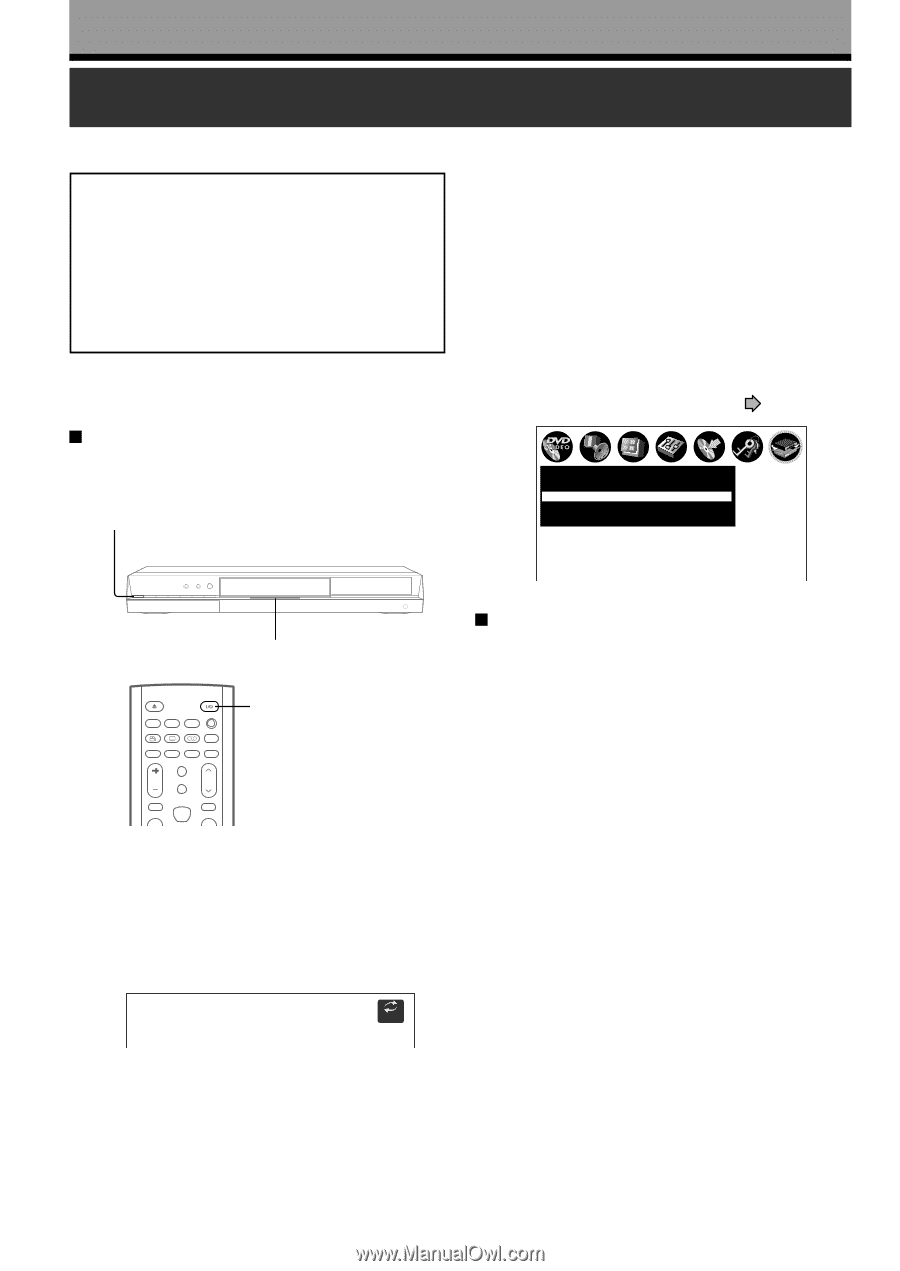
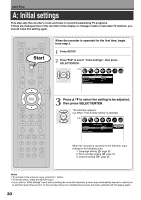
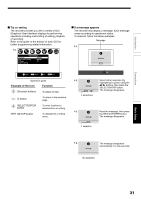
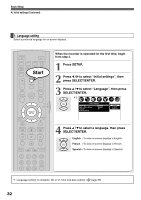
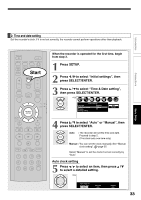
Basic Setup Starting up the recorder After all the necessary connections, • Turn on the equipment connected to the recorder. • Select the corresponding video input on your television. Perform these selections whenever you operate the recorder. Turning the power on Press the ON/STANDBY button from the remote control or on the front panel of the recorder. ON/STANDBY button While the icon is flashing, the recorder is checking the status and reading data of the DVD drive for startup. If the DVD drive does not contain a disc, the recorder consumes less time to startup, because it does not need to read data from the DVD drive. While the "Loading" icon is flashing, the recorder cannot respond to any operations. Operate after the icon has disappeared. Note • When the recorder is turned on for the first time, the following menu will be displayed after the "Loading" icon has disappeared. See "A: Initial settings" ( page 30). e.g. Initial settings Language English Time & Date setting Manual TV/Cable TV Channel setting LED OPEN/CLOSE DISPLAY FL SELECT DIMMER PROGRESSIVE ANGLE SUBTITLE AUDIO/SAP FREEZE REMAIN REC MODE EXTEND ZOOM SETUP VOL TIMESLIP CH MUTE INPUT SELECT TOP MENU EASY NAVI MENU ON/STANDBY button When the power turns on, the LED on the front panel illuminates. After a few seconds, a startup screen appears. The following icon will appear on the top right corner of the screen. The icon will continue flashing momentarily. e.g. Loading SETUP Turning the power off Press the ON/STANDBY button from the remote control or on the front panel of the recorder. The "Unloading" icon appears on the right corner of the top of the screen, and the LED turns off if it is lighted. Then the power turns off. Note • If the recorder freezes for about 15 minutes and will not respond to any buttons, holding down the ON/STANDBY button on the front panel for about 10 seconds can force the recorder to turn off. However, this is an emergency measure, which contains a risk of damage to data or discs. Avoid casual use of this measure. 28
-
 1
1 -
2
-
3
-
4
-
5
-
6
-
7
-
8
-
9
-
10
-
11
-
12
-
13
-
14
-
15
-
16
-
17
-
18
-
19
-
20
-
21
-
22
-
 23
23 -
 24
24 -
 25
25 -
 26
26 -
 27
27 -
 28
28 -
 29
29 -
 30
30 -
 31
31 -
 32
32 -
 33
33 -
34
-
35
-
36
-
37
-
38
-
39
-
40
-
41
-
42
-
43
-
44
-
45
-
46
-
47
-
48
-
49
-
50
-
51
-
52
 |
 |