Toshiba MES60V Service Manual - Page 16
When replacing the main board, Updating the firmware. - update
 |
View all Toshiba MES60V manuals
Add to My Manuals
Save this manual to your list of manuals |
Page 16 highlights
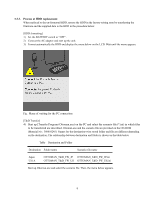
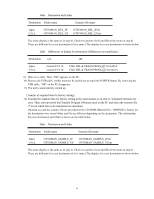
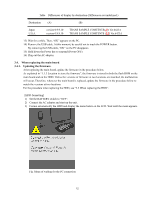
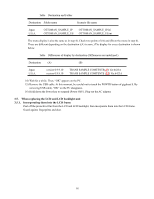
Table Differences of display by destination (Differences are underlined.) Destination (A) Japan U.S.A. version 0.9.9.10 version 0.9.9.10 (B) TRANS SAMPLE COMTENTS(JP) Ver.6423A TRANS SAMPLE COMTENTS (US) Ver.6423A 13) Wait for a while. Then, "OK" appears on the PC. 14) Remove the USB cable. At this moment, be careful not to touch the POWER button. By removing the USB cable, "OK" on the PC disappears. 15) Hold down the Power key to suspend (Power OFF). 16) Plug out the AC adaptor. 3.4. When replacing the main board 3.4.1. Updating the firmware. After replacing the main board, update the firmware in the procedure below. As explained in "1.1.3 Location to store the firmware", the firmware is stored in both the flash ROM on the main board and on the HDD. Unless the versions of firmware at two locations are matched, the malfunction will occur. Therefore, whenever the main board is replaced, update the firmware in the procedure below to match the versions at two locations. For the procedure when replacing the HDD, see "3.3 When replacing the HDD". [HDD formatting] 1) Set the BATTERY switch to "OFF". 2) Connect the AC adaptor and start up the unit. 3) Format automatically the HDD and display the menu below on the LCD. Wait until the menu appears. Fig. Menu of waiting for the PC connection 12
-
 1
1 -
2
-
3
-
4
-
5
-
6
-
7
-
8
-
9
-
10
-
 11
11 -
 12
12 -
 13
13 -
 14
14 -
 15
15 -
 16
16 -
 17
17 -
 18
18 -
 19
19 -
 20
20 -
 21
21 -
22
-
23
-
24
-
25
-
26
-
27
-
28
-
29
-
30
-
31
-
32
-
33
-
34
-
35
-
36
-
37
-
38
-
39
-
40
-
41
-
42
-
43
 |
 |
