Toshiba MES60V Service Manual - Page 34
Reassembling Procedures
 |
View all Toshiba MES60V manuals
Add to My Manuals
Save this manual to your list of manuals |
Page 34 highlights
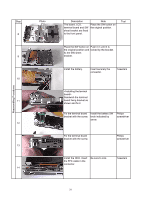
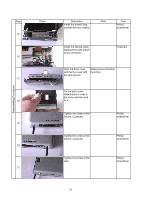
Reassembling Procedures 6.2. Reassembling Procedures Step Photo 1 2 3 4 5 6 7 Description Note Tool Be sure to lock. Insert the FFC cable leading from SW. Affix securely the protection tape to the original position. Connect the FFC cable Be sure to lock. of terminal board. Connect the FFC cable of LCD. Be sure to lock. Affix the protection tape to the original position. Connect the FFC cable Be sure to lock. of LCD. Fix the LCD block to the Install the headphones board and build it in the terminal side of it first. front panel. The board is fixed to the front panel. 30
-
 1
1 -
2
-
3
-
4
-
5
-
6
-
7
-
8
-
9
-
10
-
11
-
12
-
13
-
14
-
15
-
16
-
17
-
18
-
19
-
20
-
21
-
22
-
23
-
24
-
25
-
26
-
27
-
28
-
 29
29 -
 30
30 -
 31
31 -
 32
32 -
 33
33 -
 34
34 -
 35
35 -
 36
36 -
 37
37 -
 38
38 -
 39
39 -
40
-
41
-
42
-
43
 |
 |
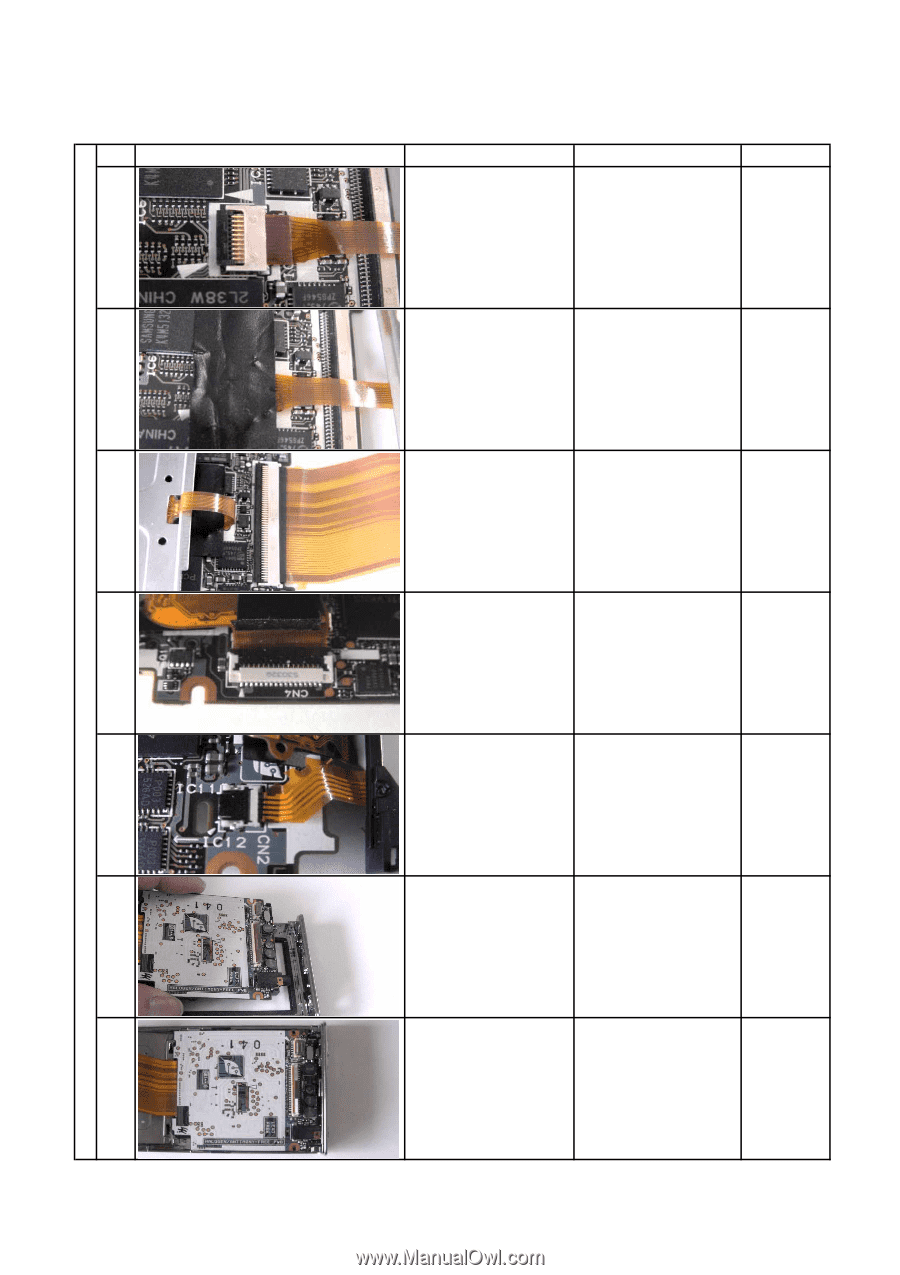
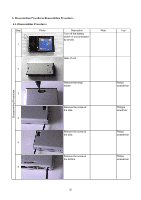
6.2. Reassembling Procedures
Step
Tool
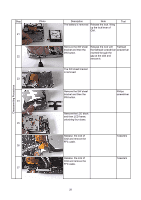
5
6
Reassembling Procedures
1
2
3
4
Affix securely the
protection tape to the
original position.
<Board Assembling>
Insert the FFC cable
leading from SW.
Be sure to lock.
7
Connect the FFC cable
of LCD.
Be sure to lock.
<Building-in of LCD
block>
Connect the FFC cable
of LCD.
Be sure to lock. Affix
the protection tape to
the original position.
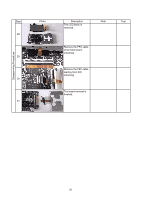
Fix the LCD block to the
board and build it in the
front panel.
Photo
Description
Note
The board is fixed to the
front panel.
Install the headphones
terminal side of it first.
Connect the FFC cable
of terminal board.
Be sure to lock.
30