Toshiba Portege Z20t-B PT15BC-005012 Users Manual Canada; English - Page 104
Camera, Pictures, Sketch, Set as cover, Uncrop, Auto Crop, Settings -> Options ->
 |
View all Toshiba Portege Z20t-B PT15BC-005012 manuals
Add to My Manuals
Save this manual to your list of manuals |
Page 104 highlights
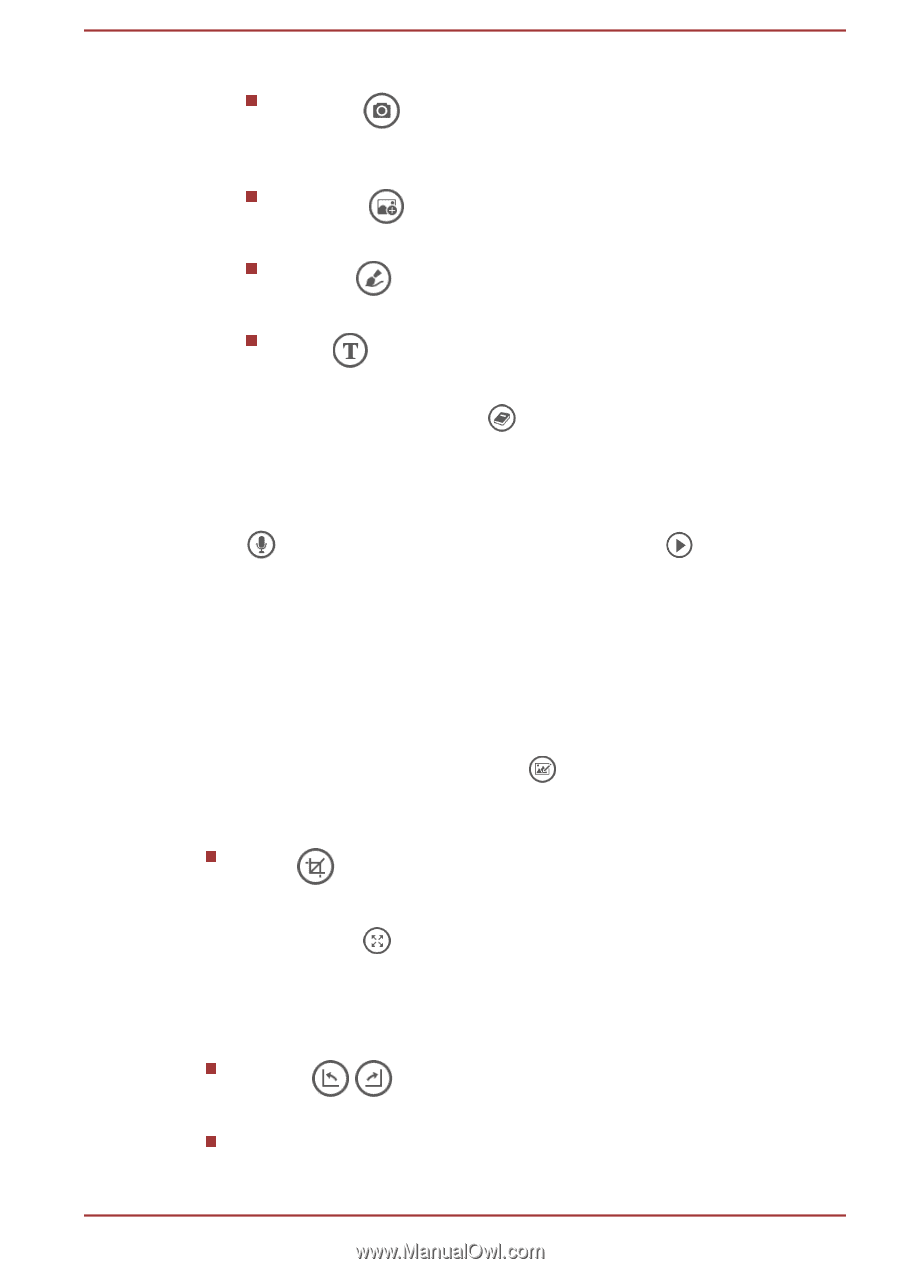
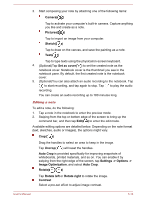
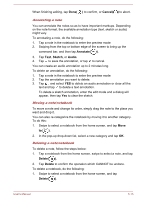
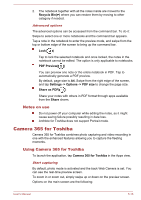
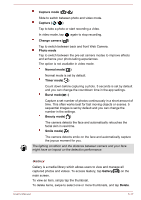
3. Start composing your note by attaching one of the following items: Camera( ) Tap to activate your computer's built-in camera. Capture anything you like and create as a note. Pictures( ) Tap to import an image from your computer. Sketch( ) Tap to draw on the canvas, and save the painting as a note. Text( ) Tap to type texts using the physical/on-screen keyboard. 4. (Optional)Tap Set as cover( ) to set the created note as the notebook cover. Notebook cover is the thumbnail you see in the notebook pane. By default, the first created note is the notebook cover. 5. (Optional)You can also attach an audio recording to the notebook. Tap to start recording, and tap again to stop. Tap to play the audio recording. You can create an audio recording up to 180 minutes long. Editing a note To edit a note, do the following: 1. Tap a note in the notebook to enter the preview mode. 2. Swiping from the top or bottom edge of the screen to bring up the command bar, and then tap Edit( ) to enter the edit mode. Available editing options are detailed below. Depending on the note format (text, sketches, audio or images), the options might vary. Crop( ) Drag the handles to select an area to keep in the image. Tap Uncrop( ) will reset the handles. Auto Crop is provided specifically for improving snapshots of whiteboards, printed materials, and so on. You can enable it by swiping from the right edge of the screen, tap Settings -> Options -> Image Optimization, and select Auto Crop. Rotate( / ) Tap Rotate left or Rotate right to rotate the image. Contrast Select a pre-set effect to adjust image contrast. User's Manual 5-14
-
 1
1 -
2
-
3
-
4
-
5
-
6
-
7
-
8
-
9
-
10
-
11
-
12
-
13
-
14
-
15
-
16
-
17
-
18
-
19
-
20
-
21
-
22
-
23
-
24
-
25
-
26
-
27
-
28
-
29
-
30
-
31
-
32
-
33
-
34
-
35
-
36
-
37
-
38
-
39
-
40
-
41
-
42
-
43
-
44
-
45
-
46
-
47
-
48
-
49
-
50
-
51
-
52
-
53
-
54
-
55
-
56
-
57
-
58
-
59
-
60
-
61
-
62
-
63
-
64
-
65
-
66
-
67
-
68
-
69
-
70
-
71
-
72
-
73
-
74
-
75
-
76
-
77
-
78
-
79
-
80
-
81
-
82
-
83
-
84
-
85
-
86
-
87
-
88
-
89
-
90
-
91
-
92
-
93
-
94
-
95
-
96
-
97
-
98
-
 99
99 -
 100
100 -
 101
101 -
 102
102 -
 103
103 -
 104
104 -
 105
105 -
 106
106 -
 107
107 -
 108
108 -
 109
109 -
110
-
111
-
112
-
113
-
114
-
115
-
116
-
117
-
118
-
119
-
120
-
121
-
122
-
123
-
124
-
125
-
126
-
127
-
128
-
129
-
130
-
131
-
132
-
133
-
134
-
135
-
136
-
137
-
138
-
139
-
140
-
141
-
142
-
143
-
144
-
145
-
146
-
147
-
148
-
149
-
150
-
151
-
152
-
153
-
154
 |
 |