Toshiba SD-V395 Owners Manual - Page 25
Toshiba SD-V395 Manual
 |
View all Toshiba SD-V395 manuals
Add to My Manuals
Save this manual to your list of manuals |
Page 25 highlights
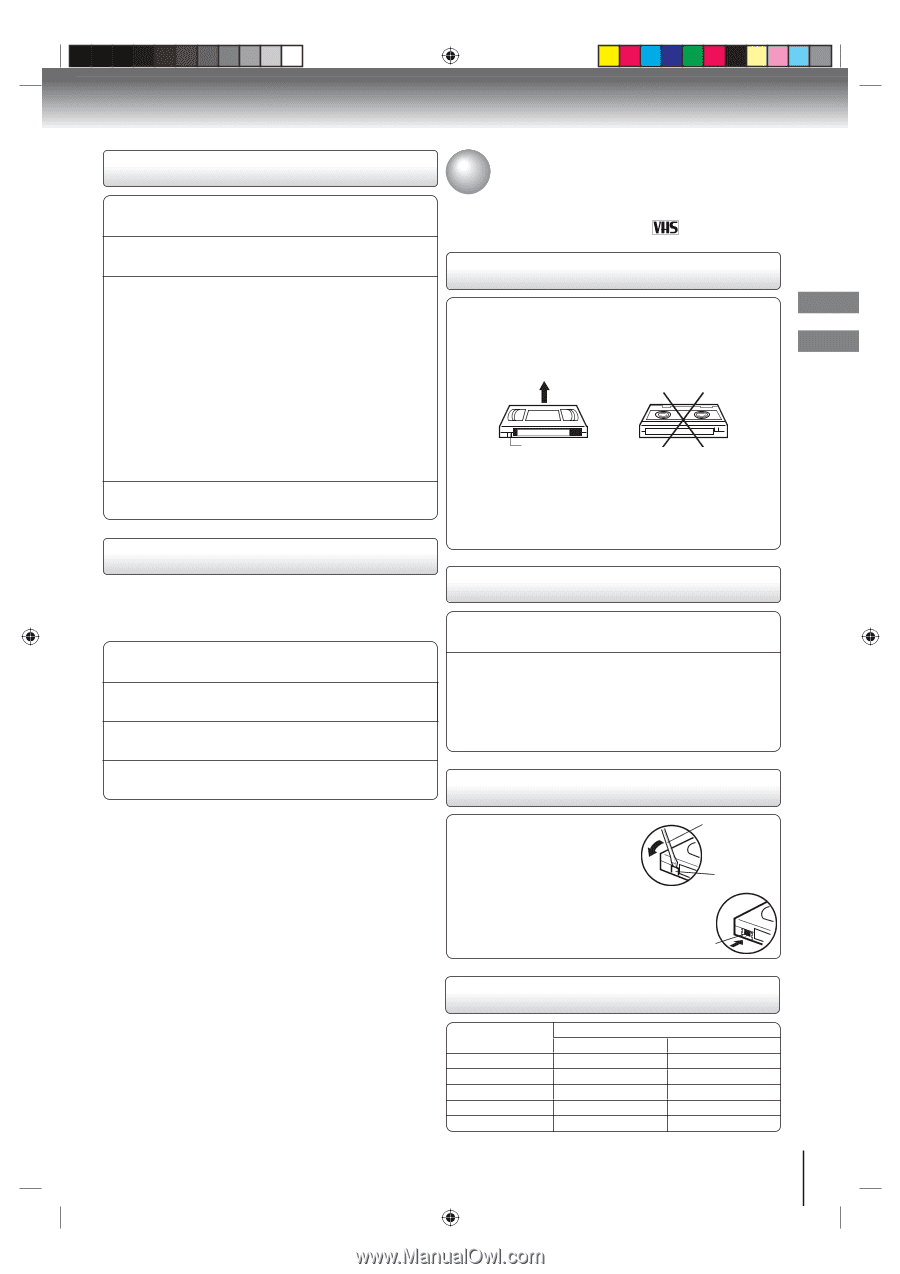
Basic setup (VCR)/ Playback (VCR) To ADD/DELETE channels VCR MENU. Press SET + or - to select "CH 1 Press SETUP", then press ENTER. SET + or - to select the "ADD/DELETE" and 2 Press press ENTER. 3 To Add or Delete channels Loading and unloading a cassette tape Use only video cassette tapes marked . Basic setup (VCR) Loading Push the center of the tape until it is automatically inserted. Insert the cassette tape with its labeled side facing up and the erase prevention tab positioned at your left. An inverted cassette tape cannot be inserted. 1) Press Direct channel selection buttons (0-9) or SET +/- to select a channel number you want to add or delete. 2) To add channels Press ENTER until "ADD" appears on the screen. To delete channels Press ENTER until "DELETE" appears on the screen. The channel number will blink. 3) Repeat step 1 and 2 to add or delete other channel. Playback (VCR) 4 Press VCR MENU until the menu screen is cleared. Noise elimination When you don't want to receive a weak signal broadcast, a Blue back screen can be obtained by selecting the NO NOISE BACKGROUND to "ON". When the unit is shipped from the factory, the NO NOISE BACKGROUND is set to "ON". Erase prevention tab Automatic power ON When you insert a cassette tape, the unit power will turn ON automatically. Automatic playback When loading a cassette tape without an erase prevention tab, playback will start automatically. Unloading EJECT on the front panel or on the remote 1 Press control. 2 Remove the cassette tape. VCR MENU. Press SET + or - to select 1 Press "SYSTEM SETUP", then press ENTER. 2 Press SET + or - to select "NO NOISE BACKGROUND". 3 Press ENTER to select "ON" or "OFF" position. VCR MENU repeatedly until the menu screen 4 Press is cleared. Automatic tape eject This DVD/VCR will automatically rewind the tape when the tape has ended. Once the tape is rewound to its beginning, the cassette tape will be ejected automatically. To prevent accidental erasure To prevent accidental erasure Remove the erase prevention tab with a screwdriver. To record again Cover the hole with a piece of adhesive tape. Screwdriver Erase prevention tab Adhesive tape Tape speed and maximum recording time Video cassette tape T-160 T-120 T-90 T-60 T-30 Tape speed SP (Standard Play) 2-2/3 hours 2 hours 1-1/2 hours 1 hour 30 minutes SLP (Super Long Play) 8 hours 6 hours 4-1/2 hours 3 hours 1-1/2 hours 25 2K60121A.indb 25 1/12/2007 3:50:10 PM
-
 1
1 -
2
-
3
-
4
-
5
-
6
-
7
-
8
-
9
-
10
-
11
-
12
-
13
-
14
-
15
-
16
-
17
-
18
-
19
-
 20
20 -
 21
21 -
 22
22 -
 23
23 -
 24
24 -
 25
25 -
 26
26 -
 27
27 -
 28
28 -
 29
29 -
 30
30 -
31
-
32
-
33
-
34
-
35
-
36
-
37
-
38
-
39
-
40
-
41
-
42
-
43
-
44
-
45
-
46
-
47
-
48
-
49
 |
 |