ViewSonic Pro7827HD Pro7827HD User Guide English - Page 43
Hiding the image, Locking control keys, Creating your own startup screen
 |
View all ViewSonic Pro7827HD manuals
Add to My Manuals
Save this manual to your list of manuals |
Page 43 highlights
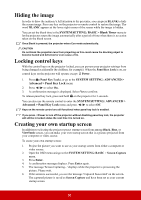
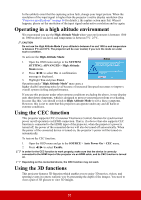
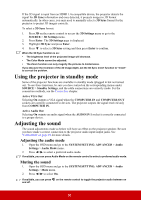
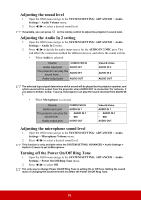
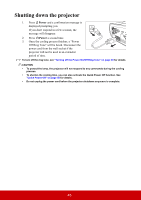
Hiding the image In order to draw the audience's full attention to the presenter, you can press BLANK to hide the screen image. Press any key on the projector or remote control to restore the image. The word 'BLANK' appears at the lower right corner of the screen while the image is hidden. You can set the blank time in the SYSTEM SETTING: BASIC > Blank Timer menu to let the projector return the image automatically after a period of time when there is no action taken on the blank screen. Once Blank is pressed, the projector enters Eco mode automatically. CAUTION Do not block the projection lens from projecting as this could cause the blocking object to become heated and deformed or even cause a fire. Locking control keys With the control keys on the projector locked, you can prevent your projector settings from being changed accidentally (by children, for example). When the Panel Key Lock is on, no control keys on the projector will operate except Power. 1. Press (Panel Key Lock), or go to the SYSTEM SETTING: ADVANCED > Advanced > Panel Key Lock menu 2. Press / to select On. 3. A confirmation message is displayed. Select Yes to confirm. To release panel key lock, press and hold on the projector for 3 seconds. You can also use the remote control to enter the SYSTEM SETTING: ADVANCED > Advanced > Panel Key Lock menu and press / to select Off. Keys on the remote control are still functional when panel key lock is enabled. If you press Power to turn off the projector without disabling panel key lock, the projector will still be in locked status the next time it is turned on. Creating your own startup screen In addition to selecting the projector preset startup screen from among Black, Blue, or ViewSonic screen, you can make your own startup screen that is a picture projected from your computer or video source. To create your own startup screen: 1. Project the picture you want to use as your startup screen from either a computer or video source. 2. Open the OSD menu and go to the SYSTEM SETTING: BASIC > Screen Capture menu. 3. Press Enter. 4. A confirmation message displays. Press Enter again. 5. The message 'Screen Capturing...' displays while the projector is processing the picture. Please wait. 6. If the action is successful, you see the message 'Captured Succeeded' on the screen. The captured picture is saved as Screen Capture and have been set as your current startup screen. 36
-
 1
1 -
2
-
3
-
4
-
5
-
6
-
7
-
8
-
9
-
10
-
11
-
12
-
13
-
14
-
15
-
16
-
17
-
18
-
19
-
20
-
21
-
22
-
23
-
24
-
25
-
26
-
27
-
28
-
29
-
30
-
31
-
32
-
33
-
34
-
35
-
36
-
37
-
 38
38 -
 39
39 -
 40
40 -
 41
41 -
 42
42 -
 43
43 -
 44
44 -
 45
45 -
 46
46 -
 47
47 -
 48
48 -
49
-
50
-
51
-
52
-
53
-
54
-
55
-
56
-
57
-
58
-
59
-
60
-
61
-
62
-
63
-
64
-
65
-
66
-
67
-
68
-
69
-
70
-
71
-
72
-
73
-
74
-
75
-
76
-
77
-
78
-
79
-
80
-
81
-
82
-
83
-
84
-
85
-
86
-
87
 |
 |