ViewSonic VT2755LED User Manual - Page 23
Operation
 |
View all ViewSonic VT2755LED manuals
Add to My Manuals
Save this manual to your list of manuals |
Page 23 highlights
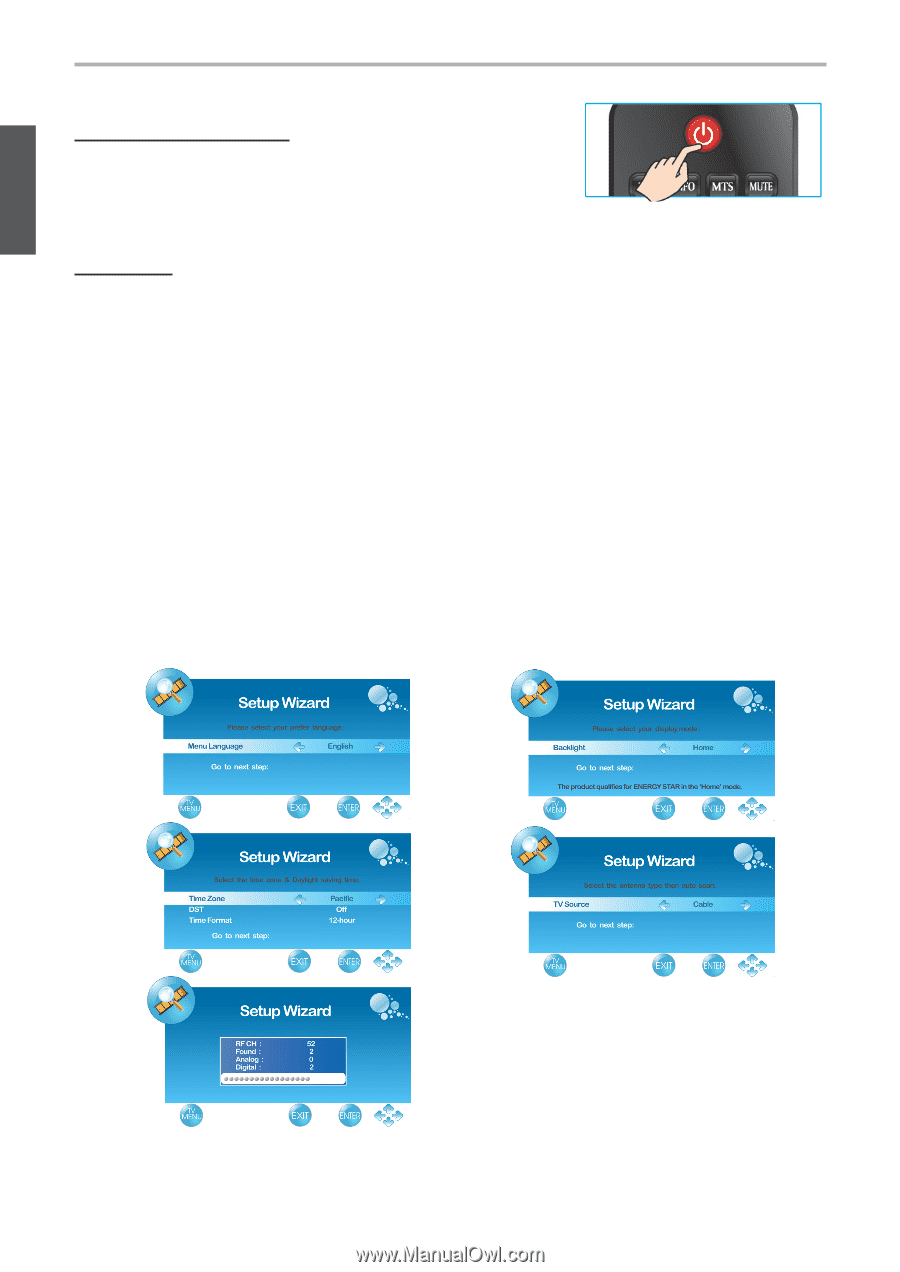
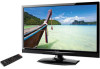
ENGLISH Using the TV Features Operation Turning the TV On and Off Press the POWER button on the remote control. You can also use the Power button on the side of the panel. *If there is no input signal within 15 minutes, TV will be turned off automatically. Initial Setup (Setup Wizard only appears when first turning the TV on and without channel scanning.) 1. Press the POWER button on the remote control. The Setup Wizard window will be display. 2. Press ◄ or ► to select OSD language, then press ENTER or ▼ to confirm the selection, and press ► or ENTER to go to next step. To return to the previous page, press MENU.(See Figure1) 3. Press ◄ or ► to select your display mode from *Home, Medium, Low or High, then press ENTER or▼ to confirm the selection, and press ► or ENTER to go to next step. To return to the previous page, press MENU. (See Figure2) * For normal home use, we suggest that you select "Home" to achieve energy saving. 4. Select Time Zone of your location. To press ▼ to setup DST (Daylight Saving Time) and select On or Off with ◄ or ►, according to the time zone of your area. To press ▼ to setup Time Format, and select 12-hour or 24-hour with ◄ or ►, then press ENTER or ► to continue. (See Figure3) 5. Select TV Source from Air or Cable, then press ENTER to continue. (See Figure4) 6. The Initial Setup will be completed after Cannel scanning is finished. To interrupt the scanning, press MENU at any time. (See Figure5) Figure 1 Figure 2 Figure 3 Figure 4 Figure 5 ViewSonic 14 VT2755LED
-
 1
1 -
2
-
3
-
4
-
5
-
6
-
7
-
8
-
9
-
10
-
11
-
12
-
13
-
14
-
15
-
16
-
17
-
 18
18 -
 19
19 -
 20
20 -
 21
21 -
 22
22 -
 23
23 -
 24
24 -
 25
25 -
 26
26 -
 27
27 -
 28
28 -
29
-
30
-
31
-
32
-
33
-
34
-
35
-
36
-
37
-
38
-
39
-
40
-
41
-
42
-
43
-
44
-
45
-
46
-
47
-
48
-
49
-
50
-
51
-
52
-
53
-
54
-
55
-
56
-
57
-
58
-
59
 |
 |