Vonage VWRVD User Manual - Page 2
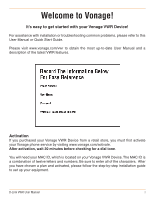
Welcome to Vonage - d link
 |
UPC - 790069292767
View all Vonage VWRVD manuals
Add to My Manuals
Save this manual to your list of manuals |
Page 2 highlights
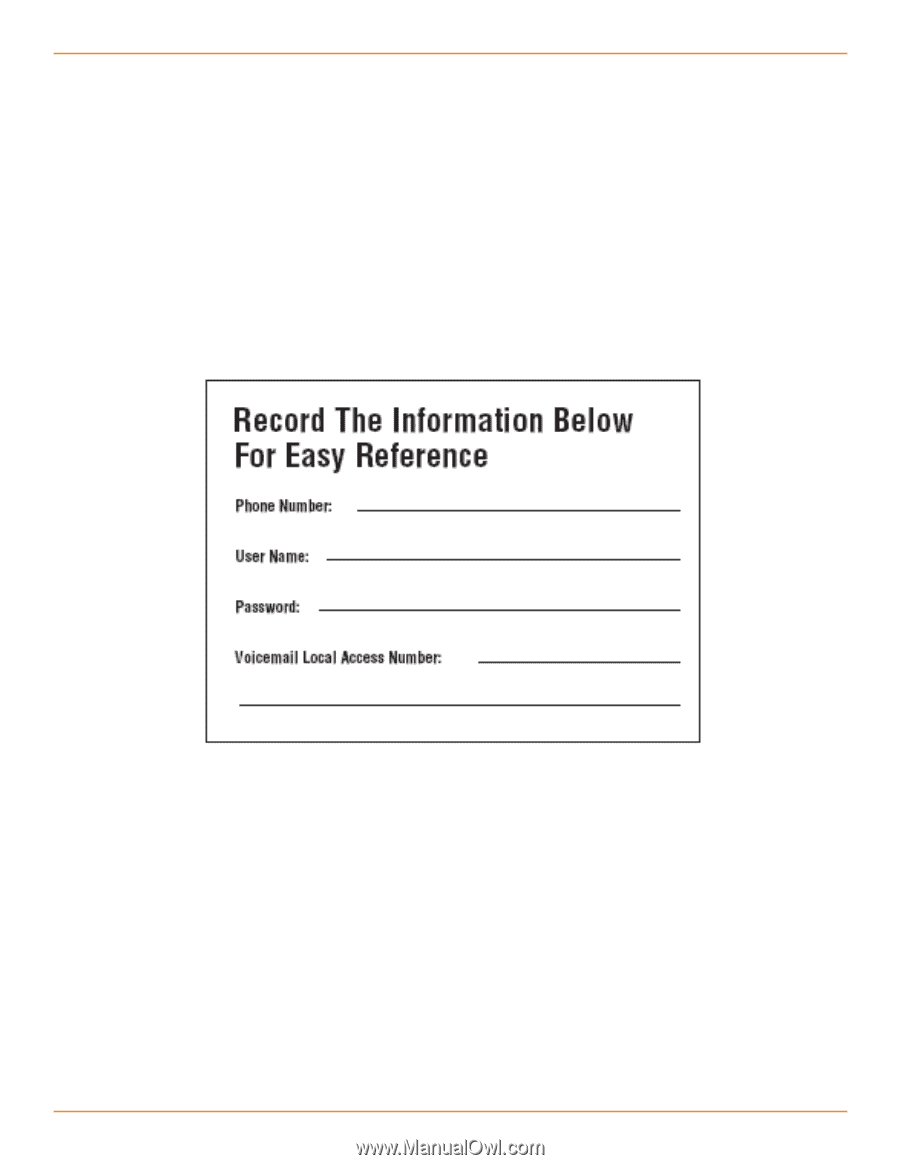
Welcome to Vonage! It's easy to get started with your Vonage VWR Device! For assistance with installation or troubleshooting common problems, please refer to this User Manual or Quick Start Guide. Please visit www.vonage.com/vwr to obtain the most up-to-date User Manual and a description of the latest VWR features. Activation If you purchased your Vonage VWR Device from a retail store, you must first activate your Vonage phone service by visiting www.vonage.com/activate. After activation, wait 30 minutes before checking for a dial tone. You will need your MAC ID, which is located on your Vonage VWR Device. The MAC ID is a combination of twelve letters and numbers. Be sure to enter all of the characters. After you have chosen a plan and activated, please follow the step-by-step installation guide to set up your equipment. D-Link VWR User Manual I
-
 1
1 -
 2
2 -
 3
3 -
 4
4 -
 5
5 -
 6
6 -
 7
7 -
 8
8 -
9
-
10
-
11
-
12
-
13
-
14
-
15
-
16
-
17
-
18
-
19
-
20
-
21
-
22
-
23
-
24
-
25
-
26
-
27
-
28
-
29
-
30
-
31
-
32
-
33
-
34
-
35
-
36
-
37
-
38
-
39
-
40
-
41
-
42
-
43
-
44
-
45
-
46
-
47
-
48
-
49
-
50
 |
 |