WestBend 41067 Instruction Manual - Page 12
Slicing, Bread, Storing
 |
View all WestBend 41067 manuals
Add to My Manuals
Save this manual to your list of manuals |
Page 12 highlights
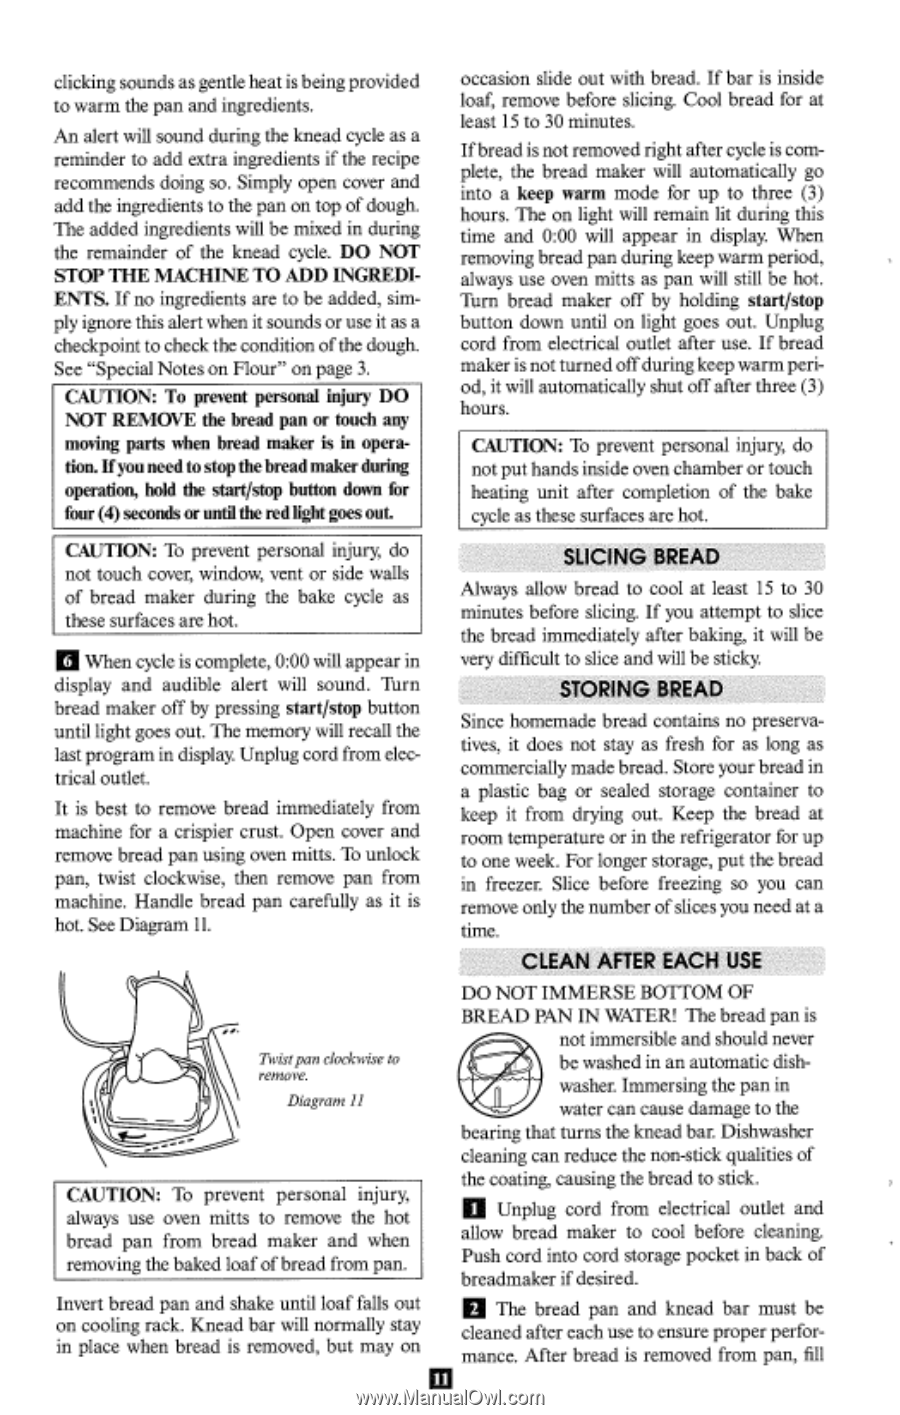
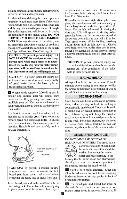
clicking sounds as gentle heat is being provided to warm the pan and ingredients. An alert will sound during the knead cycle as a reminder to add extra ingredients if the recipe recommends doing so. Simply open cover and add the ingredients to the pan on top of dough. The added ingredients will be mixed in during the remainder of the knead cycle. DO NOT STOP THE MACHINE TO ADD INGREDIENTS. If no ingredients are to be added, simply ignore this alert when it sounds or use it as a checkpoint to check the condition of the dough. See "Special Notes on Flour" on page 3. CAUTION: To prevent personal injury DO NOT REMOVE the bread pan or touch any moving parts when bread maker is in operation. If you need to stop the bread maker during operation, hold the start/stop button down for four (4) seconds or until the red light goes out. CAUTION: To prevent personal injury, do not touch cover, window, vent or side walls of bread maker during the bake cycle as these surfaces are hot. 6 When cycle is complete, 0:00 will appear in display and audible alert will sound. Turn bread maker off by pressing start/stop button until light goes out. The memory will recall the last program in display. Unplug cord from electrical outlet. It is best to remove bread immediately from machine for a crispier crust. Open cover and remove bread pan using oven mitts. To unlock pan, twist clockwise, then remove pan from machine. Handle bread pan carefully as it is hot. See Diagram 11. Twist pan clockwise to remove. Diagram 11 CAUTION: To prevent personal injury, always use oven mitts to remove the hot bread pan from bread maker and when removing the baked loaf of bread from pan. Invert bread pan and shake until loaf falls out on cooling rack. Knead bar will normally stay in place when bread is removed, but may on occasion slide out with bread. If bar is inside loaf, remove before slicing. Cool bread for at least 15 to 30 minutes. If bread is not removed right after cycle is complete, the bread maker will automatically go into a keep warm mode for up to three (3) hours. The on light will remain lit during this time and 0:00 will appear in display. When removing bread pan during keep warm period, always use oven mitts as pan will still be hot. Turn bread maker off by holding start/stop button down until on light goes out. Unplug cord from electrical outlet after use. If bread maker is not turned off during keep warm period, it will automatically shut off after three (3) hours. CAUTION: To prevent personal injury, do not put hands inside oven chamber or touch heating unit after completion of the bake cycle as these surfaces are hot. SLICING BREAD Always allow bread to cool at least 15 to 30 minutes before slicing. If you attempt to slice the bread immediately after baking, it will be very difficult to slice and will be sticky. STORING BREAD Since homemade bread contains no preservatives, it does not stay as fresh for as long as commercially made bread. Store your bread in a plastic bag or sealed storage container to keep it from drying out. Keep the bread at room temperature or in the refrigerator for up to one week. For longer storage, put the bread in freezer. Slice before freezing so you can remove only the number of slices you need at a time. CLEAN AFTER EACH USE DO NOT IMMERSE BOTTOM OF BREAD PAN IN WATER! The bread pan is not immersible and should never be washed in an automatic dishwasher. Immersing the pan in water can cause damage to the bearing that turns the knead bar. Dishwasher cleaning can reduce the non-stick qualities of the coating, causing the bread to stick. ® Unplug cord from electrical outlet and allow bread maker to cool before cleaning. Push cord into cord storage pocket in back of breadmaker if desired. El The bread pan and knead bar must be cleaned after each use to ensure proper performance. After bread is removed from pan, fill
-
 1
1 -
2
-
3
-
4
-
5
-
6
-
 7
7 -
 8
8 -
 9
9 -
 10
10 -
 11
11 -
 12
12 -
 13
13 -
 14
14 -
 15
15 -
 16
16 -
 17
17 -
18
-
19
-
20
-
21
-
22
-
23
-
24
-
25
-
26
-
27
-
28
-
29
-
30
-
31
-
32
 |
 |