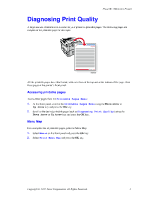
Xerox 7300N Troubleshooting Guide - Page 16
Xerox 7300N - Phaser Color Laser Printer Manual
 |
View all Xerox 7300N manuals
Add to My Manuals
Save this manual to your list of manuals |
Page 16 highlights
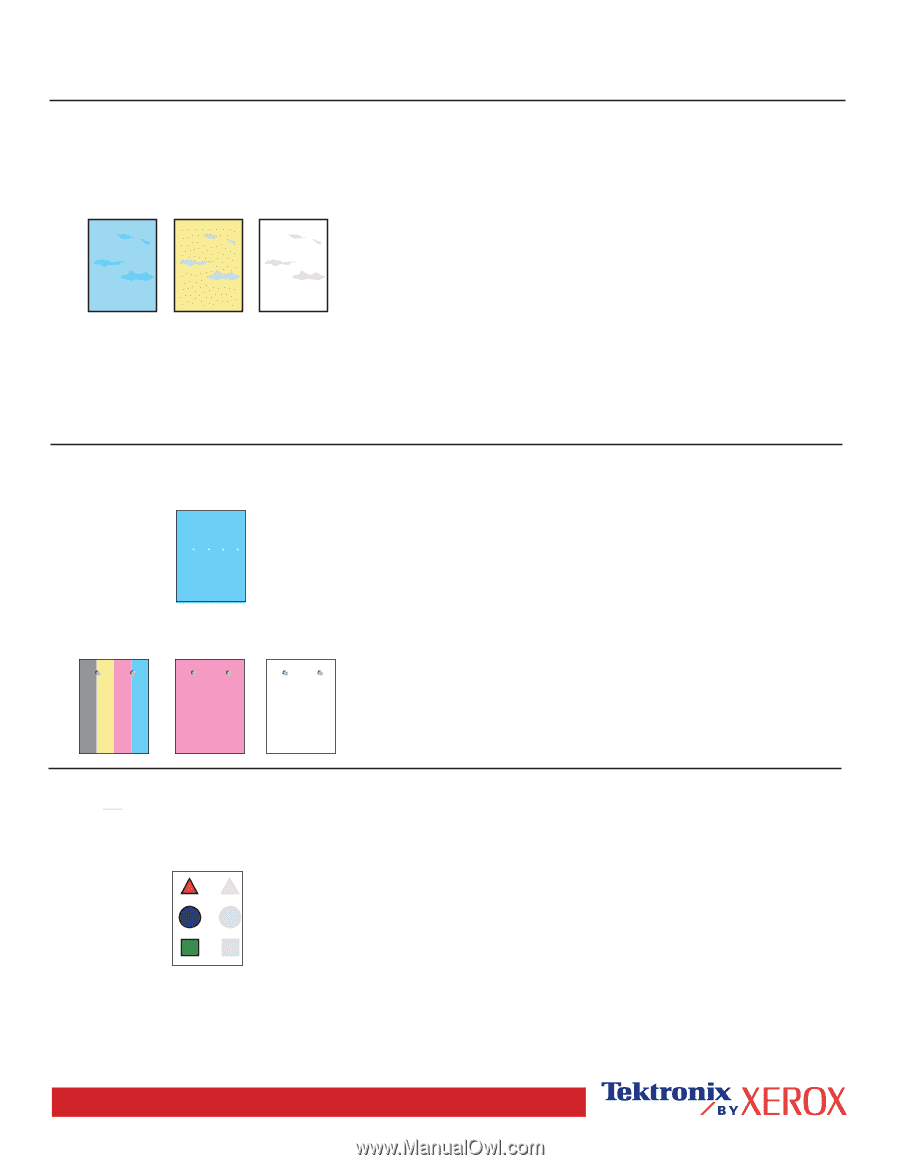
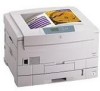
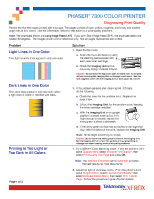
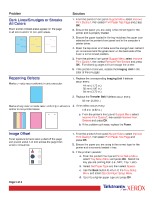
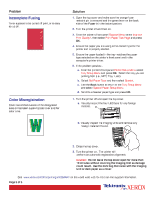
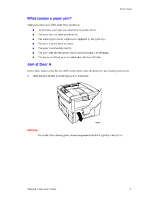
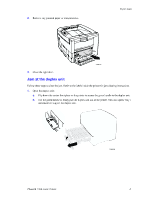
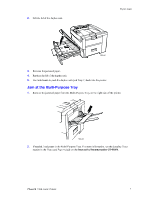
Problem Solution 1. From the printer's front panel Support Menu select Improve Print Quality?, then select Print Paper Tips Page and press OK. 2. Ensure the paper you are using is the correct type for the printer and is properly loaded. 3. Ensure the paper loaded in the tray matches the paper type selected on the printer's front panel and in the computer's printer driver. 4. Open the top cover and make sure the orange fuser restraint pin is removed and the green lever on the back side of the fuser is in the locked position. 5. From the printer's front panel Support Menu select Improve Print Quality?, then select Remove Print Smears and press OK. Five cleaning pages will run through the printer. 6. If the problem continues, replace the Imaging Unit in the color of the smudges. Dark Lines/Smudges or Streaks All Colors Black and/or colored areas appear on the page in all colors and/or in non-print areas. Repeating Defects Marks or voids recur uniformly in only one color. 1. Replace the corresponding Imaging Unit if defects occur every: 44 mm (1.73 in.) 50 mm (1.97 in.) 94 mm (3.70 in.) 2. Replace the Transfer Belt if defects occur every: 58 mm (2.29 in.) Marks of any color or voids recur uniformly in all colors and/or in non-printed areas. 3. If the defect occurs every: 143 mm (5.62 in.) a. From the printer's front panel Support Menu select Improve Print Quality?, then select Remove Print Smears and press OK. b. If the problem continues, replace the Fuser. Image Offset Toner appears to have been pulled off the page and placed about 143 mm across the page from where it should be. 1. From the printer's front panel Support Menu select Improve Print Quality?, then select Print Paper Tips Page and press OK. 2. Ensure the paper you are using is the correct type for the printer and is correctly loaded in tray. 3. If the problem persists: a. From the printer's front panel Printer Setup Menu select Tray Setup Menu and press OK. Select the tray you are printing from (i.e., MPT, Tray 1, etc). b. Select Set Paper Type and then select Special. c. Use the Back button to return to the Tray Setup Menu and select Special Paper Setup Menu. d. Scroll to a lighter paper type and press OK. Page 2 of 3
-
 1
1 -
2
-
3
-
4
-
5
-
6
-
7
-
8
-
9
-
10
-
 11
11 -
 12
12 -
 13
13 -
 14
14 -
 15
15 -
 16
16 -
 17
17 -
 18
18 -
 19
19 -
 20
20 -
 21
21 -
22
-
23
-
24
-
25
-
26
-
27
-
28
-
29
-
30
-
31
-
32
-
33
-
34
-
35
-
36
-
37
-
38
-
39
-
40
 |
 |