Yamaha THR30IIA THR30IIA Wireless Reference Manual
Yamaha THR30IIA Manual
 |
View all Yamaha THR30IIA manuals
Add to My Manuals
Save this manual to your list of manuals |
Yamaha THR30IIA manual content summary:
- Yamaha THR30IIA | THR30IIA Wireless Reference Manual - Page 1
7 Connection Example 7 Power 8 Connecting to guitar by wireless 9 Connecting to a smart device 10 Connecting to a computer 12 Troubleshooting 14 Specifications 16 Technical Specifications 16 Power Button LED status list 17 Signal Flow Diagrams 18 EN THR30IIA Wireless Reference Manual 1 - Yamaha THR30IIA | THR30IIA Wireless Reference Manual - Page 2
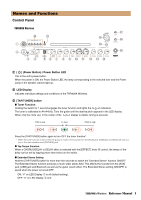
the Yamaha THR30IIA Wireless. This product is an exceptionally versatile and compact guitar amplifier designed for acoustic guitar players. You can use this product in your home, rehearsal spaces, and other places-virtually anywhere you want it! We recommend that you read this manual carefully - Yamaha THR30IIA | THR30IIA Wireless Reference Manual - Page 3
affects the sounds from the [AUX] jack, [USB] jack and Bluetooth as well as the guitar reverb effect. The Extended Stereo setting (ON/OFF) is saved when the power is turned OFF. ON: "#" on LED Display w is off (default setting). OFF: "#" on LED Display w is lit. THR30IIA Wireless Reference Manual 3 - Yamaha THR30IIA | THR30IIA Wireless Reference Manual - Page 4
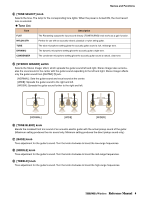
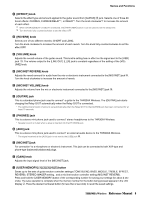
an acoustic electric guitar with the actual pickup sound of the guitar. guitar's sound. Turn the knob clockwise to boost the mid-range frequencies. o [TREBLE] knob Tone adjustment for the guitar's sound. Turn the knob clockwise to boost the high-range frequencies. THR30IIA Wireless Reference Manual - Yamaha THR30IIA | THR30IIA Wireless Reference Manual - Page 5
to the [MIC/INST] jack !.8 !5 [GUITAR] jack This is a standard phone jack used to connect* a guitar to the THR30IIA Wireless. The [GUITAR] jack starts charging the Relay G10T automatically when the button (for less than 2 seconds) to recall the saved settings. THR30IIA Wireless Reference Manual 5 - Yamaha THR30IIA | THR30IIA Wireless Reference Manual - Page 6
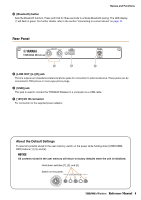
to TRS phone or mono-type phone plugs. @3 [USB] jack This jack is used to connect the THR30IIA Wireless to a computer via a USB cable. @4 [15V] DC IN connector For connection to the supplied power . Hold down switches [1], [3], and [5]. Switch on the power. THR30IIA Wireless Reference Manual 6 - Yamaha THR30IIA | THR30IIA Wireless Reference Manual - Page 7
jack, the wireless guitar receiver cannot be used. Audio output from an audio player or computer * The illustrations and LCD screens as shown in this manual are for instructional purposes only, and may appear somewhat different from those on your instrument. THR30IIA Wireless Reference Manual 7 - Yamaha THR30IIA | THR30IIA Wireless Reference Manual - Page 8
the supplied power adaptor to the [15V] DC IN jack located on the rear panel of the THR30IIA Wireless. Finally, connect the AC plug to a power outlet. * Follow the included Safety Instruction Sheet before making connections. DC IN jack DC plug Supplied power cord Power adaptor (supplied) Power - Yamaha THR30IIA | THR30IIA Wireless Reference Manual - Page 9
automatically. If you have disconnected the Relay G10T from the [GUITAR] jack of the THR30IIA Wireless and want to resume charging, wait for more than two seconds before reconnecting the device to the [GUITAR] jack. *1 Refer to the manual of Relay G10T for explanations of the LED display indications - Yamaha THR30IIA | THR30IIA Wireless Reference Manual - Page 10
mode. * For details on Bluetooth configuration, refer to the manual of your smart device or follow the onscreen instructions. 5. Check that the at the top of the LED DISPLAY lights in green (connected). Confirm sound output from the THR30IIA Wireless by playing music from the smart device. 1. Unlit - Yamaha THR30IIA | THR30IIA Wireless Reference Manual - Page 11
, iOS) 1. Access the app distribution service on the smart device. Android devices: instructions. Starting the THR Remote app Start the THR Remote app on the smart device. Press the desired [USER MEMORY] button for 2 seconds to save the settings made on the THR Remote to the THR30IIA Wireless - Yamaha THR30IIA | THR30IIA Wireless Reference Manual - Page 12
from a computer through the THR30IIA Wireless. • Recording with Cubase AI. • Editing amp and effect settings using the THR Remote desktop editor. Playing back audio files from a computer through the THR30IIA Wireless Configuring and Operating Select the THR30IIA Wireless as the computer's audio - Yamaha THR30IIA | THR30IIA Wireless Reference Manual - Page 13
THR30IIA Wireless. Cubase AI System Requirements For the latest information, refer to the Steinberg website below. https://www.steinberg.net/ Installing Cubase AI Follow the instructions yamaha.com/ NOTE • Check the above website for information on system requirements. • The THR Remote may be updated - Yamaha THR30IIA | THR30IIA Wireless Reference Manual - Page 14
Troubleshooting No power • Connect the power adaptor properly (see page 8). • Make sure that the THR30IIA Wireless been properly charged, when the power adapter is disconnected (see page 8). No sound No guitar sound is output (wired connection) • Properly connect the guitar to the [GUITAR] jack (see - Yamaha THR30IIA | THR30IIA Wireless Reference Manual - Page 15
charge does not last • THR30IIA Wireless's built-in rechargeable battery may have reached the end of its life. If the problem persists, consult your Yamaha dealer. • Charge the battery rechargeable battery depends on the storage method, usage and environment. THR30IIA Wireless Reference Manual 15 - Yamaha THR30IIA | THR30IIA Wireless Reference Manual - Page 16
4.4 kg (9 lbs. 11 oz.) Accessories • Power Adaptor (YNT345-1530) • Quick Guide • Safety Instructions Sheet • Service Offices list • Cubase AI Download Information Bluetooth Bluetooth Version: Bluetooth Ver. 4.2 Supported Profile: A2DP Compatible Codec: SBC RF Output Power: Bluetooth class 2 Maximum - Yamaha THR30IIA | THR30IIA Wireless Reference Manual - Page 17
error Flashes (green unlit) When the power is off Indicates charging error If the built-in rechargeable battery has a charging error, immediately turn off the THR30IIA Wireless power, unplug the power adapter, and consult your Yamaha dealer. THR30IIA Wireless Reference Manual 17 - Yamaha THR30IIA | THR30IIA Wireless Reference Manual - Page 18
Wet GUITAR VOLUME Mic HPF Mic 3 Band EQ Mic Reverb MIC/INST VOLUME + + Speakers & Headphones Out Extended Stereo Extended Stereo is turned off when headphones are connected. Manual Development Department © 2020 Yamaha Corporation Published 4/2022 PO-D0 THR30IIA Wireless Reference Manual 18
-
 1
1 -
 2
2 -
 3
3 -
 4
4 -
 5
5 -
 6
6 -
 7
7 -
8
-
9
-
10
-
11
-
12
-
13
-
14
-
15
-
16
-
17
-
18
 |
 |
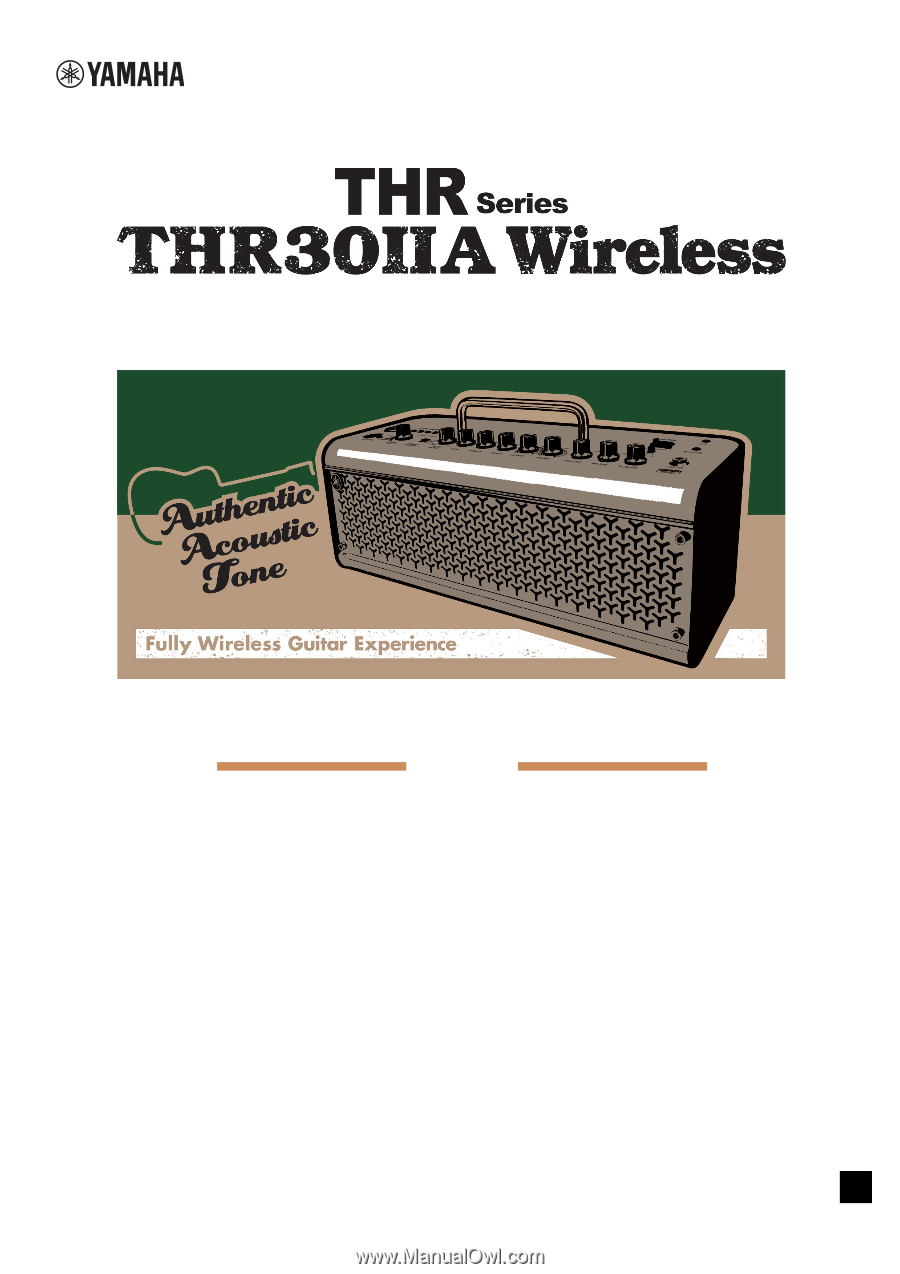
THR30IIA Wireless
Reference Manual
1
EN
Guitar Amplifier
Contents
Reference Manual
Introduction
...........................................................................
2
Main Features
.............................................................................
2
Accessories
................................................................................
2
Names and Functions
..........................................................
3
Control Panel
..............................................................................
3
Rear Panel
..................................................................................
6
Connection
............................................................................
7
Connection Example
..................................................................
7
Power
.........................................................................................
8
Connecting to guitar by wireless
.................................................
9
Connecting to a smart device
...................................................
10
Connecting to a computer
........................................................
12
Troubleshooting
.................................................................
14
Specifications
.....................................................................
16
Technical Specifications
...........................................................
16
Power Button LED status list
....................................................
17
Signal Flow Diagrams
...............................................................
18