Yamaha VS-10 Owner's Manual - Page 29
Naming the Input Terminals, Adjusting Display Brightness
 |
View all Yamaha VS-10 manuals
Add to My Manuals
Save this manual to your list of manuals |
Page 29 highlights
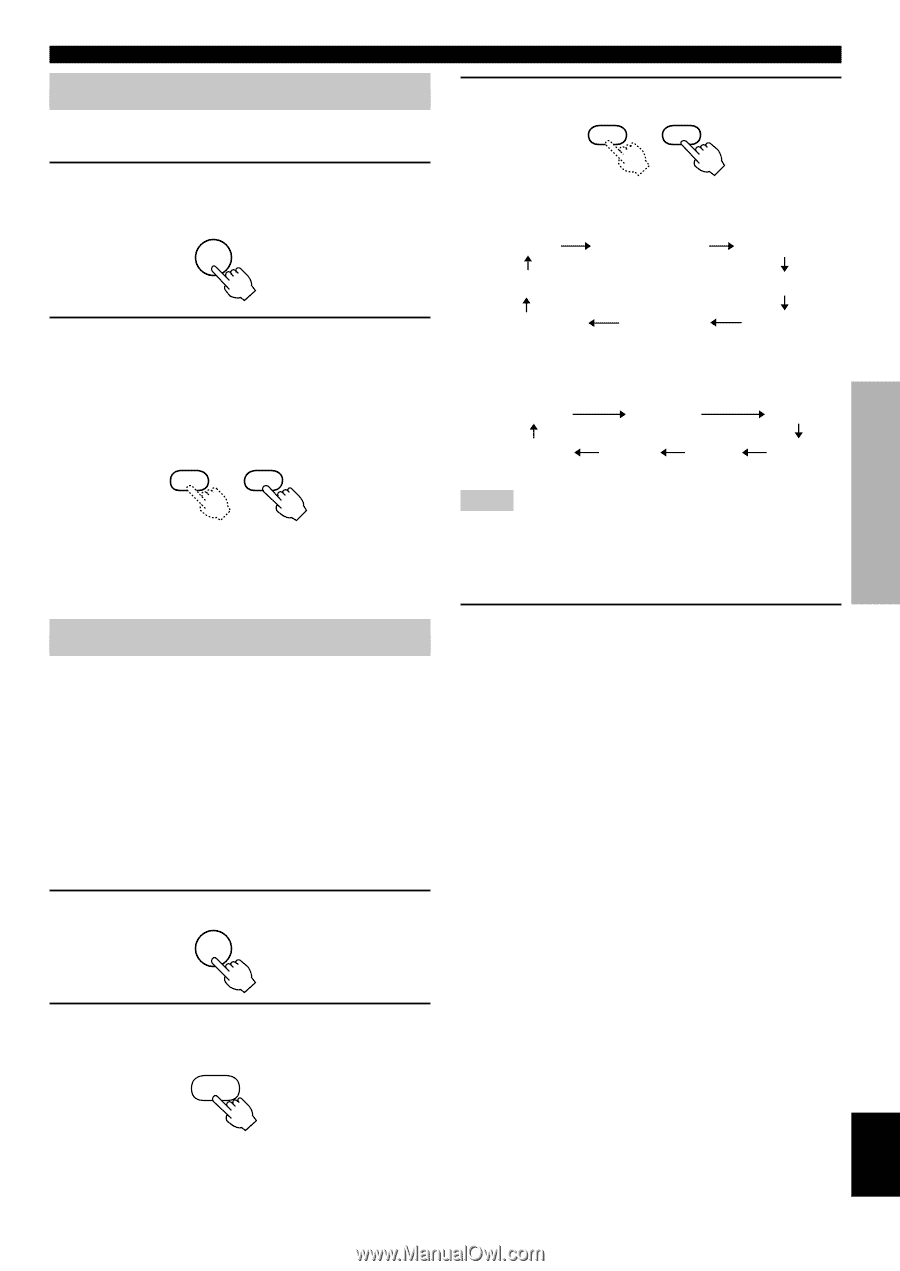
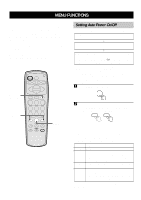
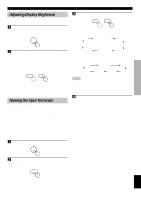
OPERATION Adjusting Display Brightness The display brightness of the control center can be adjusted as follows. 1 Press MENU to display "Dimmer". The current brightness level (such as "Dimmer: ±0") is displayed. MENU 0 MENU FUNCTIONS 3 Press MENU + or - to select the name. - LAST + ENTER If you select VIDEO 2 in step 2 above, names are displayed in the following order when you press +. VIDEO 2 VIDEO 2: CABLE VIDEO 2: SAT VIDEO 2: GAME VIDEO 2: DVD 2 Press MENU + or - to adjust the brightness. Pressing + brightens the display, while pressing - dims the display. Brightness can be adjusted from -3 (dimmest) to +3 (brightest). The brightness of +3 (brightest) is as same as that of the display right after the VS-10 is operated. - LAST + ENTER After adjusting the menu functions, press MENU. The input display returns. Naming the Input Terminals It is possible to give names to the VIDEO 2, DIGITAL 1 and DIGITAL 2 input terminals. (It is not possible to change the input names for the TV or VIDEO 1 input terminals.) Once you select a name so that you can easily find out which component is connected to the terminal, it is convenient when you select an input source. For example, if a video game player is connected to the VIDEO 2, you can name that source "GAME", or if a DVD player is connected to the DIGITAL 1 terminal, you can name that source "DVD". 1 Press MENU to display "Input Name". MENU 0 VIDEO 2: MD VIDEO 2: CD VIDEO 2: LD If you select DIGITAL 1 or 2 in step 2 above, names are displayed in the following order when you press +. DIGITAL 1 D1: DVD D1: LD D1: GAME D1: MD D1: CD D1: SAT Notes • "D1:" is displayed before the name when DIGITAL 1 is selected, while "D2:" is displayed before the name when DIGITAL 2 is selected. • Pressing - displays the names in reverse order. 4 Repeat steps 1 through 3 to give names to VIDEO 2, DIGITAL 1 and DIGITAL 2 input terminals. After adjusting the menu functions, press MENU. The input display returns. 2 Press the AV selector button to select the input you want to name (VIDEO 2, DIGITAL 1 or DIGITAL 2). AV English 25
-
 1
1 -
2
-
3
-
4
-
5
-
6
-
7
-
8
-
9
-
10
-
11
-
12
-
13
-
14
-
15
-
16
-
17
-
18
-
19
-
20
-
21
-
22
-
23
-
 24
24 -
 25
25 -
 26
26 -
 27
27 -
 28
28 -
 29
29 -
 30
30 -
 31
31 -
 32
32 -
 33
33 -
 34
34 -
35
-
36
-
37
-
38
-
39
-
40
-
41
-
42
-
43
-
44
-
45
 |
 |