eMachines S1940 User Guide - Page 26
Installing an Expansion Card
 |
View all eMachines S1940 manuals
Add to My Manuals
Save this manual to your list of manuals |
Page 26 highlights
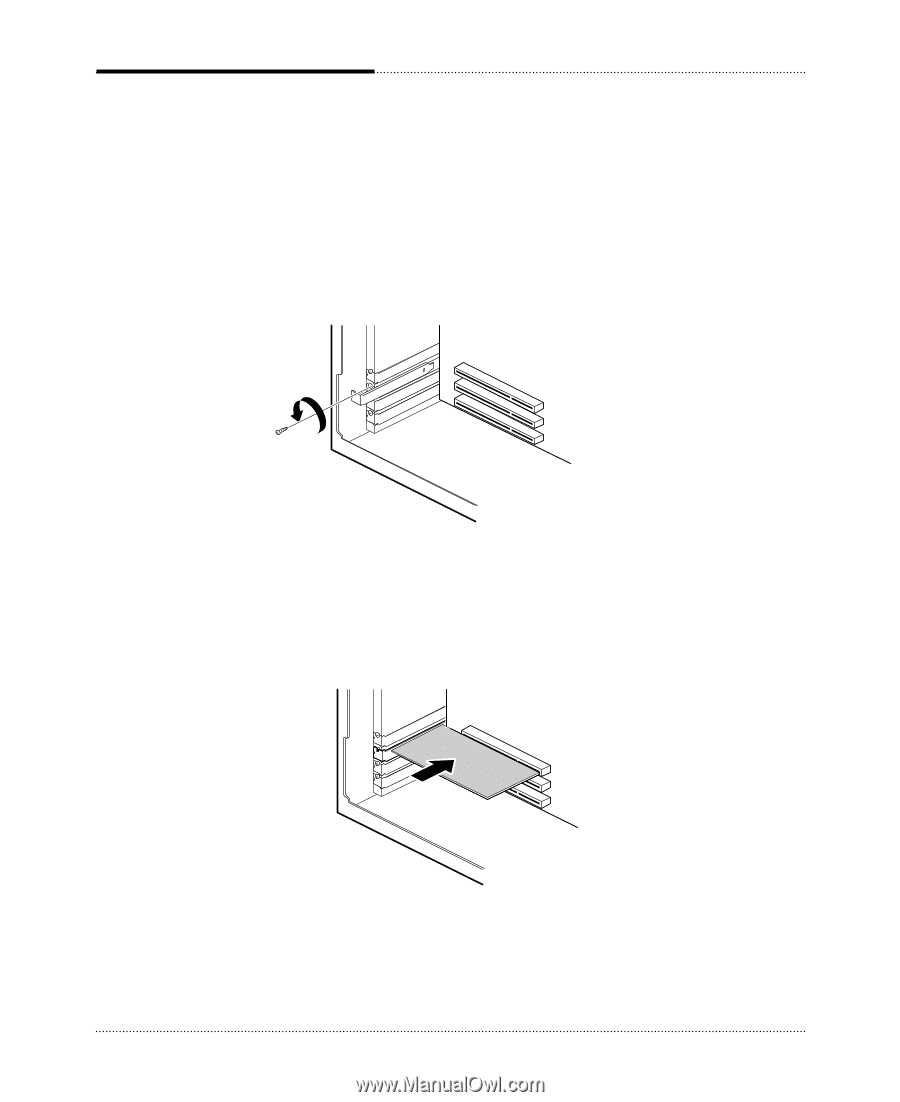
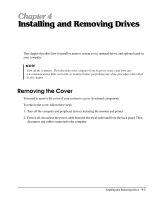
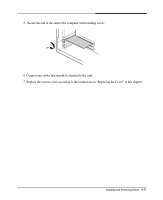
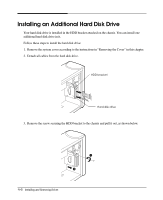
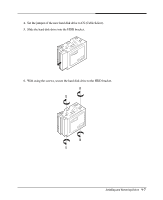
Installing an Expansion Card This section explains how to install an expansion card in your computer. Follow these steps to install an expansion card: 1. Remove the system cover according to the instructions in "Removing the Cover" in this chapter. 2. Remove the retaining screw from the metal slot cover you want to use. Then lift out the slot cover. 3. Adjust any switches or jumpers on the expansion card, if necessary. When you handle the card, be careful not to touch any components on the circuit board or the gold-edged connector. 4. Hold the card along the top corners and guide it into the connector. When the expansion card connector reaches the connector on the mainboard, push the card in firmly to insert it fully. 4-4 Installing and Removing Drives
-
 1
1 -
2
-
3
-
4
-
5
-
6
-
7
-
8
-
9
-
10
-
11
-
12
-
13
-
14
-
15
-
16
-
17
-
18
-
19
-
20
-
 21
21 -
 22
22 -
 23
23 -
 24
24 -
 25
25 -
 26
26 -
 27
27 -
 28
28 -
 29
29 -
 30
30 -
 31
31 -
32
-
33
-
34
-
35
-
36
-
37
-
38
-
39
-
40
-
41
-
42
-
43
-
44
-
45
-
46
-
47
-
48
-
49
-
50
 |
 |