Asus PA238Q User Guide - Page 23
Input Select, DisplayPort, System Setup, Splendid Demo Mode, Volume, OSD Setup, H-Position / V-
 |
View all Asus PA238Q manuals
Add to My Manuals
Save this manual to your list of manuals |
Page 23 highlights
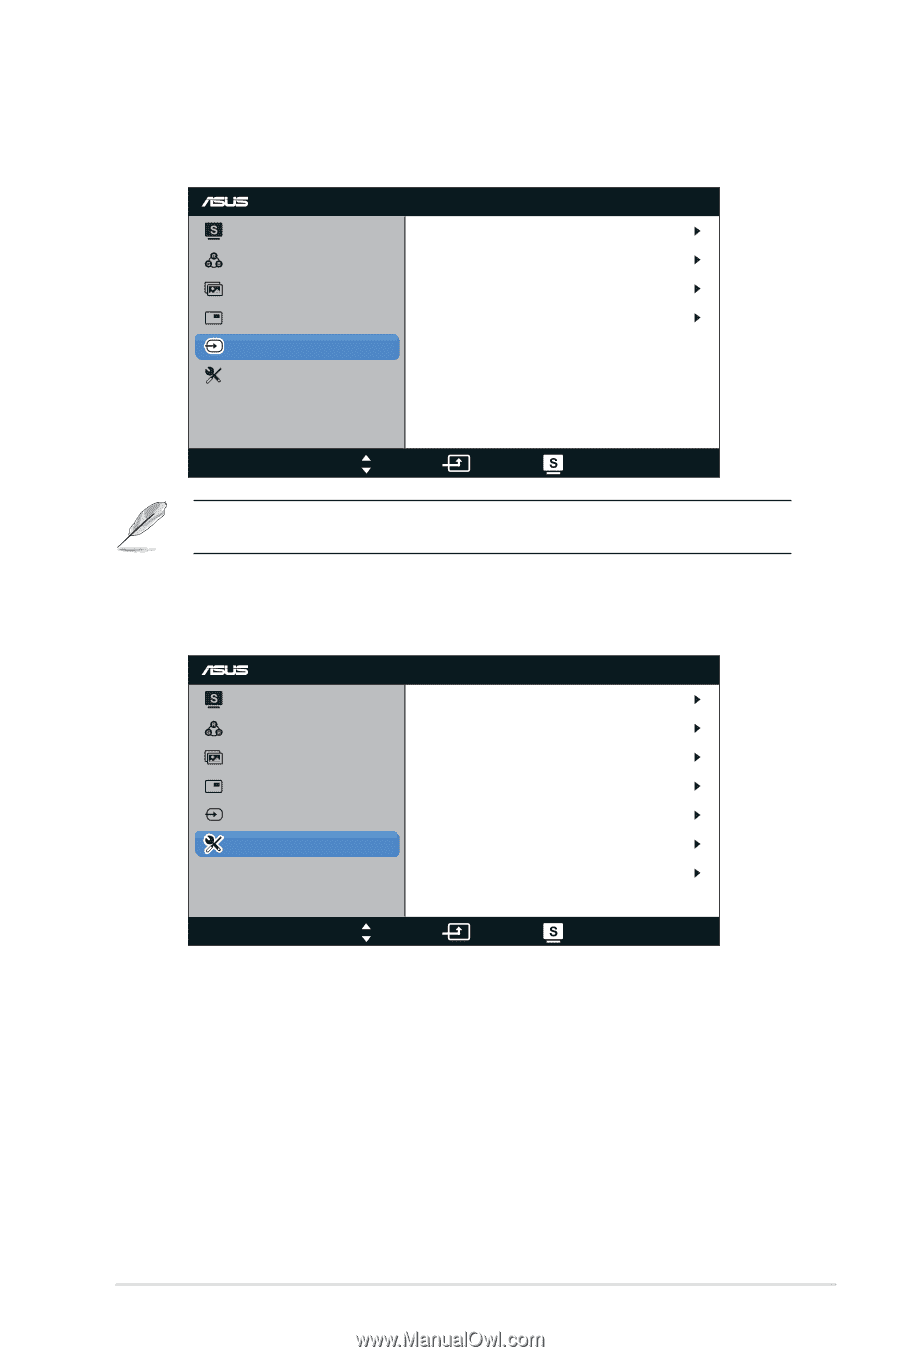
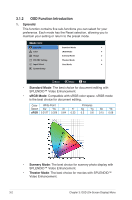
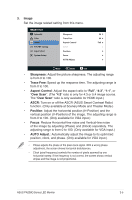
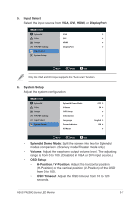
5. Input Select Select the input source from VGA, DVI, HDMI, or DisplayPort. PA238 Splendid Color Image PIP/PBP Setting Input Select System Setup VGA DVI HDMI DisplayPort Move Menu Exit Only the VGA and DVI input supports the "Auto scan" function. 6. System Setup Adjust the system configuration. PA238 Splendid Color Image PIP/PBP Setting Input Select System Setup Splendid Demo Mode Volume OSD Setup Information Language Power Indicator All Reset OFF 50 English ON Move Menu Exit • Splendid Demo Mode: Split the screen into two for Splendid modes comparison. (Scenery mode/Theater mode only) • Volume: Adjust the earphone output volume level. The adjusting range is from 0 to 100. (Disabled in VGA or DVI input source.) • OSD Setup: • H-Position / V-Position: Adjust the horizontal position (H-Position) or the vertical position (V-Position) of the OSD from 0 to 100. • OSD Timeout: Adjust the OSD timeout from 10 to 120 seconds. ASUS PA238Q Series LED Monitor 3-7
-
 1
1 -
2
-
3
-
4
-
5
-
6
-
7
-
8
-
9
-
10
-
11
-
12
-
13
-
14
-
15
-
16
-
17
-
 18
18 -
 19
19 -
 20
20 -
 21
21 -
 22
22 -
 23
23 -
 24
24 -
 25
25 -
 26
26 -
 27
27
 |
 |