Brother International DCP-J140W Quick Setup Guide - English - Page 3
Important
 |
View all Brother International DCP-J140W manuals
Add to My Manuals
Save this manual to your list of manuals |
Page 3 highlights
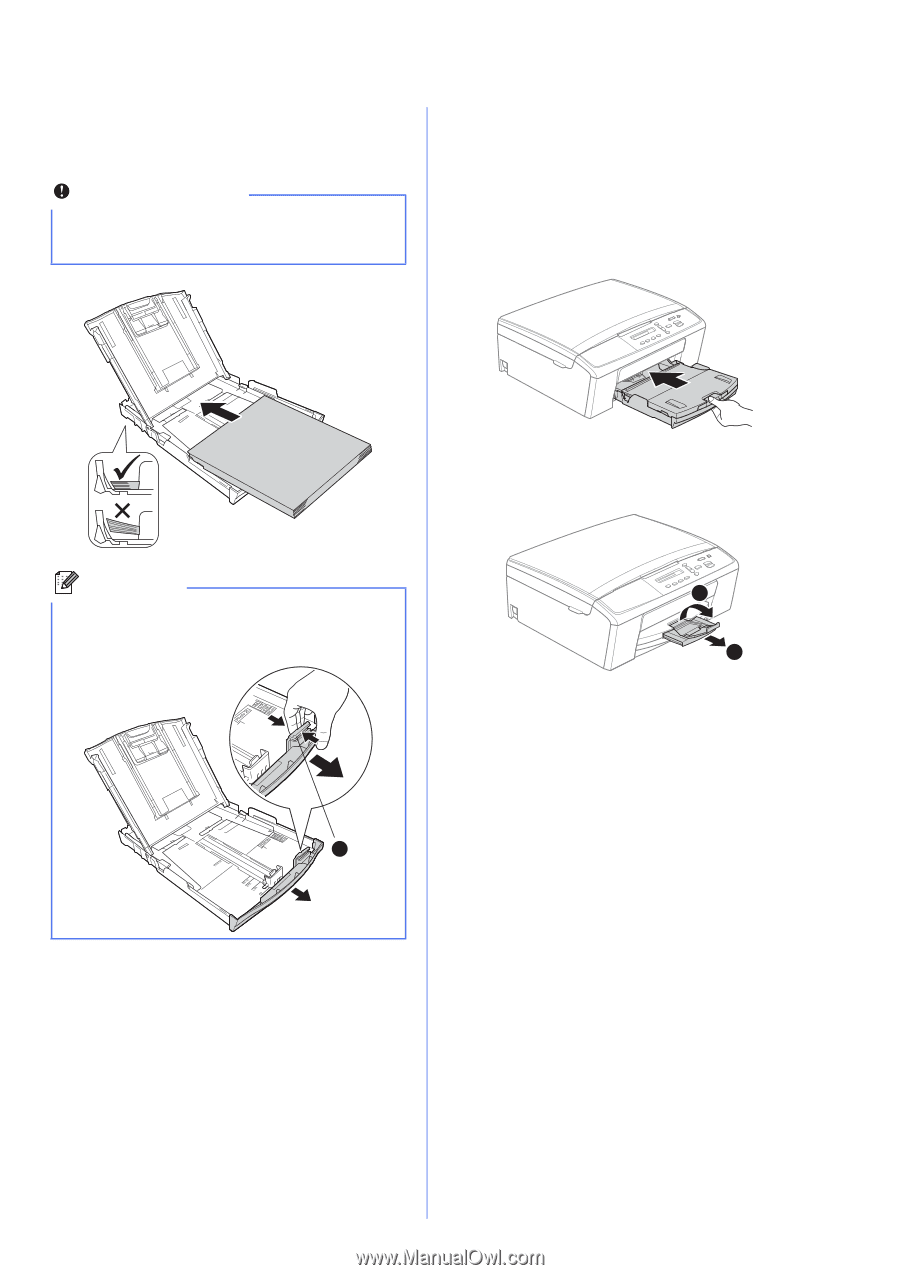
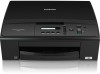
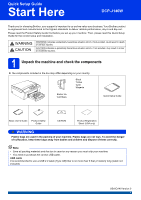
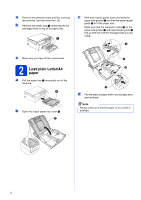
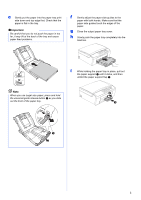
e Gently put the paper into the paper tray print side down and top edge first. Check that the paper is flat in the tray. Important Be careful that you do not push the paper in too far; it may lift at the back of the tray and cause paper feed problems. f Gently adjust the paper side guides to the paper with both hands. Make sure that the paper side guides touch the edges of the paper. g Close the output paper tray cover. h Slowly push the paper tray completely into the machine. i While holding the paper tray in place, pull out the paper support a until it clicks, and then unfold the paper support flap b. Note When you use Legal size paper, press and hold the universal guide release button a as you slide out the front of the paper tray. 2 1 1 3
-
 1
1 -
 2
2 -
 3
3 -
 4
4 -
 5
5 -
 6
6 -
 7
7 -
 8
8 -
 9
9 -
10
-
11
-
12
-
13
-
14
-
15
-
16
-
17
-
18
-
19
-
20
-
21
-
22
-
23
-
24
-
25
-
26
-
27
-
28
-
29
-
30
-
31
-
32
 |
 |