Canon PIXMA MP495 MP495 series Getting Started - Page 45
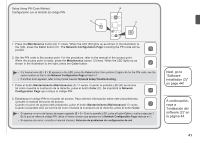
A continuación, vaya, a Instalación del, software 2 en la, página 44., Next, go to Software
 |
UPC - 660685024540
View all Canon PIXMA MP495 manuals
Add to My Manuals
Save this manual to your list of manuals |
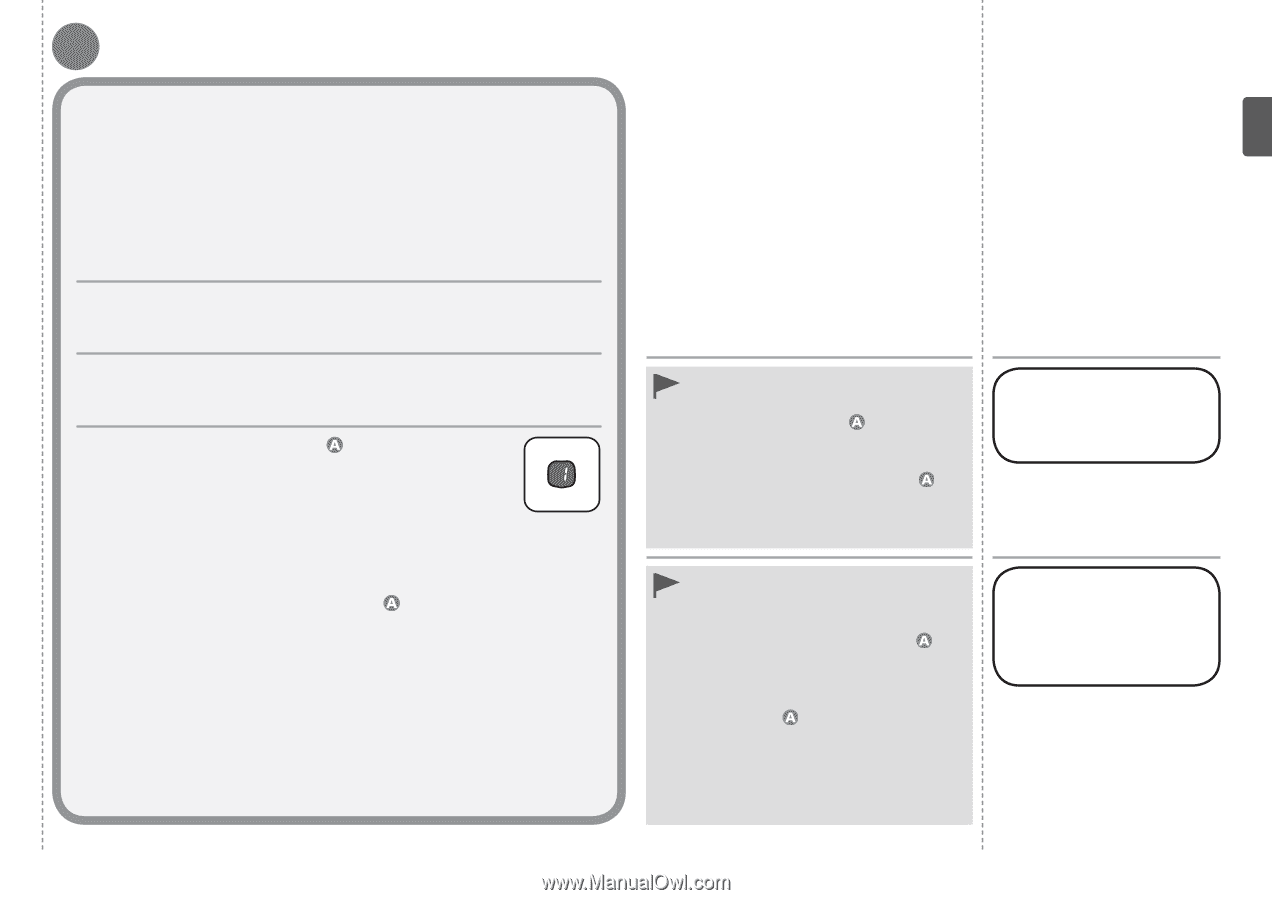
Page 45 highlights
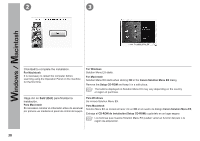
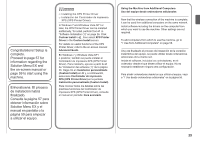
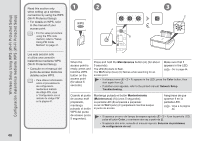
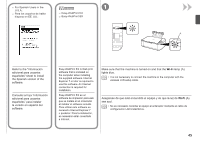
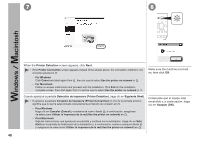
B Setup on the Computer Configuración en el ordenador 1. For Windows 7 From the Start menu, select Computer > Network. For Windows Vista From the Start menu, select Network. 1. Para Windows 7 Desde el menú Iniciar (Start), seleccione Equipo (Computer) > Red (Network). Para Windows Vista Desde el menú Iniciar (Start), seleccione Red (Network). 2. Click Add a wireless device on the menu. 2. Haga clic en Agregar un dispositivo inalámbrico (Add a wireless device) en el menú. 3. Select the machine, then click Next. 3. Seleccione el equipo y, a continuación, haga clic en Siguiente (Next). 4. Enter the PIN code printed in -2. Follow the on-screen instructions to complete the settings on the computer. When complete, the LED lights up as shown in the illustration to the right. Connection may fail depending on the access point or router. If an error that this machine is not detected or cannot be added appears, use the wireless LAN setup cable to connect to the wireless LAN. 4. Introduzca el código PIN impreso en -2. Siga las instrucciones en pantalla para finalizar la configuración en el ordenador. Una vez concluida, la pantalla LED se iluminará tal como muestra la ilustración de la derecha. En función del punto de acceso o router, es posible que la conexión falle. Si aparece un error informando de que no se detecta el equipo o de que no se puede añadir, utilice el cable de configuración LAN inalámbrica para conectar a la LAN inalámbrica. • If a timeout error (E > 2 > 2) appears in the LED, press the Color button, then start again from -4. As for the PIN code, use the same number as that in the Network Configuration Page printed in -2. If another error appears, refer to the printed manual: Network Setup Troubleshooting. • Si aparece un error de tiempo de espera agotado (E > 2 > 2) en la pantalla LED, pulse el botón Color y vuelva a empezar a partir de -4. En lo que se refiere al código PIN, utilice el mismo número que aparezca en la Network Configuration Page impresa en -2. Si aparece otro error, consulte el manual impreso: Solución de problemas de configuración de red. Next, go to "Software Installation (2)" on page 44! A continuación, vaya a "Instalación del software (2)" en la página 44. 43
-
 1
1 -
2
-
3
-
4
-
5
-
6
-
7
-
8
-
9
-
10
-
11
-
12
-
13
-
14
-
15
-
16
-
17
-
18
-
19
-
20
-
21
-
22
-
23
-
24
-
25
-
26
-
27
-
28
-
29
-
30
-
31
-
32
-
33
-
34
-
35
-
36
-
37
-
38
-
39
-
 40
40 -
 41
41 -
 42
42 -
 43
43 -
 44
44 -
 45
45 -
 46
46 -
 47
47 -
 48
48 -
 49
49 -
 50
50 -
51
-
52
-
53
-
54
-
55
-
56
-
57
-
58
-
59
-
60
-
61
-
62
-
63
-
64
-
65
-
66
-
67
-
68
 |
 |