D-Link DSM-10 Manual - Page 17
Wireless Setup, Manually, Connect, Step 6
 |
View all D-Link DSM-10 manuals
Add to My Manuals
Save this manual to your list of manuals |
Page 17 highlights
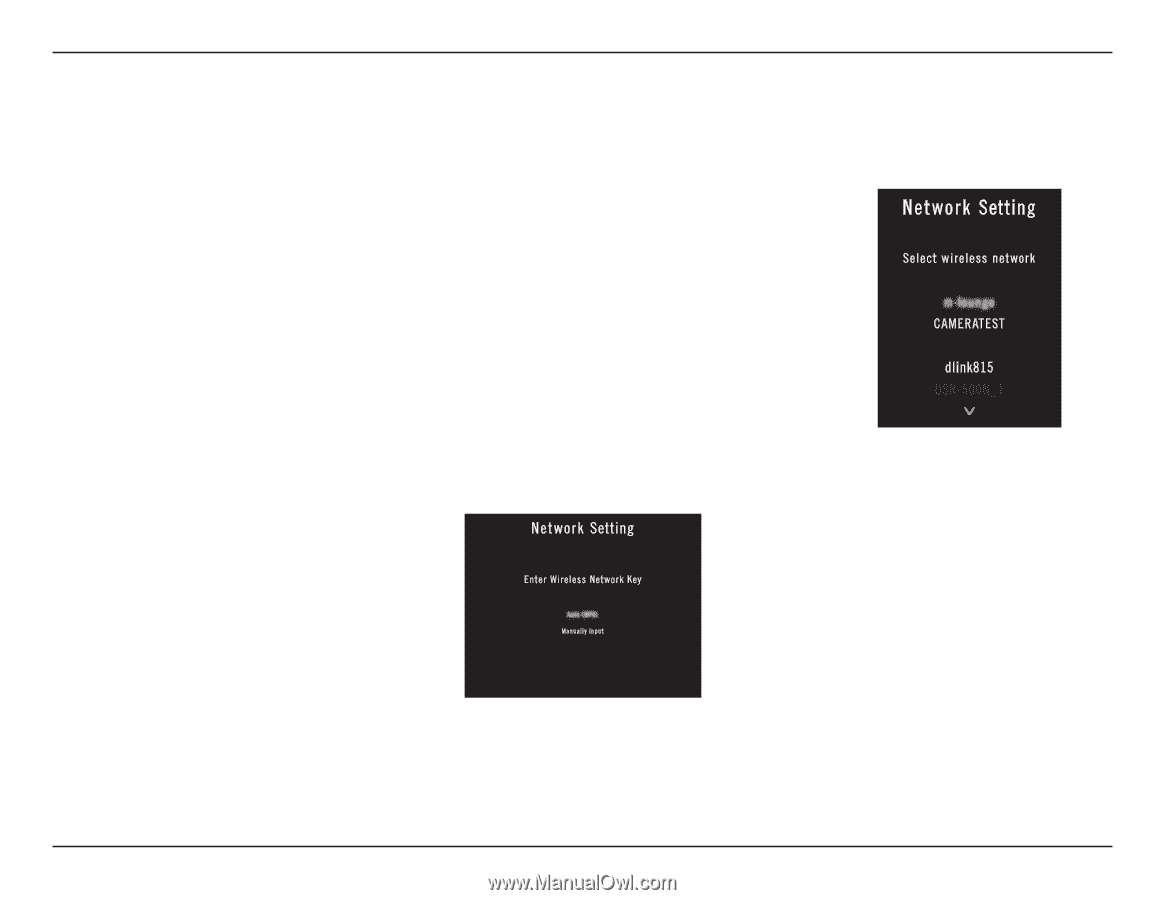
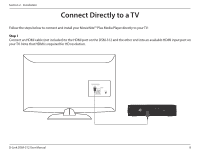
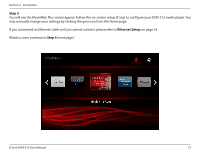
Section 2 - Installation Wireless Setup Step 6 - If you did not connect an Ethernet cable, the DSM-312 will attempt to connect to a wireless network. A list of wireless networks in your area will appear. Select the network you want to connect to and press the OK button on your remote. If you do not see your network displayed in the list, you can scroll down and select Manually Connect to manually enter your wireless network name (SSID) and security settings. Note that your wireless network will not be displayed if your router is out of range or the SSID broadcast is disabled (or visibility is set to invisible). Remember that the SSID and security password must match your wireless router or access point exactly (case-sensitive). Step 7 - If the network you want to connect to is secure (encrypted), you will be prompted to enter the security password. Note: You can also use WPS (useful if you do not remember your wireless password). Skip to the WPS Setup section on page 15. D-Link DSM-312 User Manual 13
-
 1
1 -
2
-
3
-
4
-
5
-
6
-
7
-
8
-
9
-
10
-
11
-
 12
12 -
 13
13 -
 14
14 -
 15
15 -
 16
16 -
 17
17 -
 18
18 -
 19
19 -
 20
20 -
 21
21 -
 22
22 -
23
-
24
-
25
-
26
-
27
-
28
-
29
-
30
-
31
-
32
-
33
-
34
-
35
-
36
-
37
-
38
-
39
-
40
-
41
-
42
-
43
-
44
-
45
-
46
-
47
-
48
-
49
-
50
-
51
-
52
 |
 |