D-Link DSM-10 Manual - Page 19
WPS Setup, Step 2, WPS Auto
 |
View all D-Link DSM-10 manuals
Add to My Manuals
Save this manual to your list of manuals |
Page 19 highlights
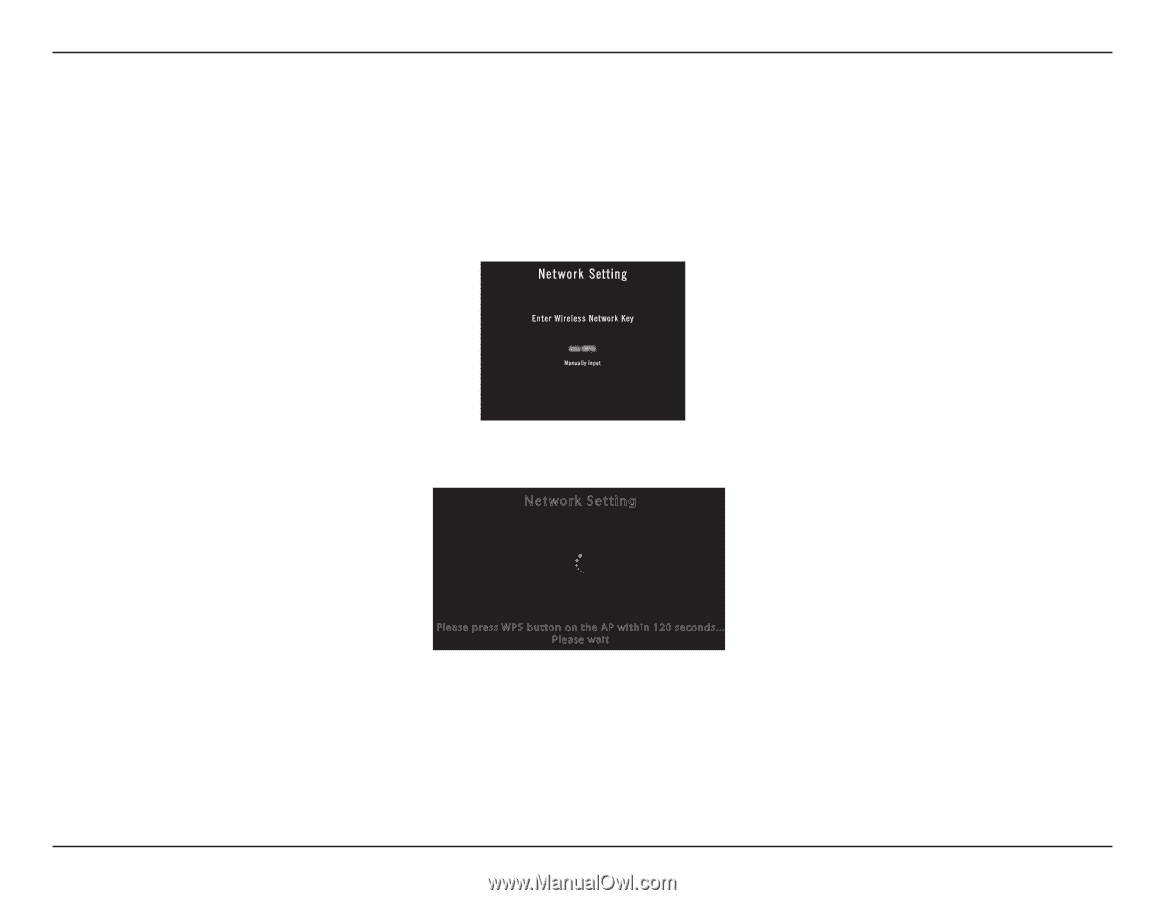
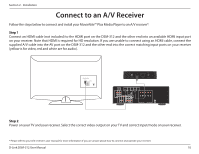
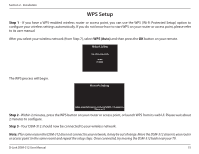
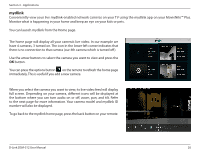
Section 2 - Installation WPS Setup Step 1 - If you have a WPS-enabled wireless router or access point, you can use the WPS (Wi-Fi Protected Setup) option to configure your wireless settings automatically. If you do not know how to start WPS on your router or access point, please refer to its user manual. After you select your wireless network (from Step 7), select WPS (Auto) and then press the OK button on your remote. The WPS process will begin. Network Setting Please press WPS button on the AP within 120 seconds... Please wait Step 2 - Within 2 minutes, press the WPS button on your router or access point, or launch WPS from its web UI. Please wait about 2 minutes to configure. Step 3 - Your DSM-312 should now be connected to your wireless network. Note: If for some reason the DSM-312 does not connect to your network, it may be out of range. Move the DSM-312 closer to your router or access point (in the same room) and repeat the setup steps. Once connected, try moving the DSM-312 back near your TV. D-Link DSM-312 User Manual 15
-
 1
1 -
2
-
3
-
4
-
5
-
6
-
7
-
8
-
9
-
10
-
11
-
12
-
13
-
 14
14 -
 15
15 -
 16
16 -
 17
17 -
 18
18 -
 19
19 -
 20
20 -
 21
21 -
 22
22 -
 23
23 -
 24
24 -
25
-
26
-
27
-
28
-
29
-
30
-
31
-
32
-
33
-
34
-
35
-
36
-
37
-
38
-
39
-
40
-
41
-
42
-
43
-
44
-
45
-
46
-
47
-
48
-
49
-
50
-
51
-
52
 |
 |