Dewalt DC618K Instruction Manual - Page 7
Adjusting Depth Fig. 10, Headlights Fig. 10, Preparing the Tool, Using the Contact Trip Lock-off, - dc618
 |
View all Dewalt DC618K manuals
Add to My Manuals
Save this manual to your list of manuals |
Page 7 highlights
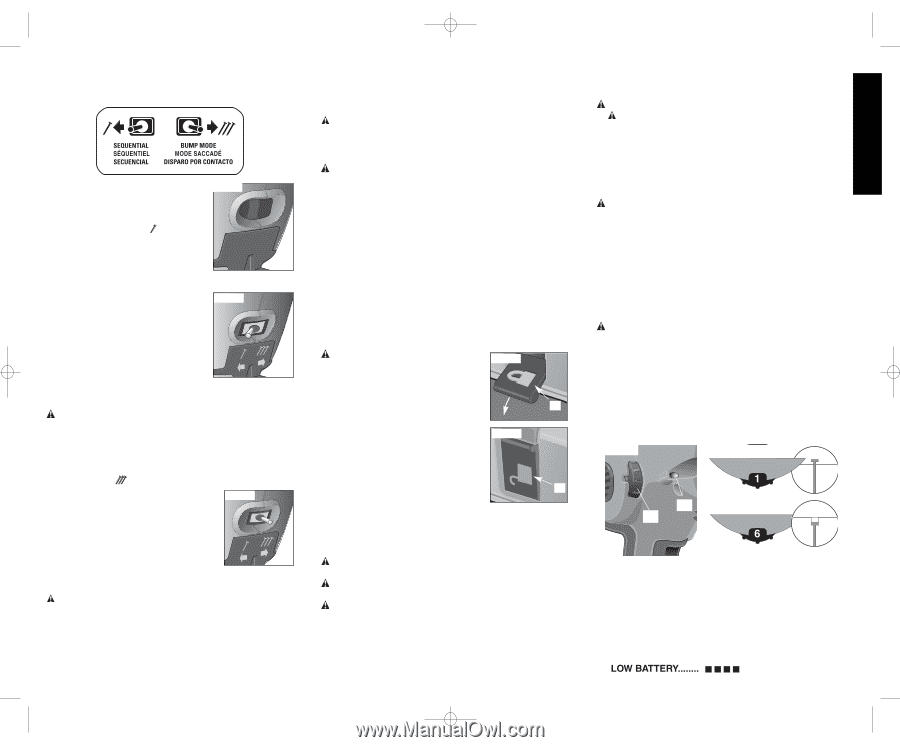
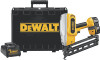
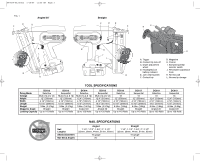
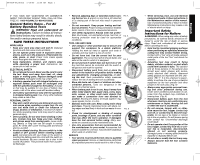
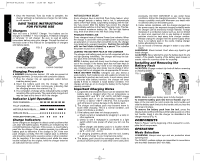
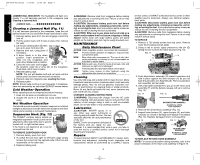
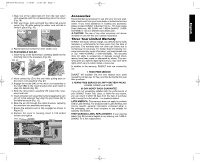
644429-00,DC612 7/10/06 11:56 AM Page 5 English Before operating this tool, look at the selector switch to determine the actuation mode. Read all instructions before selecting actuation mode. • DEWALT cordless nailers DC613, FIG. 5 DC615, DC617, and DC619 are ONLY capable of operating in sequential action mode (Fig. 5). SEQUENTIAL ACTION Use sequential action for intermittent nailing where very careful and accurate placement is desired. To operate the nailer in sequential action mode: 1. Flip the switch located on the body FIG. 6 of the tool just between the trigger and magazine to the left, as shown in Figure 6. 2. Fully depress nosepiece against the work surface (motor will start). 3. Pull trigger (nail will drive into work surface). 4. Release trigger. 5. Lift nosepiece off work surface. 6. Repeat steps 2 through 4 for next application. CAUTION: The contact trip needs to be depressed followed by a trigger pull for each nail followed by a release of both the contact trip and trigger after each nail. • DEWALT cordless nailers DC612, DC614, DC616, and DC618 are equipped with a bump/sequential selector switch (Fig. 6). BUMP ACTION Bump action is intended for rapid nailing FIG. 7 on flat, stationary surfaces. When using bump action, two methods are available: place actuation and bump actuation. Flip the switch located on the body of the tool just between the trigger and magazine to the right as shown in Figure 7. To operate the tool using the PLACE ACTUATION method: CAUTION: A nail will fire each time the trigger is depressed as long as the contact trip remains depressed. 1. Depress the contact trip against the work surface. 2. Depress the trigger. To operate the tool using the BUMP ACTUATION method: 1. Depress the trigger. 2. Push the contact trip against the work surface. As long as the trigger is depressed, the tool will fire a nail every time the contact trip is depressed. This allows the user to drive multiple nails in sequence. CAUTION: Do not keep trigger depressed when tool is not in use. Keep the contact trip lock-off engaged in the locked position when the tool is not in use. Preparing the Tool CAUTION: NEVER spray or in any other way apply lubricants or cleaning solvents inside the tool. This can seriously affect the life and performance of the tool. NOTE: The battery pack is not fully charged out of the carton. Follow instructions outlined (see Charging Procedures). 1. Read the Safety Instruction section of this manual. 2. Wear eye and ear protection. 3. Ensure magazine is empty of all fasteners. 4. Check for smooth and proper operation of contact trip and pusher assemblies. Do not use tool if either assembly is not functioning properly. NEVER use a tool that has the contact trip restrained in the actuated position. 5. Keep tool pointed away from yourself and others. 6. Insert fully charged battery pack. Using the Contact Trip Lock-off (Fig. 8, 9) WARNING: Always wear eye and FIG. 8 ear protection when operating tool. Each DEWALT nailer is equipped with a contact trip lock-off (B) which when pulled downward with the lock symbol showing as shown, prevents the tool B from firing a nail. When the contact trip lock-off is FIG. 9 folded in as shown, the tool will be fully operational. The contact trip lock- off should always be locked off when- ever any adjustments are made or when tool is not in immediate use. NOTE: Tools equipped with selective B actuation, when in bump fire mode will allow the motor to start upon trigger pull. This is normal oper- ation. The contact trip lock-off constrains the contact trip from discharging a nail. Loading the Tool CAUTION: Keep tool pointed in a safe direction when loading nails. CAUTION: Never load nails with the contact trip or trigger activated. CAUTION: Always remove battery pack before loading or unloading nails. LOAD AND DRAW METHOD (FIG. 1) 1. Insert fasteners into the rear of the magazine (G). 2. Pull pusher (H) back until the nail follower falls behind the nails. 5 3. Release the pusher. LOCK AND LOAD METHOD CAUTION: Keep fingers clear of pusher to prevent injury. CAUTION: The contact trip lock-off should always be locked off whenever any adjustments are made or when tool is not in use. 1. Pull pusher back until it locks. 2. Insert fasteners into the rear of the magazine. 3. Push forward on the pusher until it releases and slides forward. UNLOADING THE TOOL CAUTION: The contact trip lock-off should always be locked off whenever any adjustments are made or when tool is not in use. 1. Pull pusher back until it locks. 2. Tip the tool up until the nails slide freely out the back of the magazine 3. Open the jam clear door on the nosepiece to verify there are no nails remaining. Adjusting Depth (Fig. 10) The depth that the fastener is driven can be adjusted using the depth adjustment wheel (C) on the side of the tool. WARNING: To reduce risk of serious injury from accidental actuation when attempting to adjust depth, ALWAYS: • Remove battery pack. • Engage contact trip lock-off. • Avoid contact with trigger during adjustments. 1. To drive the nail shallower, rotate the depth adjustment wheel (C) counterclockwise. There are six depth settings, 1 being the shallowest and 6 being the deepest. 2. To sink a nail deeper, rotate the depth adjustment wheel (C) clockwise. FIG. 10 D C Headlights (Fig. 10) There is a headlight (D) located on each side of the nailer. Headlights turn on upon battery insertion, activation of the trigger, or depressing the contact trip. The lights will automatically shut off after 10 seconds unless tool remains in use. NOTE: These headlights are for lighting the immediate work surface and are not intended to be used as flashlights. LOW BATTERY INDICATOR: The headlights will flash four consecutive times and then shut down to indicate low battery.
-
 1
1 -
 2
2 -
 3
3 -
 4
4 -
 5
5 -
 6
6 -
 7
7 -
 8
8 -
 9
9 -
 10
10 -
 11
11 -
 12
12 -
13
-
14
-
15
-
16
-
17
-
18
-
19
-
20
-
21
-
22
-
23
-
24
-
25
-
26
-
27
-
28
-
29
-
30
-
31
-
32
-
33
-
34
-
35
-
36
 |
 |