Epson Stylus Photo RX600 User Manual - Page 96
Using All Index Print
 |
View all Epson Stylus Photo RX600 manuals
Add to My Manuals
Save this manual to your list of manuals |
Page 96 highlights
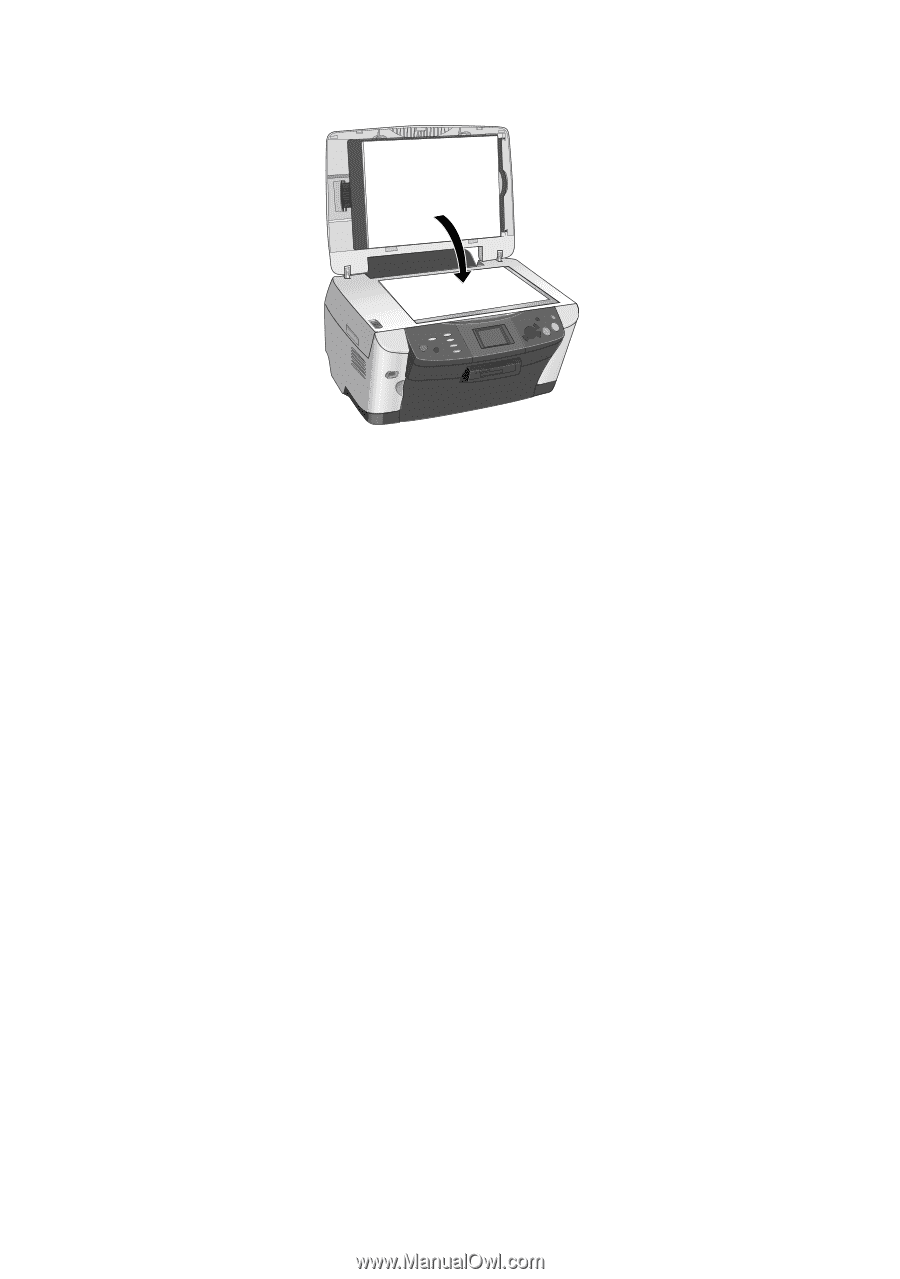
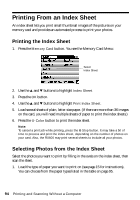
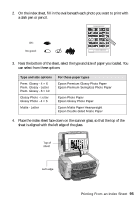
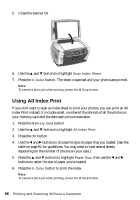
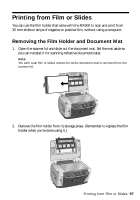
5. Close the scanner lid. 6. Use the u and d buttons to highlight Scan Index Sheet. 7. Press the x Color button. The sheet is scanned and your photos are printed. Note: To cancel a print job while printing, press the y Stop button. Using All Index Print If you don't want to scan an index sheet to print your photos, you can print an All Index Print instead. It includes small, numbered thumbnails of all the photos on your memory card and the date each picture was taken. 1. Press the Memory Card button. 2. Use the u and d buttons to highlight All Index Print. 3. Press the OK button. 4. Use the l and r buttons to choose the type of paper that you loaded. (See the table on page 91 for guidelines. You may need to load several sheets, depending on the number of photos on your card.) 5. Press the u and d buttons to highlight Paper Size, then use the l and r buttons to select the size of paper you've loaded. 6. Press the x Color button to print the index. Note: To cancel a print job while printing, press the y Stop button. 96 Printing and Scanning Without a Computer
-
 1
1 -
2
-
3
-
4
-
5
-
6
-
7
-
8
-
9
-
10
-
11
-
12
-
13
-
14
-
15
-
16
-
17
-
18
-
19
-
20
-
21
-
22
-
23
-
24
-
25
-
26
-
27
-
28
-
29
-
30
-
31
-
32
-
33
-
34
-
35
-
36
-
37
-
38
-
39
-
40
-
41
-
42
-
43
-
44
-
45
-
46
-
47
-
48
-
49
-
50
-
51
-
52
-
53
-
54
-
55
-
56
-
57
-
58
-
59
-
60
-
61
-
62
-
63
-
64
-
65
-
66
-
67
-
68
-
69
-
70
-
71
-
72
-
73
-
74
-
75
-
76
-
77
-
78
-
79
-
80
-
81
-
82
-
83
-
84
-
85
-
86
-
87
-
88
-
89
-
90
-
 91
91 -
 92
92 -
 93
93 -
 94
94 -
 95
95 -
 96
96 -
 97
97 -
 98
98 -
 99
99 -
 100
100 -
 101
101 -
102
-
103
-
104
-
105
-
106
-
107
-
108
-
109
-
110
-
111
-
112
-
113
-
114
-
115
-
116
-
117
-
118
-
119
-
120
-
121
-
122
-
123
-
124
-
125
-
126
-
127
-
128
-
129
-
130
-
131
-
132
-
133
-
134
-
135
-
136
-
137
-
138
-
139
-
140
-
141
-
142
-
143
-
144
-
145
-
146
-
147
-
148
-
149
-
150
-
151
-
152
-
153
-
154
-
155
-
156
-
157
-
158
-
159
-
160
-
161
-
162
-
163
-
164
-
165
-
166
-
167
-
168
-
169
-
170
-
171
-
172
-
173
-
174
 |
 |