Gateway ML6227q 8511725 - Gateway Service Guide - Page 58
Step 10, Replace the bracket and the two screws removed
 |
View all Gateway ML6227q manuals
Add to My Manuals
Save this manual to your list of manuals |
Page 58 highlights
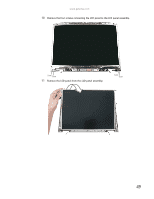
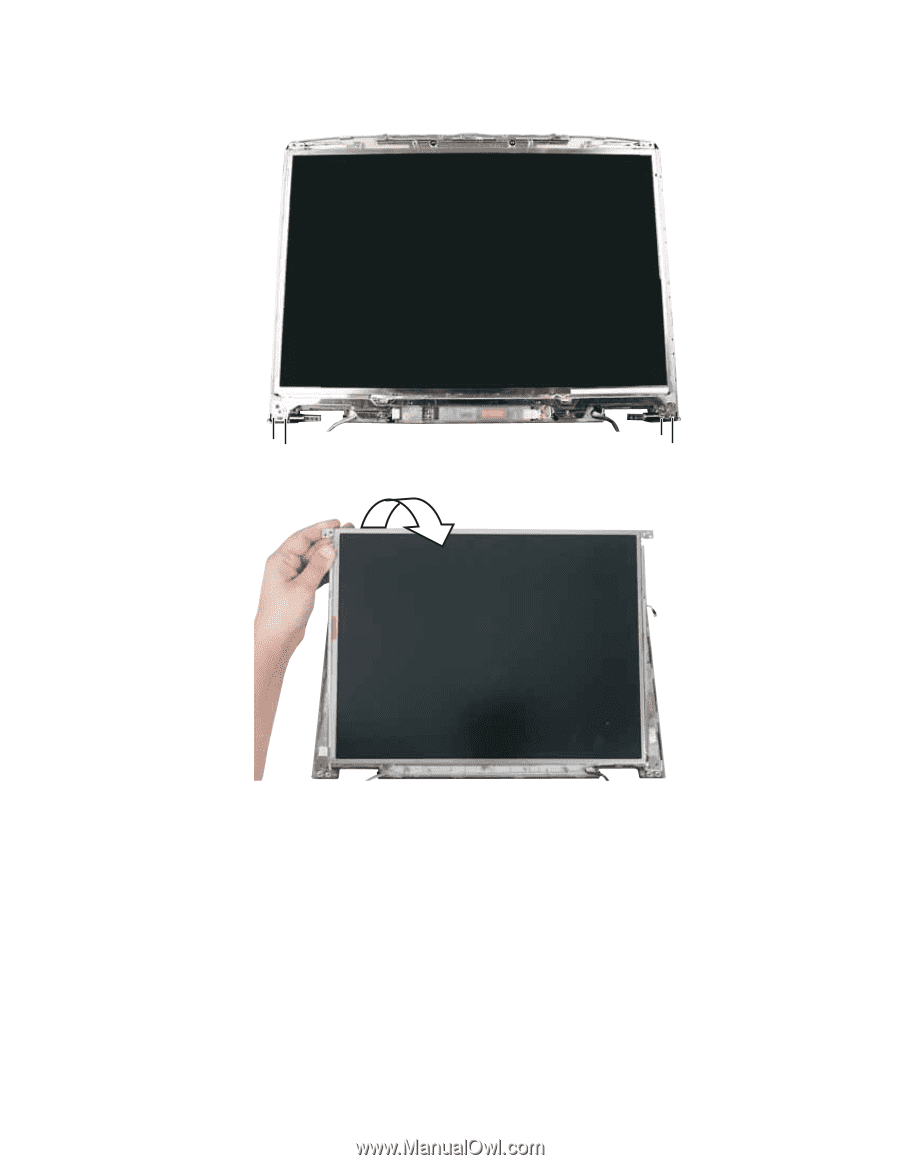
Replacing Notebook Components 10 Remove the four screws connecting the LCD panel to the LCD panel assembly. Screw Screw 11 Remove the LCD panel from the LCD panel assembly. Screw Screw 12 Place the LCD panel into the new LCD panel assembly lid. 13 Replace the four screws removed in Step 10. 14 Replace the bracket and the two screws removed in Step 9. 54
-
 1
1 -
2
-
3
-
4
-
5
-
6
-
7
-
8
-
9
-
10
-
11
-
12
-
13
-
14
-
15
-
16
-
17
-
18
-
19
-
20
-
21
-
22
-
23
-
24
-
25
-
26
-
27
-
28
-
29
-
30
-
31
-
32
-
33
-
34
-
35
-
36
-
37
-
38
-
39
-
40
-
41
-
42
-
43
-
44
-
45
-
46
-
47
-
48
-
49
-
50
-
51
-
52
-
 53
53 -
 54
54 -
 55
55 -
 56
56 -
 57
57 -
 58
58 -
 59
59 -
 60
60 -
 61
61 -
 62
62 -
 63
63 -
64
-
65
-
66
-
67
-
68
-
69
-
70
-
71
-
72
-
73
-
74
-
75
-
76
-
77
-
78
 |
 |
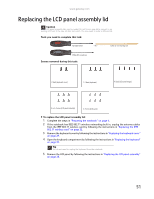
Replacing Notebook Components
54
10
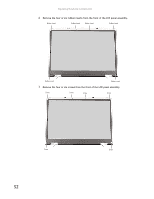
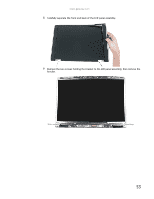
Remove the four screws connecting the LCD panel to the LCD panel assembly.
11
Remove the LCD panel from the LCD panel assembly.
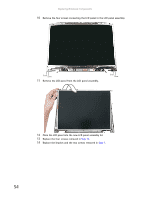
12
Place the LCD panel into the new LCD panel assembly lid.
13
Replace the four screws removed in
Step 10
.
14
Replace the bracket and the two screws removed in
Step 9
.
Screw
Screw
Screw
Screw