GE GFDS140GDWW Owners Manual - Page 11
Reversing the door swing.
 |
View all GE GFDS140GDWW manuals
Add to My Manuals
Save this manual to your list of manuals |
Page 11 highlights
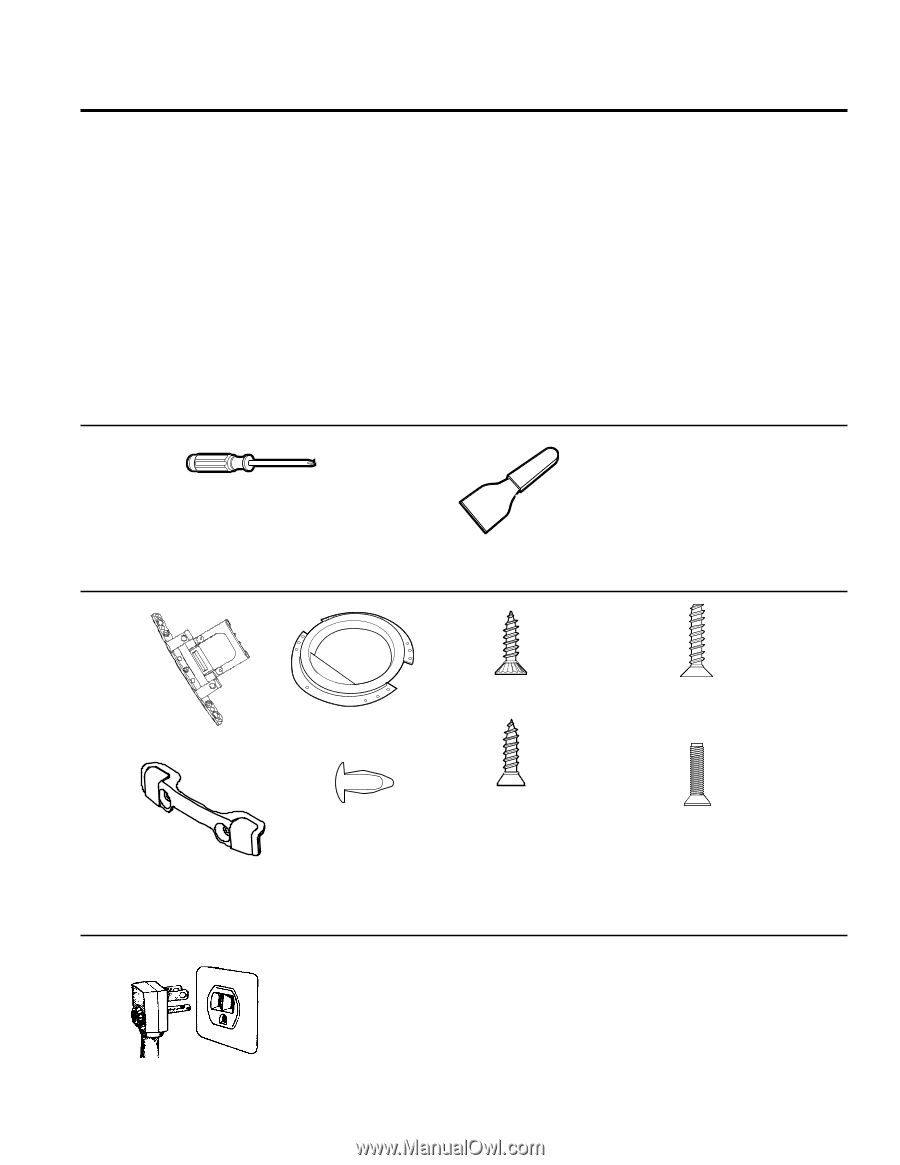
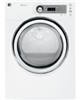
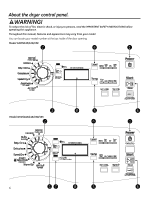
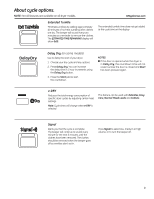
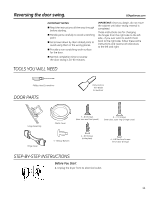
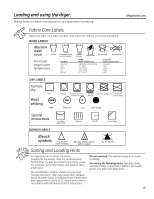
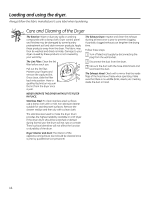
Reversing the door swing. GEAppliances.com IMPORTANT NOTES: „ Read the instructions all the way through before starting. „ Handle parts carefully to avoid scratching paint. „ Set screws down by their related parts to avoid using them in the wrong places. „ Provide a non-scratching work surface for the door. „ Normal completion time to reverse the door swing is 30-60 minutes. IMPORTANT: Once you begin, do not move the cabinet until door-swing reversal is completed. These instructions are for changing the hinges from the right side to the left side³if you ever want to switch them back to the right side, follow these same instructions and reverse all references to the left and right. TOOLS YOU WILL NEED Phillips Head Screwdriver DOOR PARTS Putty Knife or Thin-Blade Screwdriver Hinge Assembly Plastic Cover 5 - # 8 Screws (door asm and front panel) 8 - # 10 Screws (inner door, outer ring & hinge cover) Hinge Cover 5 - Beauty Buttons 4 - # 8 Screws (strike plate) 4 - # 8 Machine Screws (inner door & hinge) STEP-BY-STEP INSTRUCTIONS Before You Start 1. Unplug the dryer from its electrical outlet. 11
-
 1
1 -
2
-
3
-
4
-
5
-
 6
6 -
 7
7 -
 8
8 -
 9
9 -
 10
10 -
 11
11 -
 12
12 -
 13
13 -
 14
14 -
 15
15 -
 16
16 -
17
-
18
-
19
-
20
-
21
-
22
-
23
-
24
-
25
-
26
-
27
-
28
-
29
-
30
-
31
-
32
-
33
-
34
-
35
-
36
-
37
-
38
-
39
-
40
-
41
-
42
-
43
-
44
-
45
-
46
-
47
-
48
-
49
-
50
-
51
-
52
-
53
-
54
-
55
-
56
-
57
-
58
-
59
-
60
 |
 |