HP B8550 User Guide - Page 18
CAUTION, Twist the orange cap to snap it off. - ink cartridges
 |
UPC - 884420048510
View all HP B8550 manuals
Add to My Manuals
Save this manual to your list of manuals |
Page 18 highlights
English 3. Wait until the print carriage stops moving. Press the tab on the front of the ink cartridge and remove the cartridge from the slot. 4. Remove the plastic wrap from the new ink cartridge by pulling the orange pull-tab straight back. NOTE: Make sure you remove the plastic wrap from the ink cartridge before installing it in the product, or printing will fail. 5. Twist the orange cap to snap it off. 6. Slide the ink cartridge into its matching slot, and then press down firmly until it snaps into place. CAUTION: Do not lift the latch handle on the print carriage when installing the ink cartridges. Work with ink cartridges and the printhead 15
-
 1
1 -
2
-
3
-
4
-
5
-
6
-
7
-
8
-
9
-
10
-
11
-
12
-
 13
13 -
 14
14 -
 15
15 -
 16
16 -
 17
17 -
 18
18 -
 19
19 -
 20
20 -
 21
21 -
 22
22 -
 23
23 -
24
-
25
-
26
-
27
-
28
-
29
-
30
-
31
-
32
-
33
-
34
-
35
-
36
-
37
-
38
-
39
-
40
-
41
-
42
-
43
-
44
-
45
-
46
-
47
-
48
-
49
-
50
-
51
-
52
-
53
-
54
-
55
-
56
-
57
-
58
-
59
-
60
-
61
-
62
-
63
-
64
-
65
-
66
-
67
-
68
-
69
-
70
-
71
-
72
-
73
-
74
 |
 |
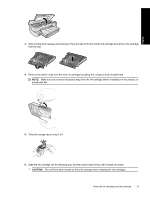
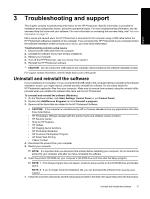
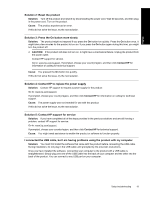
3.
Wait until the print carriage stops moving. Press the tab on the front of the ink cartridge and remove the cartridge
from the slot.
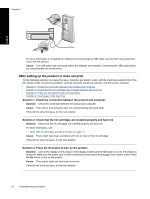
4.
Remove the plastic wrap from the new ink cartridge by pulling the orange pull-tab straight back.
NOTE:
Make sure you remove the plastic wrap from the ink cartridge before installing it in the product, or
printing will fail.
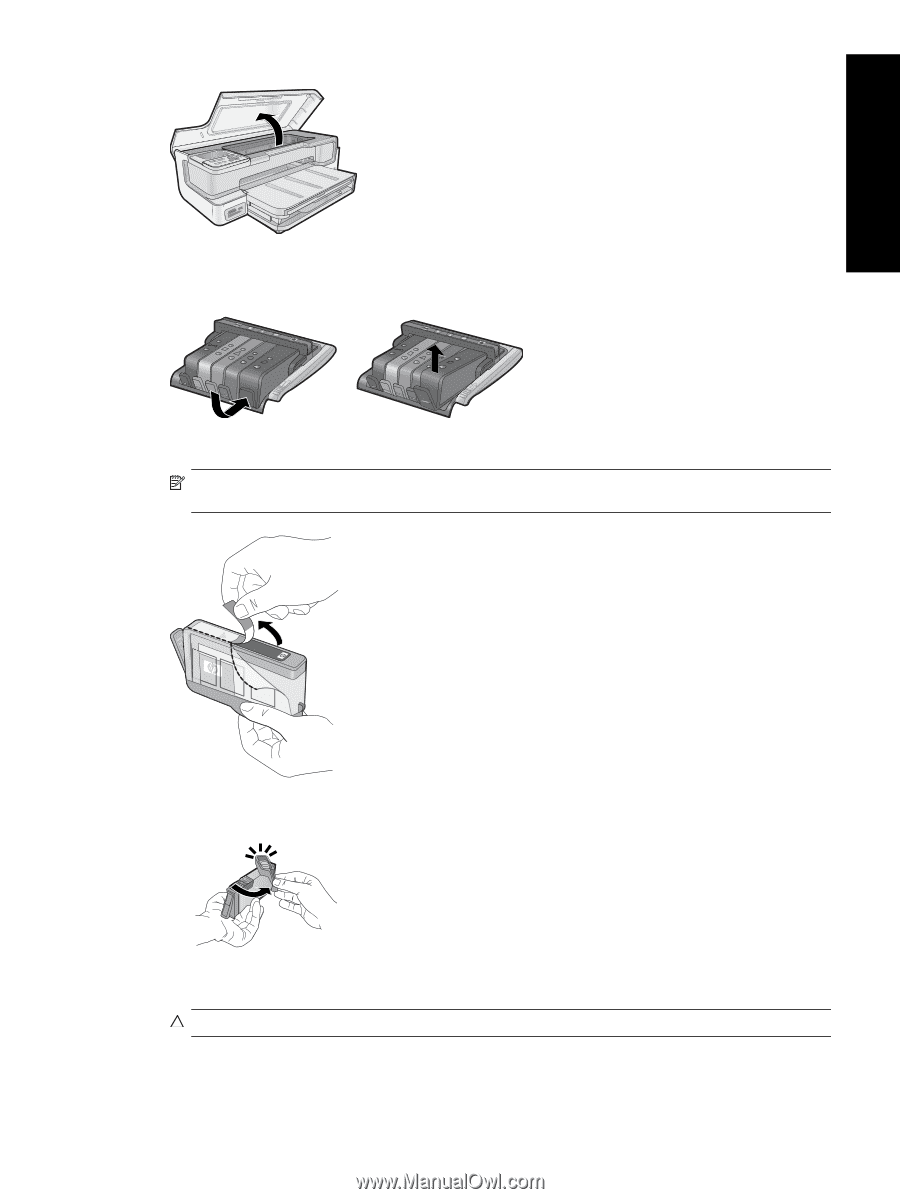
5.
Twist the orange cap to snap it off.
6.
Slide the ink cartridge into its matching slot, and then press down firmly until it snaps into place.
CAUTION:
Do not lift the latch handle on the print carriage when installing the ink cartridges.
Work with ink cartridges and the printhead
15
English