HP t310 Using PCoIP Host Cards with VMware View - Page 14
Host PC Configuration
 |
View all HP t310 manuals
Add to My Manuals
Save this manual to your list of manuals |
Page 14 highlights
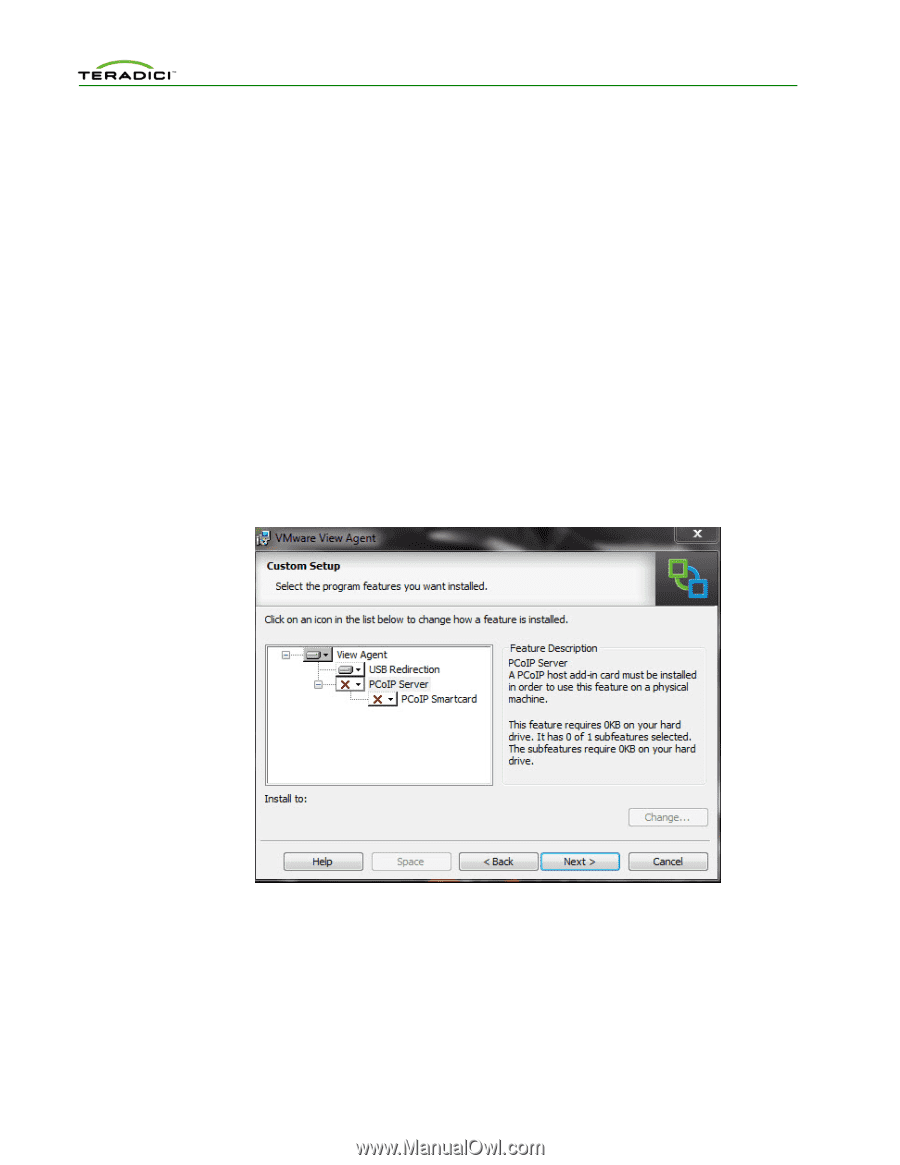
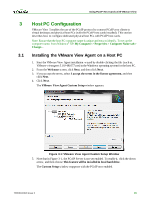
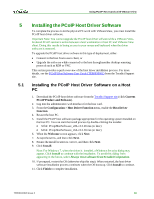
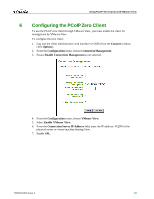
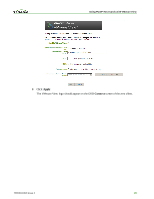
Using PCoIP Host Cards w ith VMw are View 3 Host PC Configuration VMware View 5 enables the use of the PCoIP protocol to connect PCoIP zero clients to virtual desktops and physical host PCs (with the PCoIP host cards installed). This section describes how to configure dedicated physical host PCs with PCoIP host cards. Note: Ensure that the host PC computer name is unique and easy to identify. To set up the computer name, from Windows® XP: My Computer > Properties > Computer Name tab > Change... 3.1 Installing the VMware View Agent on a Host PC 1. Start the VMware View Agent installation wizard by double-clicking the file (such as, VMware-viewagent-5.0.0-481677.exe) in the Windows operating system for the host PC. 2. From the Welcome screen, click Next, and then click Next. 3. If you accept the terms, select I accept the terms in the license agreement, and then click Next. 4. Click Next. The VMware View Agent Custom Setup window appears: ] Figure 3-1: VMware View Agent Custom Setup Window 5. Note that in Figure 3-1, the PCoIP Server is not yet enabled. To enable it, click the down arrow, and then choose This feature will be installed in local hard drive. The Custom Setup window reappears with the PCoIP now enabled. TER0911004 Issue 2 15
-
 1
1 -
2
-
3
-
4
-
5
-
6
-
7
-
8
-
 9
9 -
 10
10 -
 11
11 -
 12
12 -
 13
13 -
 14
14 -
 15
15 -
 16
16 -
 17
17 -
 18
18 -
 19
19 -
20
-
21
-
22
 |
 |