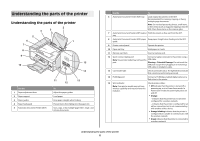
Lexmark X5650 Fax Guide - Page 8
Fax Setup, Getting the printer ready to fax, Setting up the printer as a copier only or fax only - power cord
 |
UPC - 734646078566
View all Lexmark X5650 manuals
Add to My Manuals
Save this manual to your list of manuals |
Page 8 highlights
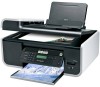
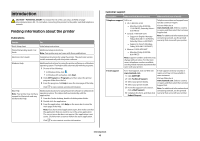
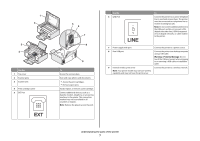
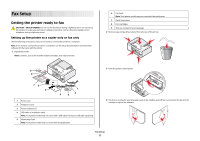
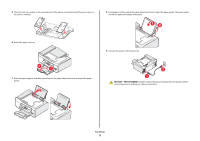
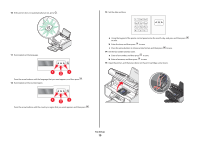
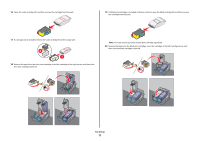
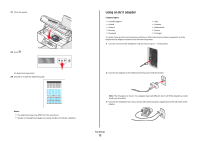
Fax Setup Getting the printer ready to fax CAUTION-SHOCK HAZARD: Do not use the fax feature during a lightning storm. Do not set up this product or make any electrical or cabling connections, such as the power supply cord or telephone, during a lightning storm. Setting up the printer as a copier only or fax only Use the following instructions if you do not want to connect the printer to a computer. Note: If you want to connect the printer to a computer, use the setup documentation and the printer software CD that came with the printer. 1 Unpack the printer. Note: Contents, such as the number of print cartridges, may vary by model. 6 Fax Guide Note: Your printer model may not come with this publication. 7 Quick Setup sheet 8 Print cartridges 9 Stick-on overlays for your language 2 Remove tape and packing material from all areas of the printer. 9 8 1 2 3 76 5 1 4 2 3 1 Power cord 2 Telephone cord 3 Printer software CD 4 USB cable or installation cable Note: Your printer model may not come with a USB cable. Purchase a USB cable separately. 5 Networking Guide Note: Your printer model may not come with this publication. 3 Raise the printer control panel. 4 If a stick-on overlay for your language needs to be installed, peel off the covering from the back of the overlays to expose the adhesive. Fax Setup 8
-
 1
1 -
2
-
 3
3 -
 4
4 -
 5
5 -
 6
6 -
 7
7 -
 8
8 -
 9
9 -
 10
10 -
 11
11 -
 12
12 -
 13
13 -
14
-
15
-
16
-
17
-
18
-
19
-
20
-
21
-
22
-
23
-
24
-
25
-
26
-
27
-
28
-
29
-
30
-
31
-
32
-
33
-
34
 |
 |
