Marantz DV6500 DV6500 User Manual - Page 25
Marker Setup Screen, Virtual Surround, Black Level Setting, Audio-EX Mode - black screen
 |
View all Marantz DV6500 manuals
Add to My Manuals
Save this manual to your list of manuals |
Page 25 highlights
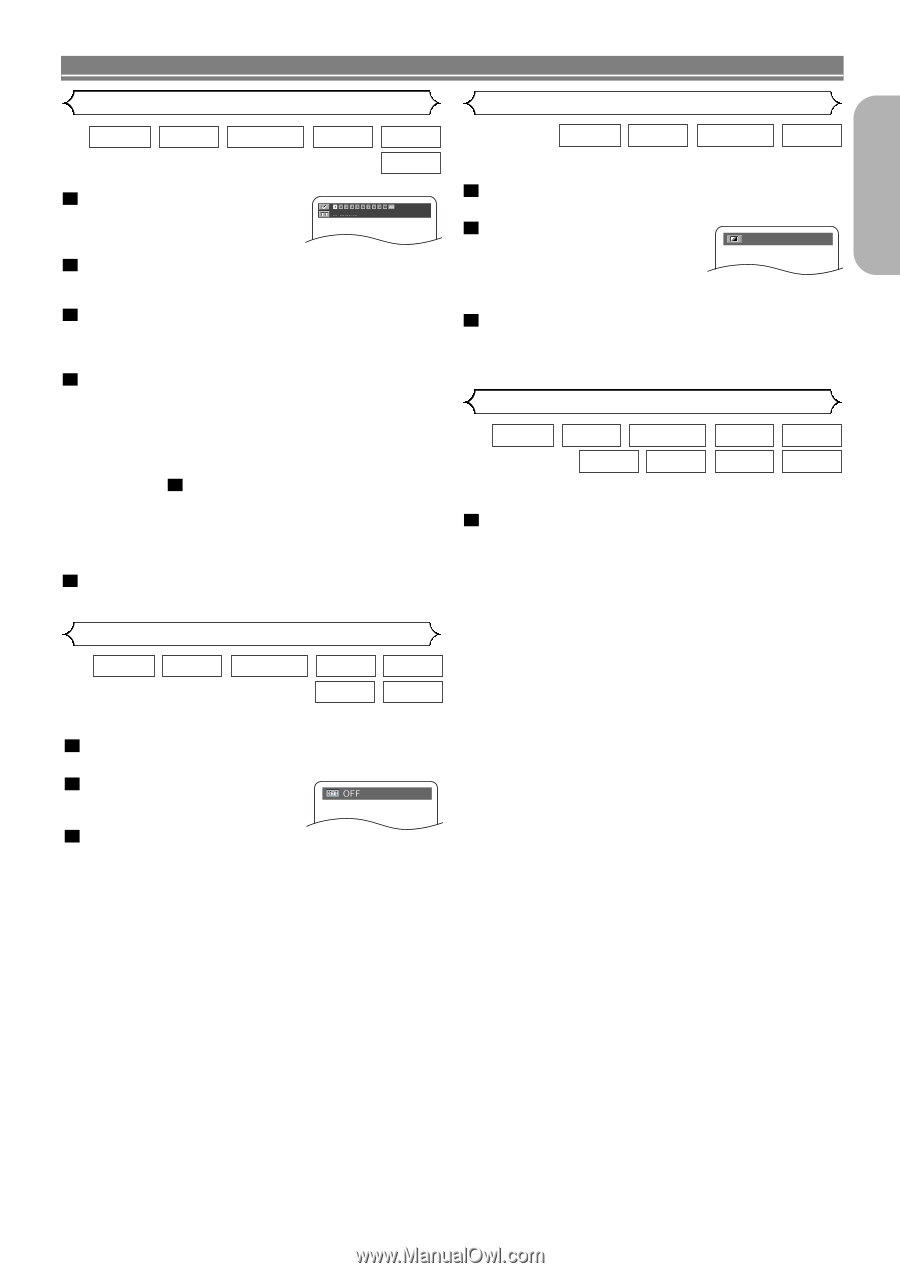
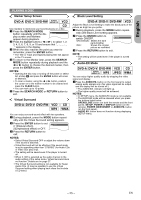
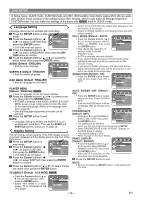
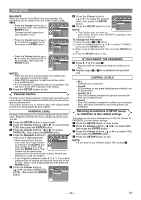
English PLAYING A DISC Marker Setup Screen Black Level Setting DVD-A DVD-V DVD-RW SUPER AUDIO CD VCD CD Use markers to memorize your favorite places on a disc. 1 Press the SEARCH MODE button repeatedly until the display screen and Markers appear during playback. 2 Press the Cursor buttons ( s or B ) to select 1, 2, 3, 4, 5, 6, 7, 8, 9, or 10 and ensure that appears in the display. 3 When the disc reaches the point you want to remember, press the ENTER button. • The Title or Track and elapsed playing time will appear in the TV screen. 4 To return to the Marker later, press the SEARCH MODE button repeatedly during playback and the s or B button to choose the desired marker, then press the ENTER button. NOTES: • Opening the disc tray or turning off the power or select AC at step 2 and press the ENTER button will erase all Markers. • To clear a marker, using the s or B button, position the cursor on to the marker number to be cleared and press the CLEAR button. • You can mark up to 10 points. 5 Press the SEARCH MODE or RETURN button to exit. Virtual Surround DVD-A DVD-V DVD-RW VCD MP3 CD WMA You can enjoy surround-sound effect with two speakers. 1 During playback, press the MODE button repeatedly until the Virtual Surround setting appears. 2 Press the ENTER button to set it 1(Natural effect), 2(Emphasised effect) or OFF. 3 Press the RETURN button to exit. NOTES: • Select Virtual Surround OFF or adjust the volume down if the sound is distorted. • Virtual Surround will not be effective if the sound mode is set to something other than "STEREO" (for Audio CDs or Video CDs play only). • The setting will be saved even if the player is turned off. • When 5.1CH is selected as the audio channel in the audio setting of the setup menu, Virtual Surround does not function. Details are on page 27. • The Virtual Surround setting is not available for Super Audio CDs. (It may be possible to use the Virtual Surround setting when playing back discs that include a CD area.) DVD-A DVD-V DVD-RW VCD Adjust the Black Level Setting to make the black parts of the picture as bright as you prefer. 1 During playback, press the MODE button repeatedly until Black Level setting appears. 2 Press the ENTER button to switch ON/OFF. ON ON (Default) : Makes the dark parts brighter. OFF : Shows the original picture as recorded. 3 Press the RETURN button to exit. NOTE: • The setting will be saved even if the player is turned off. Audio-EX Mode DVD-A DVD-V DVD-RW VCD CD SUPER AUDIO CD MP3 JPEG WMA You can enjoy higher quality audio by stopping the video signal and display. 1 Press the AUDIO EX. button on the front panel to output analog audio signals only. (No video signal will be output, and the display will be turned off.) • The AUDIO EX. indicator will light up. • The higher quality sound will be achieved. NOTES: • In SETUP menu, the AUDIO-EX mode is not available. • The AUDIO-EX mode will be released when you press the buttons listed below. OPEN/CLOSE button (on both the remote and the front panel), SETUP, POWER or DISPLAY button (on the remote), POWER ON/STANDBY or AUDIO EX. button (on the front panel). • AUDIO EX. button does not function during displaying SETUP menu. - 25 - EN
-
 1
1 -
2
-
3
-
4
-
5
-
6
-
7
-
8
-
9
-
10
-
11
-
12
-
13
-
14
-
15
-
16
-
17
-
18
-
19
-
 20
20 -
 21
21 -
 22
22 -
 23
23 -
 24
24 -
 25
25 -
 26
26 -
 27
27 -
 28
28 -
 29
29 -
 30
30 -
31
-
32
 |
 |