Netgear PS121 PS121v2 Reference Manual - Page 20
password, Check that the icon - ps121v2 usb print server
 |
UPC - 606449034684
View all Netgear PS121 manuals
Add to My Manuals
Save this manual to your list of manuals |
Page 20 highlights
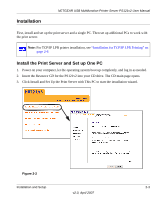
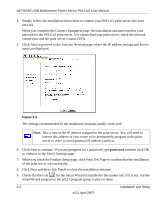
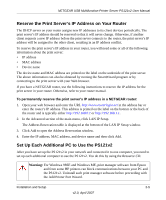
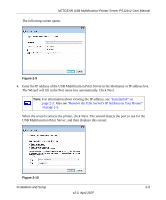
NETGEAR USB Multifunction Printer Server PS121v2 User Manual 4. Simply follow the installation instructions to connect your PS121v2 print server into your network. When you complete the Connect Equipment page, the installation assistant searches your network for the PS121v2 print server. If it cannot find your print server, check the network connections and the print server's status LEDs. 5. Click Next to proceed to the Activate Network page where the IP address settings and device name are displayed. Figure 2-3 The settings recommended by the installation assistant usually work well. Note: Take a note of the IP address assigned to the print server. You will need to reserve this address in your router to be permanently assigned to the print server in order to avoid potential IP address conflicts. 6. Click Next to continue. If you are prompted for a password, type password and then click OK to continue to the Verify Settings page. 7. When you reach the Finalize Setup page, click Print Test Page to confirm that the installation of the print server was successful. 8. Click Next and then click Finish to close the installation assistant. 9. Check that the icon for the Smart Wizard is installed in the system tray. If it is not, run the SmartWizard program in the ps121 program group to place it there. 2-4 Installation and Setup v2.0, April 2007
-
 1
1 -
2
-
3
-
4
-
5
-
6
-
7
-
8
-
9
-
10
-
11
-
12
-
13
-
14
-
 15
15 -
 16
16 -
 17
17 -
 18
18 -
 19
19 -
 20
20 -
 21
21 -
 22
22 -
 23
23 -
 24
24 -
 25
25 -
26
-
27
-
28
-
29
-
30
-
31
-
32
-
33
-
34
-
35
-
36
-
37
-
38
-
39
-
40
-
41
-
42
-
43
-
44
-
45
-
46
-
47
-
48
-
49
-
50
-
51
-
52
 |
 |
