NordicTrack Powertread 6.0 English Manual - Page 18
art.INCLINE
 |
View all NordicTrack Powertread 6.0 manuals
Add to My Manuals
Save this manual to your list of manuals |
Page 18 highlights
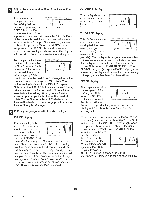
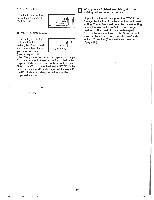
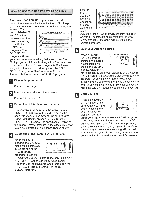
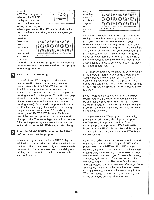
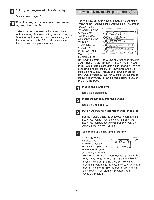
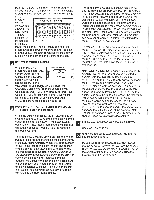
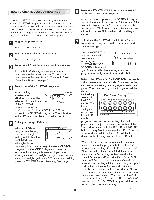
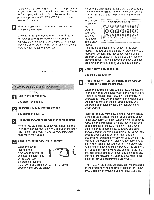
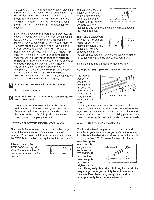
Refer to the LED matrix. Each INCLINE program is divided into one-minute periods. One incline setting is programmed for each period. The incline settings of the program you have First incline Setting 1OOO000l 0000000 selected are shown in the LED matrix. The two 00000000000000000 1 00000000000000000 00000000000000000 00000000000000000 00000000000000000 00000000000000000 00000000000000000 columns on 1 the left side of the LED matrix will be dark. The first incline setting of the program will be shown in the third column (see the drawing above); the next seventeen incline settings are shown in the seventeen columns to the right. Enter your weight if desired. When an INCLINE program is selected, the. current weight setting I -I i I will flash in the INCLINE INCLINE display. Although it is not necessary to enter your weight to use art.INCLINE program, the CALORIES display will be more accurate if your weight is entered. If you have already entered your weight, or if you do not want to enter your weight, go to step 6. To enter your weight, press the WEIGHT buttons (see step 5 on page 12). 6 Press the START/ENTER button or the SPEED "+" button to start the program. When the button is pressed, the SPEED display will flash and a tone will sound twice, If the incline of the treadmill is higher than 1.0%, it will automatically decrease to 1.0%. After a moment, the walking belt will begin to move at 1.0 mph. Hold the handrails and begin walking. Refer to the LED matrix. During the first one-minute period of the program, the first incline setting shown in the LED matrix will flash. When only three seconds remain in the first period, both the first and second incline settings in the LED matrix will flash. When the first period is completed, all incline settings in the LED matrix will move one column to the left. The second incline setting will then flash and the treadmill will adjust to the second incline setting. At the end of each one-minute period of the program, all incline settings will move one column to the left, the next incline setting will flash, and the treadmill will adjust to the next incline setting. The speed of the walking belt can be adjusted as desired during the program with the SPEED buttons. The TIME/PACE display will show the time remaining in the program. Near the end of the program, the walking bell will slow to allow you to cool down. During the last ten seconds of the program, the incline will decrease to 1.0%. When no time remains in the TIME/PACE display, the walking belt will slow to a stop. Note: If the RANDOM program is selected, the program will last for 60 minutes. The program can be stopped earlier, if desired, by holding down the STOP button for two seconds. To stop an INCLINE program momentarily, presi the STOP button. The displays will pause and the TIME/PACE display will begin to flash. To restart the program, press the START/ENTER button or the SPEED "+" button. To end the program and reset the displays, hold down the STOP button for two seconds. Note: While an INCLINE program is in progress, the difficulty level of the program can be adjusted, if desired, with the INCLINE buttons. Press the INCLINE "+" button. The letters "MAX" will appear in the LED matrix and a number will flash in the INCLINE display for three seconds. This number is the maximum incline that the treadmill will reach during the program. Press the INCLINE "+" button again. Each time the button is pressed, the maximum incline setting will increase by 0.5%. As the maximum incline setting increases, the difficulty level of the entire program will increase. The INCLINE "-" button can be used in the same way to decrease the difficulty level of the program. Note: The incline settings shown in the LED matrix will not change; these are relative incline settings. Follow your progress with the six displays. See step 8 on page 13. 8 When the program is completed, remove the key from the console. Make sure that the treadmill Is at the lowest incline setting. Remove the key from the console. Store the key in a secure place. In addition, press the on/off switch to the "off" position. (See the drawing near the top of page 12.) 18
-
 1
1 -
2
-
3
-
4
-
5
-
6
-
7
-
8
-
9
-
10
-
11
-
12
-
 13
13 -
 14
14 -
 15
15 -
 16
16 -
 17
17 -
 18
18 -
 19
19 -
 20
20 -
 21
21 -
 22
22 -
 23
23 -
24
-
25
-
26
-
27
-
28
-
29
-
30
-
31
-
32
-
33
-
34
-
35
-
36
-
37
-
38
 |
 |
