Panasonic AG-HMC80PJ AVCCAM Sony Vegas Pro 9 White Paper - Page 3
Introduction To Editing Avchd With Sony Vegas Pro 9, Minimum System Requirements, Transferring Avchd - avccam
 |
View all Panasonic AG-HMC80PJ manuals
Add to My Manuals
Save this manual to your list of manuals |
Page 3 highlights
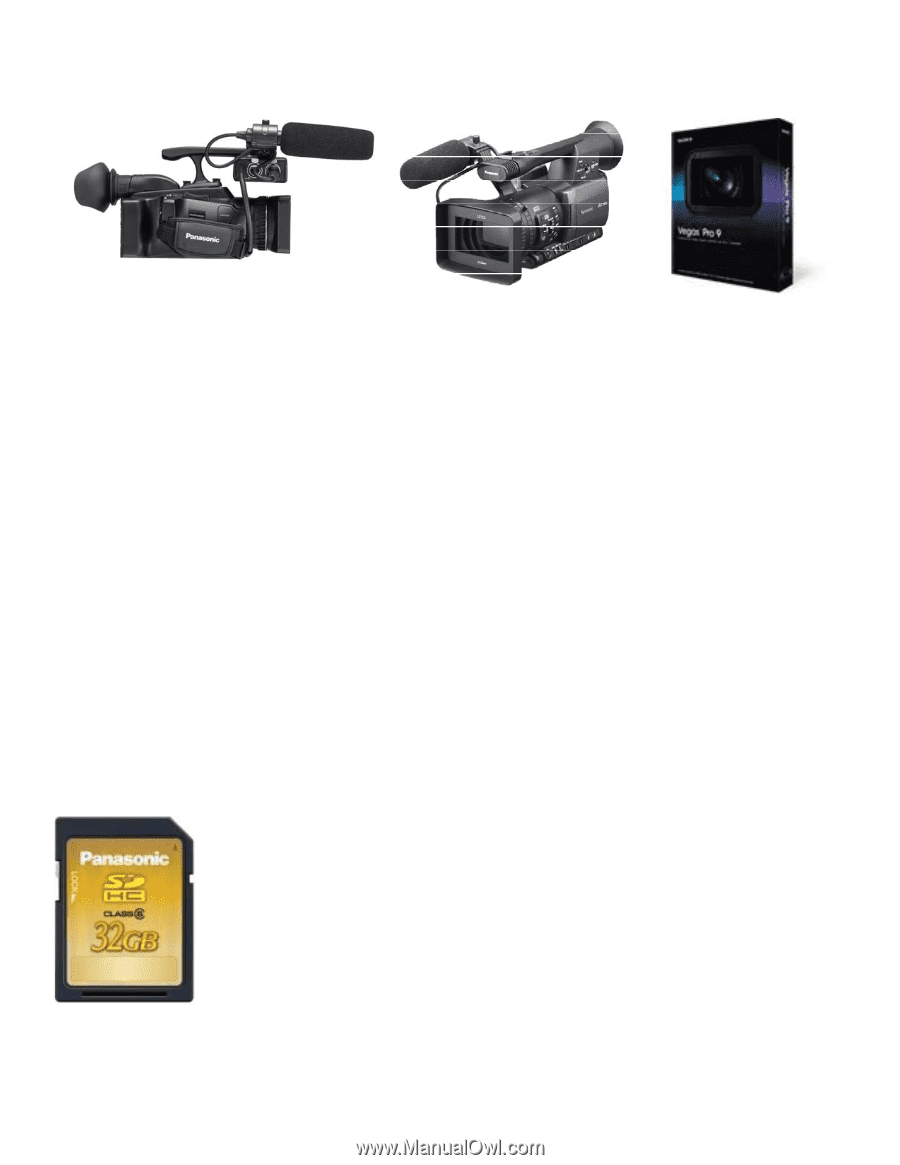
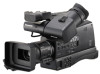
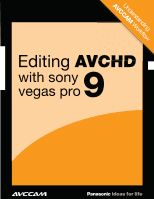
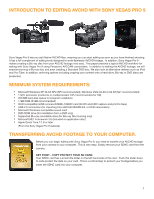
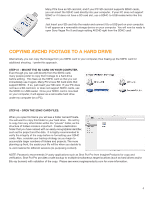
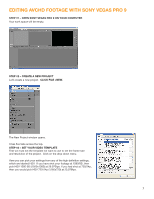
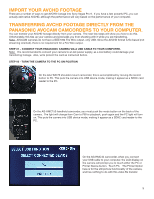
INTRODUCTION TO EDITING AVCHD WITH SONY VEGAS PRO 9 Sony Vegas Pro 9 lets you edit Native AVCHD files, meaning you can start editing as soon as you have finished shooting. It has a full compliment of editing tools designed to work flawlessly AVCHD footage. In addition, Sony Vegas Pro 9 makes creating a Blu-ray disc from your AVCHD footage very easy. This paper presents a typical AVCHD workflow for editing with Sony Vegas Pro 9 using Panasonic AVCCAM camcorders. In addition to editing the AVCHD footage, we will examine burning a Blu-ray disc and even creating a Standard DVD disc. We also look at alternative delivery such as iPod and You Tube. In addition, archiving options including copying your content onto a hard drive, Blu-ray or DVD discs are presented. MINIMUM SYSTEM REQUIREMENTS: • Microsoft Windows XP 32-bit SP2 (SP3 recommended), Windows Vista 32-bit or 64 bit (Sp1 recommended) • 1 GHz processor (multicore or multiprocessor CPU recommended for HD) • 200 MB hard-disk space for program installation • 1 GB RAM (@ GB recommended) • OHCI compatible iLINK connecotr/IEEE-1394DV card (for DV and HDV capture and print to tape) • USB 2.0 connection (for importing from AVCHD,XDCAM EX, or DVD camcorders) • Microsoft Windows-compatible sound card • DVD-ROM drive (for installation from a DVD only) • Supported Blu-ray recordable drive (for Blu-ray Disc burning only) • Microsoft.NET Framework 3.0 (included on application disc) • Apple Quick Time 7.1.6 or later (From the Sony Vegas Pro 9 website) TRANSFERRING AVCHD FOOTAGE TO YOUR COMPUTER. Before you can begin editing with Sony Vegas Pro 9, you need to transfer your AVCHD footage from your camera to your computer. This is very easy. Simply remove your SDHC card from the camera. KEY POINT - COPY PROTECT YOUR SD CARD. Your SDHC card has a small little slider on the left hand side of the card. Push this slider down to write protect the data on your card. This is a critical step to protect your footage before you insert the SDHC card into your computer. 3
-
 1
1 -
 2
2 -
 3
3 -
 4
4 -
 5
5 -
 6
6 -
 7
7 -
 8
8 -
 9
9 -
10
-
11
-
12
-
13
-
14
-
15
-
16
-
17
-
18
-
19
 |
 |