Panasonic AG-HMC80PJ AVCCAM Sony Vegas Pro 9 White Paper - Page 4
Copying Avchd Footage To A Hard Drive
 |
View all Panasonic AG-HMC80PJ manuals
Add to My Manuals
Save this manual to your list of manuals |
Page 4 highlights
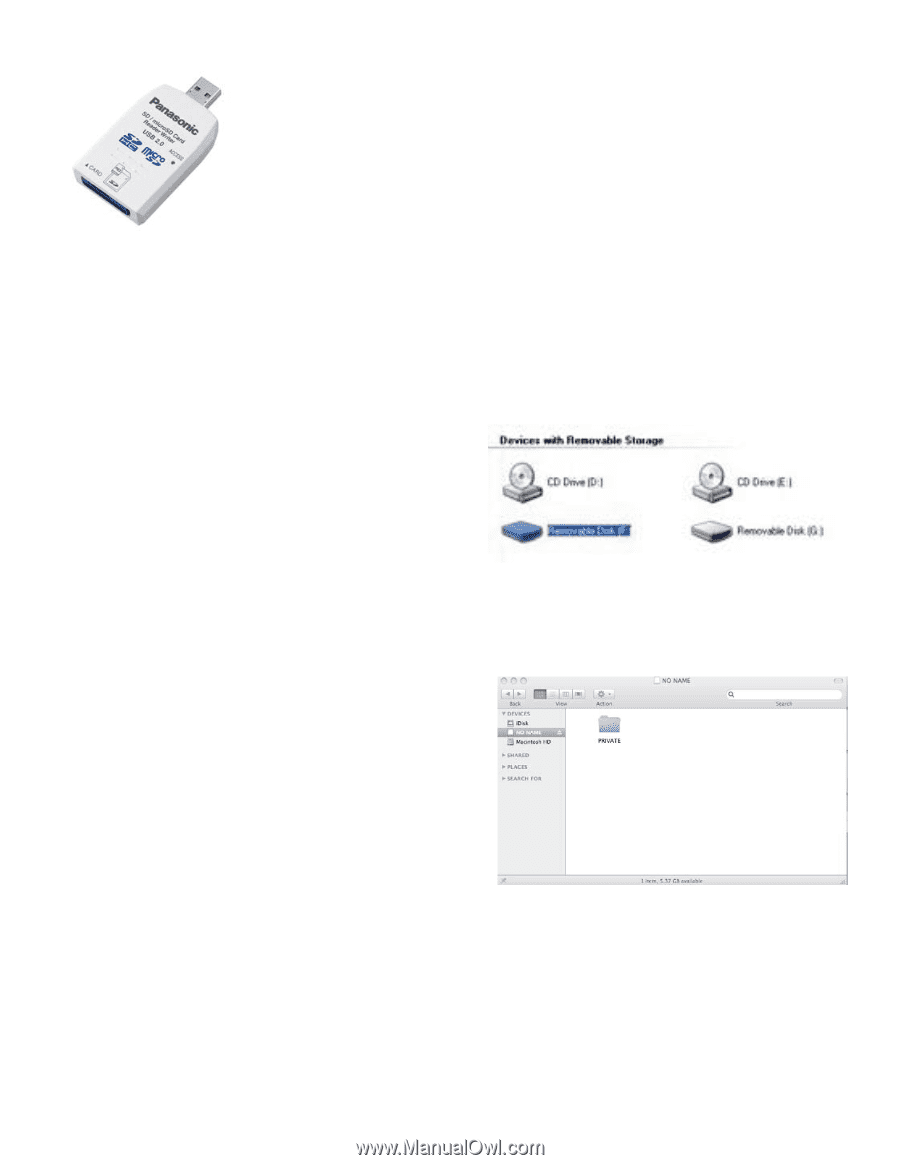
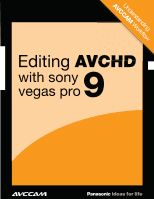
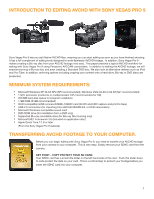
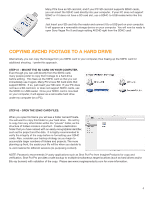
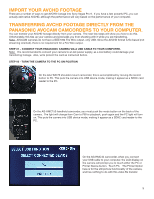
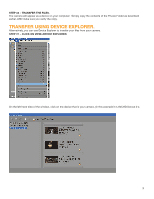
QuickTime™ and a decompressor are needed to see this picture. Many PCs have an SD card slot, and if your PC SD card slot supports SDHC cards, you can insert the SDHC card directly into your computer. If your PC does not support SDHC or if it does not have a SD card slot, use a SDHC-to-USB reader/writer like this one. Just insert your SD card into the reader and connect it to a USB port on your computer. It will appear as a removable storage device on your computer. You will now be ready to open Sony Vegas Pro 9 and begin editing AVCHD right from the SDHC card! COPYING AVCHD FOOTAGE TO A HARD DRIVE Alternatively, you can copy the footage from you SDHC card to your computer, thus freeing up the SDHC card for additional shooting. I prefer this approach. STEP #1 - MOUNT THE SD CARD ON YOUR COMPUTER. Even though you can edit directly from the SDHC card, many people prefer to copy their footage to a hard drive before editing. This frees up the SDHC card so that you can immediately use it again. Many PC's have SD Card slots that support SDHC. If so, just insert your SD card. If your PC does not have a SD card slot, or does not support SDHC cards, use the SDHC-to-USB reader. Once your SDHC card is mounted on your computer, it will appear as a removable hard drive under my computer (on a PC). STEP #2 - OPEN THE SDHC CARD FILES. When you open No Name you will see a folder named Private. You will want to copy this folder to your hard drive. Do not try to copy from any other folder within the "private" folder, as the structure of folders inside is important. Create a destination folder that you have named with an easily recognizable identifier, such as the project and the date. It is highly recommended to verify the integrity of the copy before re-formatting your SDHC cards. Also, consider your backup strategy as you begin to accumulate larger numbers of folders and projects. The more planning up front, the easier your life will be when you decide to re-visit material for different sessions (re-purposing content). NOTE: Panasonic recommends 3rd party applications such as Shot Put Pro from Imagine Products for copy and verification. Shot Put Pro provides a safe backup to multiple simultaneous target locations (such as hard drives and/or Blu-ray burners) with validation of the copy. Please see www.imagineproducts.com for more information. 4
-
 1
1 -
 2
2 -
 3
3 -
 4
4 -
 5
5 -
 6
6 -
 7
7 -
 8
8 -
 9
9 -
 10
10 -
11
-
12
-
13
-
14
-
15
-
16
-
17
-
18
-
19
 |
 |